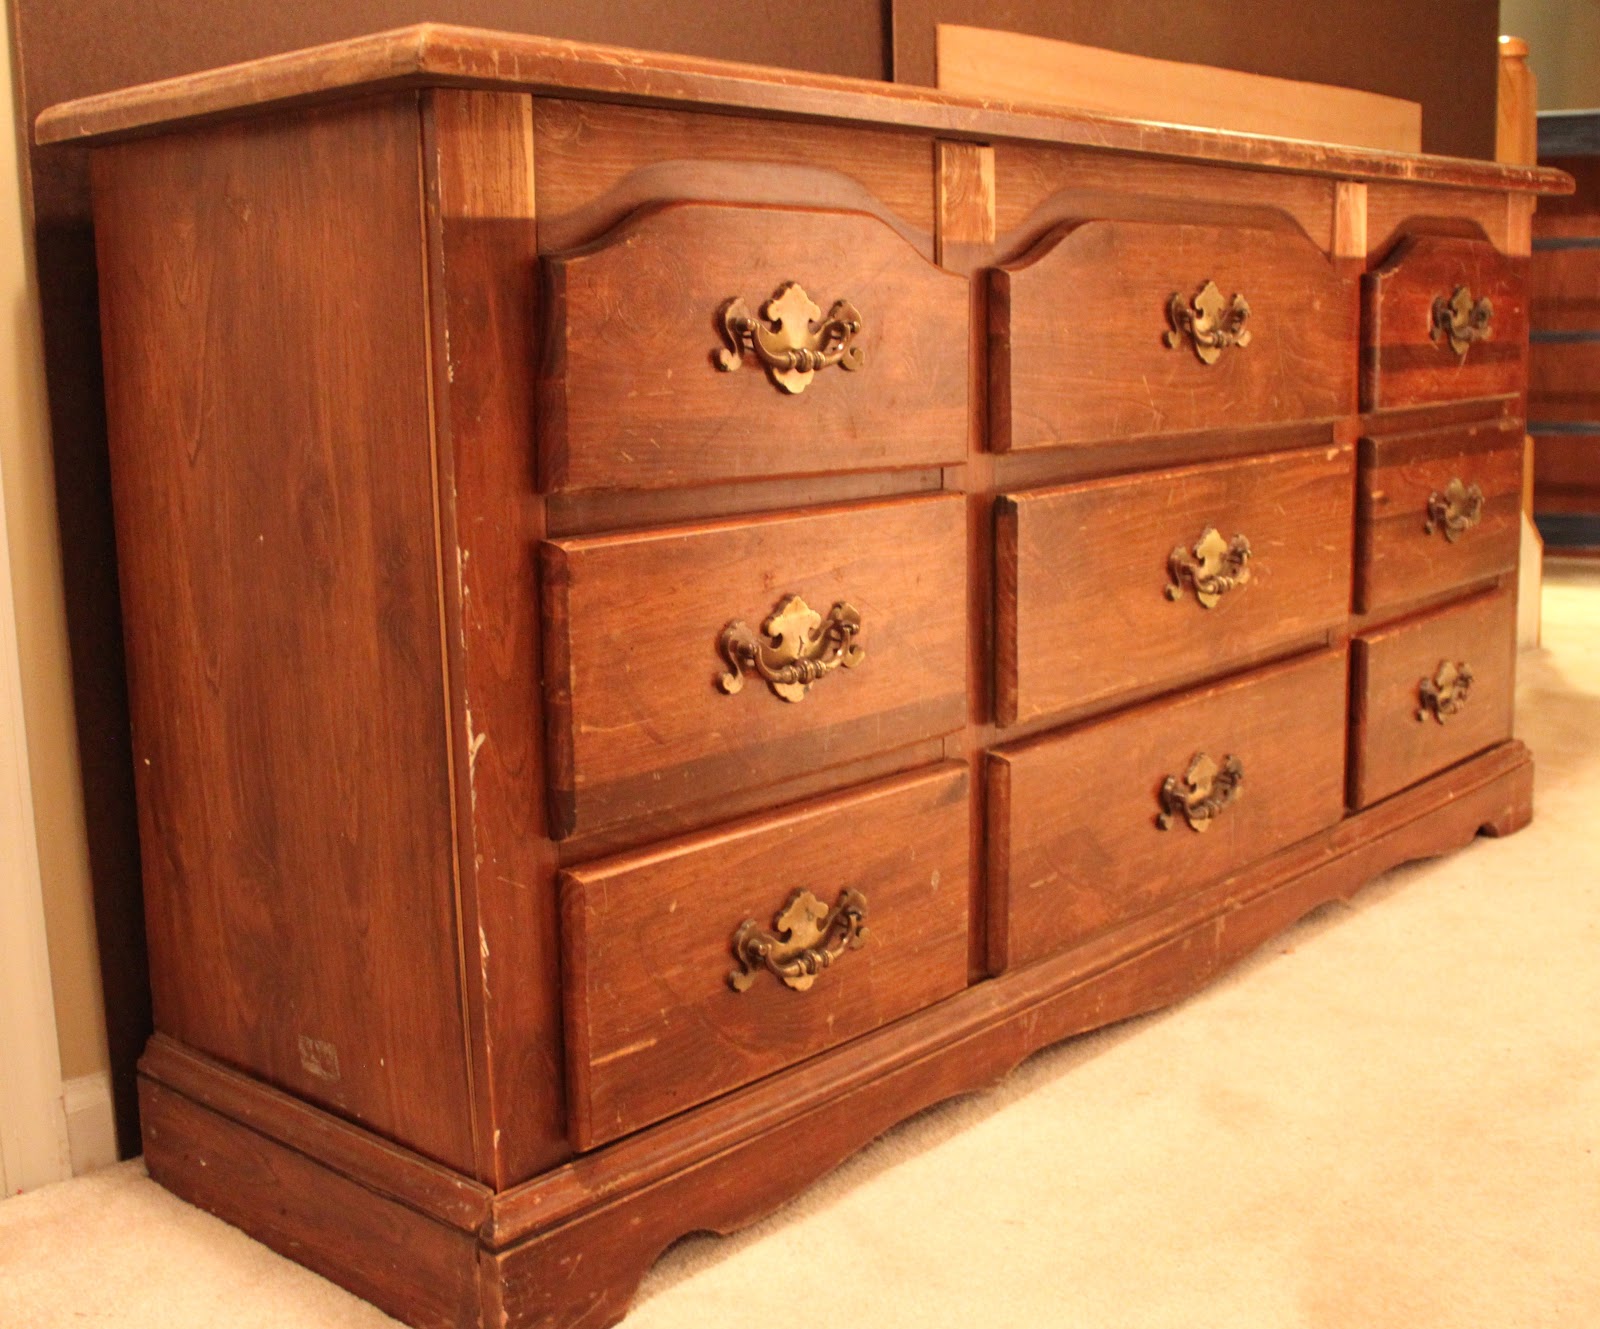
You read it right! I used plumbing caulk on a dresser. Why? you might ask. Well, the dresser had some pretty noticeable gapping between the sides and the trim boards and being a plumber’s wife (well now plumbing inspector’s wife) I am quite familiar with caulk and knew we had it on hand so I asked my husband “Do you think caulk would work?”! As long as you use a paintable caulk or a color that matches your piece it’s a sweet little trick to have in your fix-it arsenal.
 |
| Gap central! |
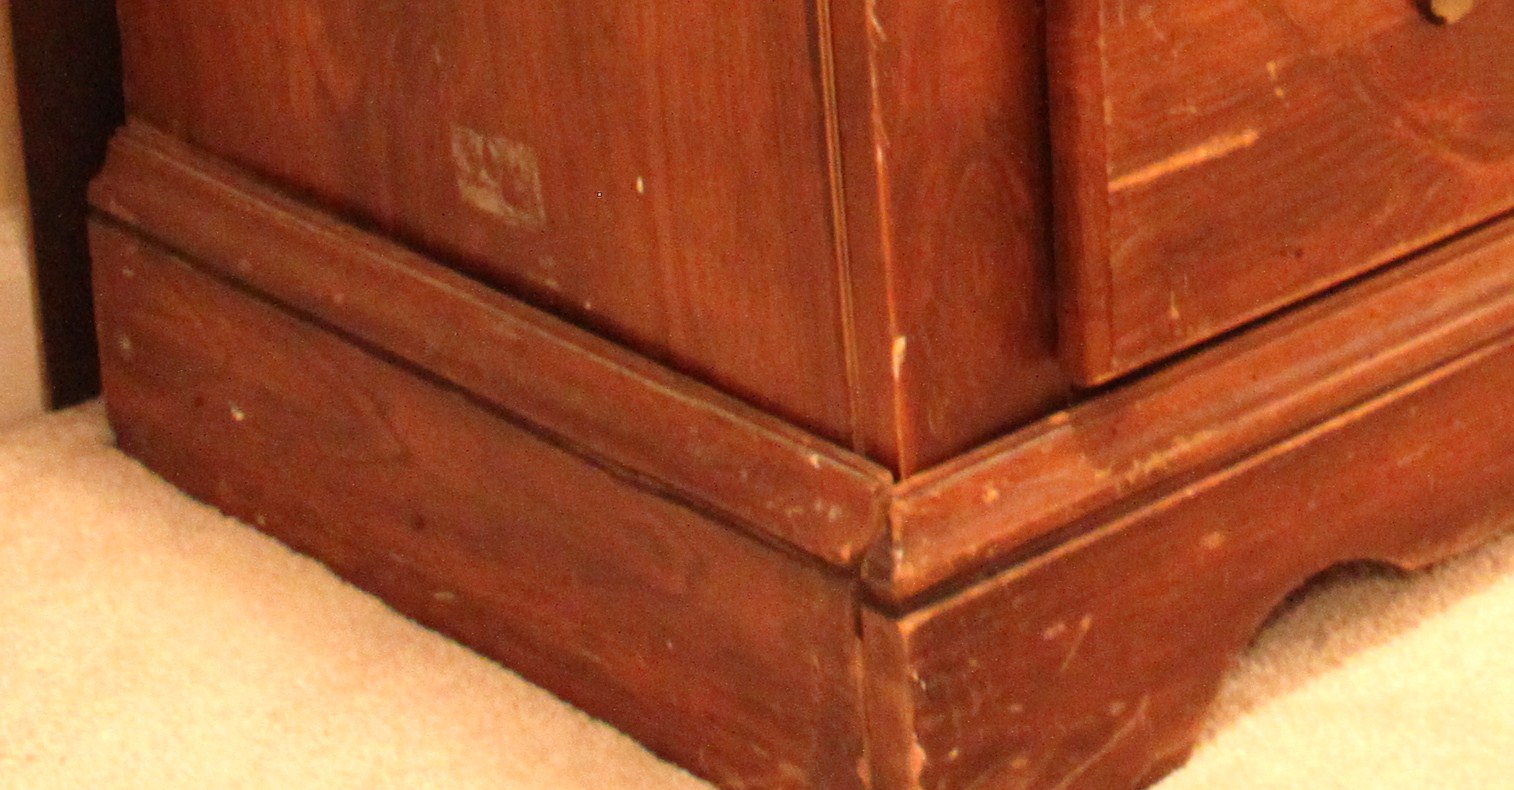 |
| It pretty much gapped like this all along the trim board. 🙁 |
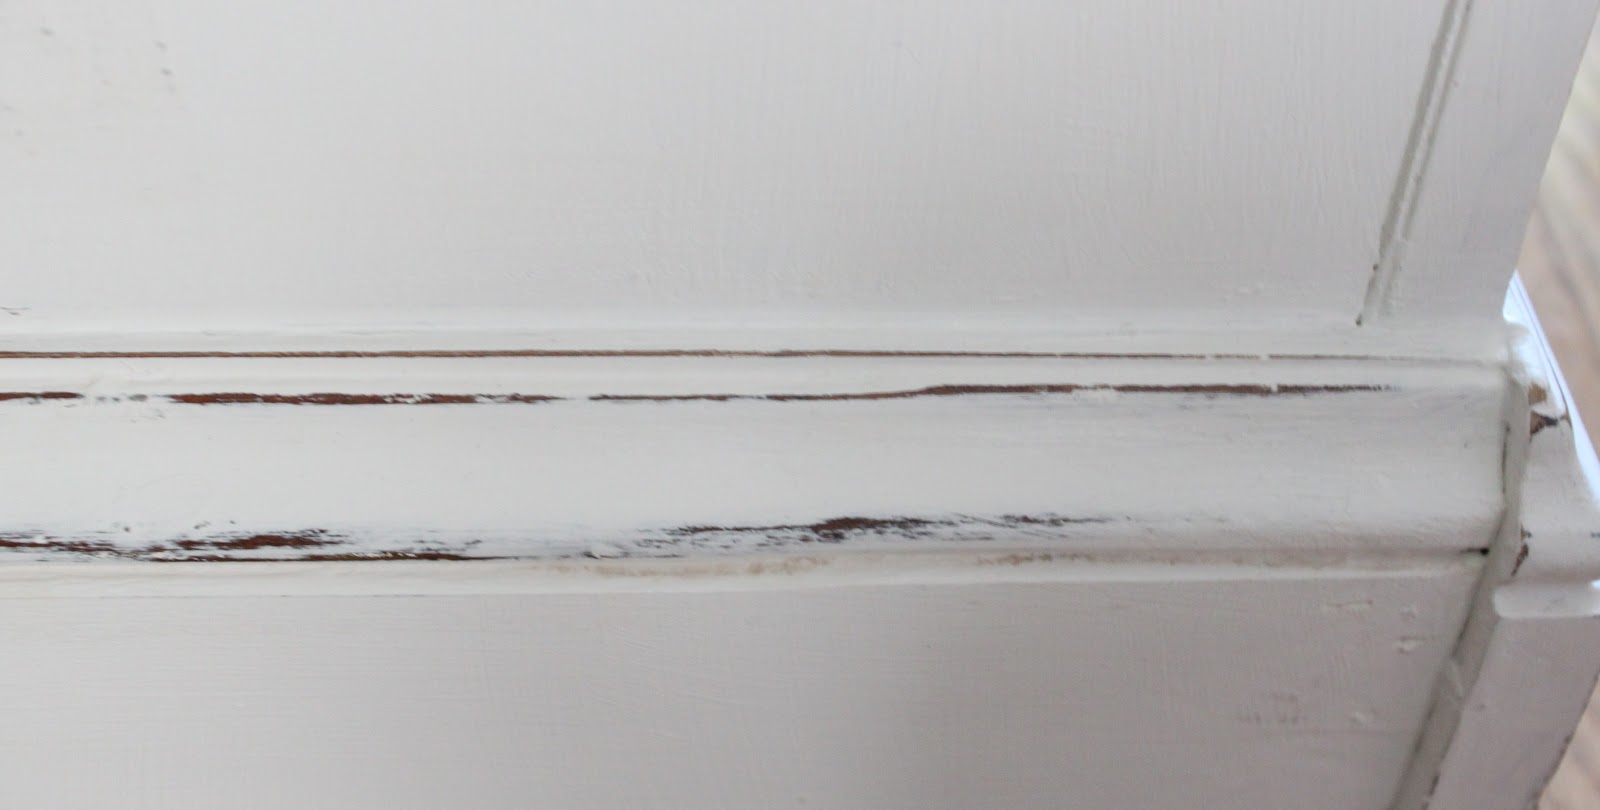 |
| caulk on = smooth & good as new |
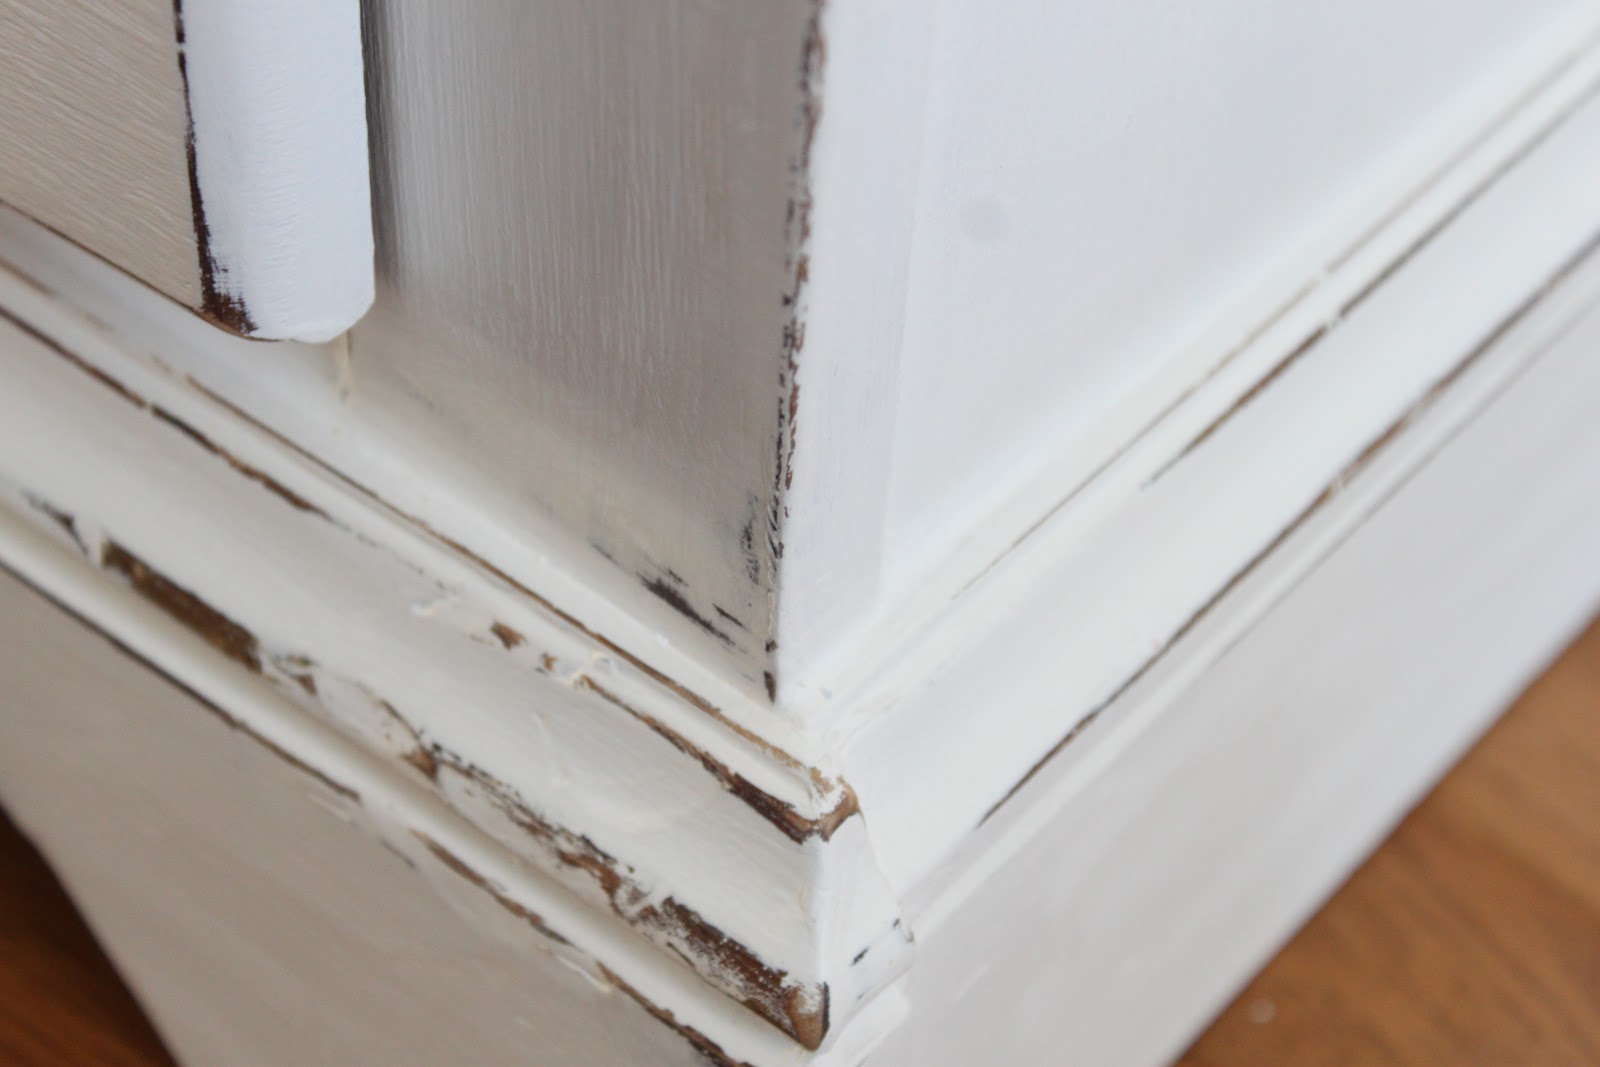 |
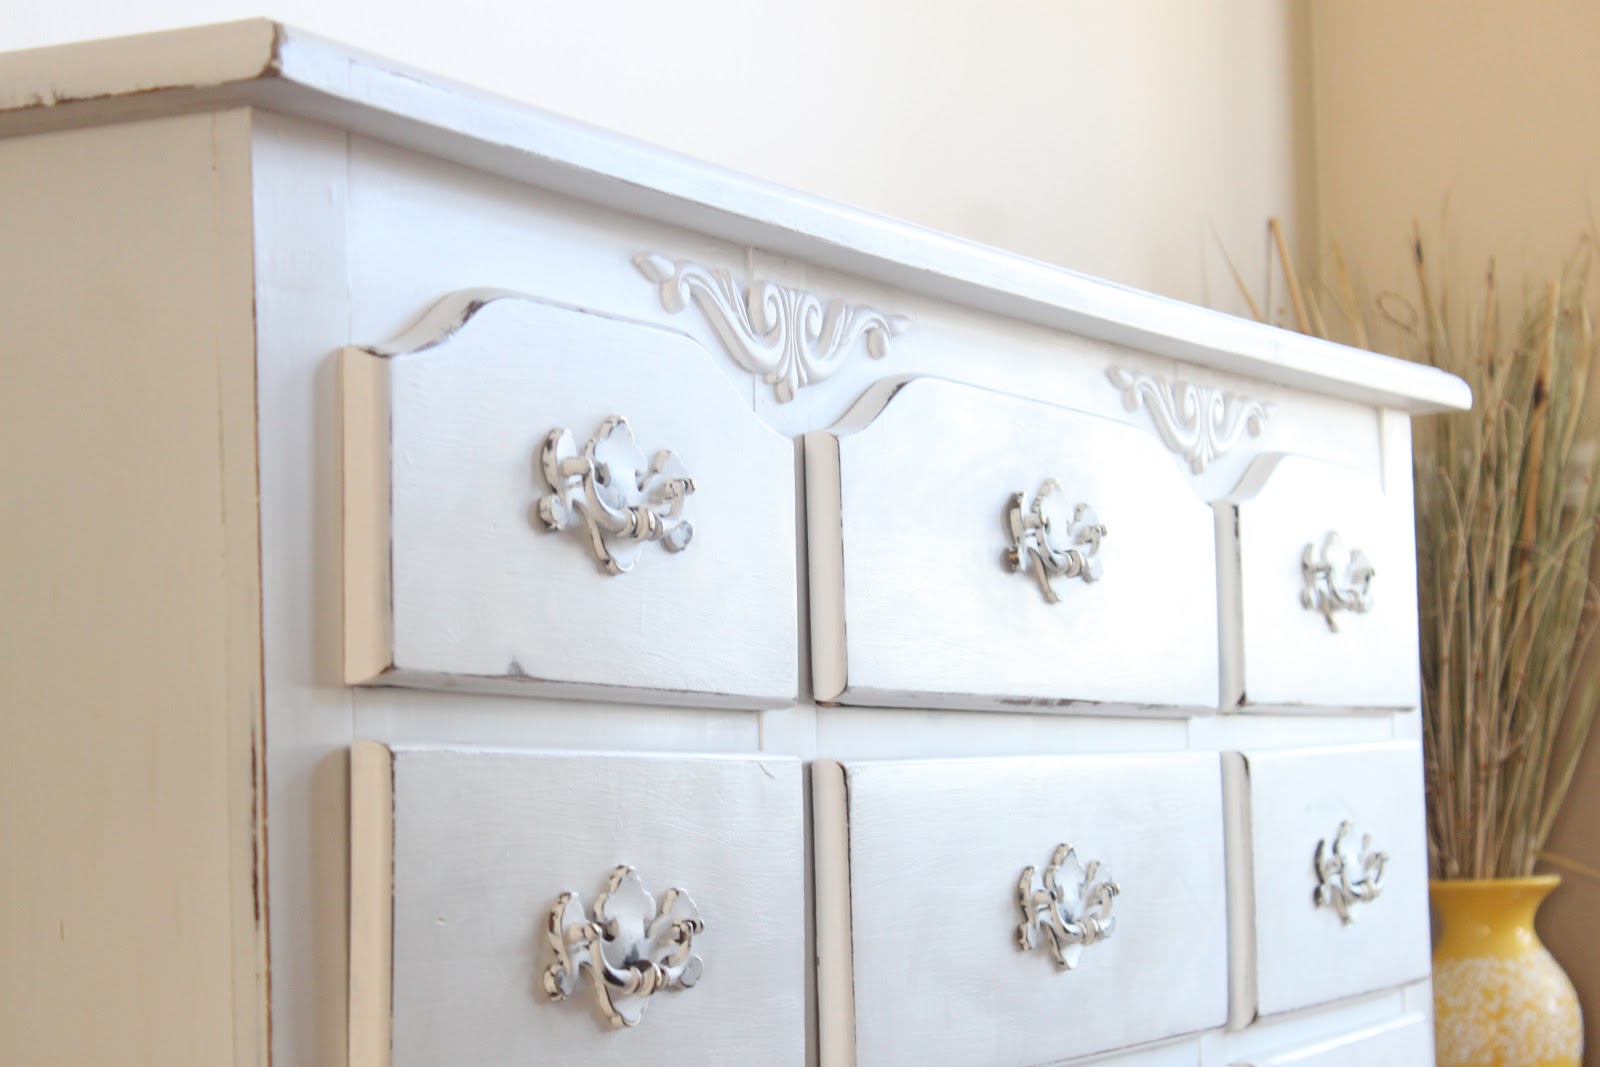
| The other side’s crisp and clean lines! |
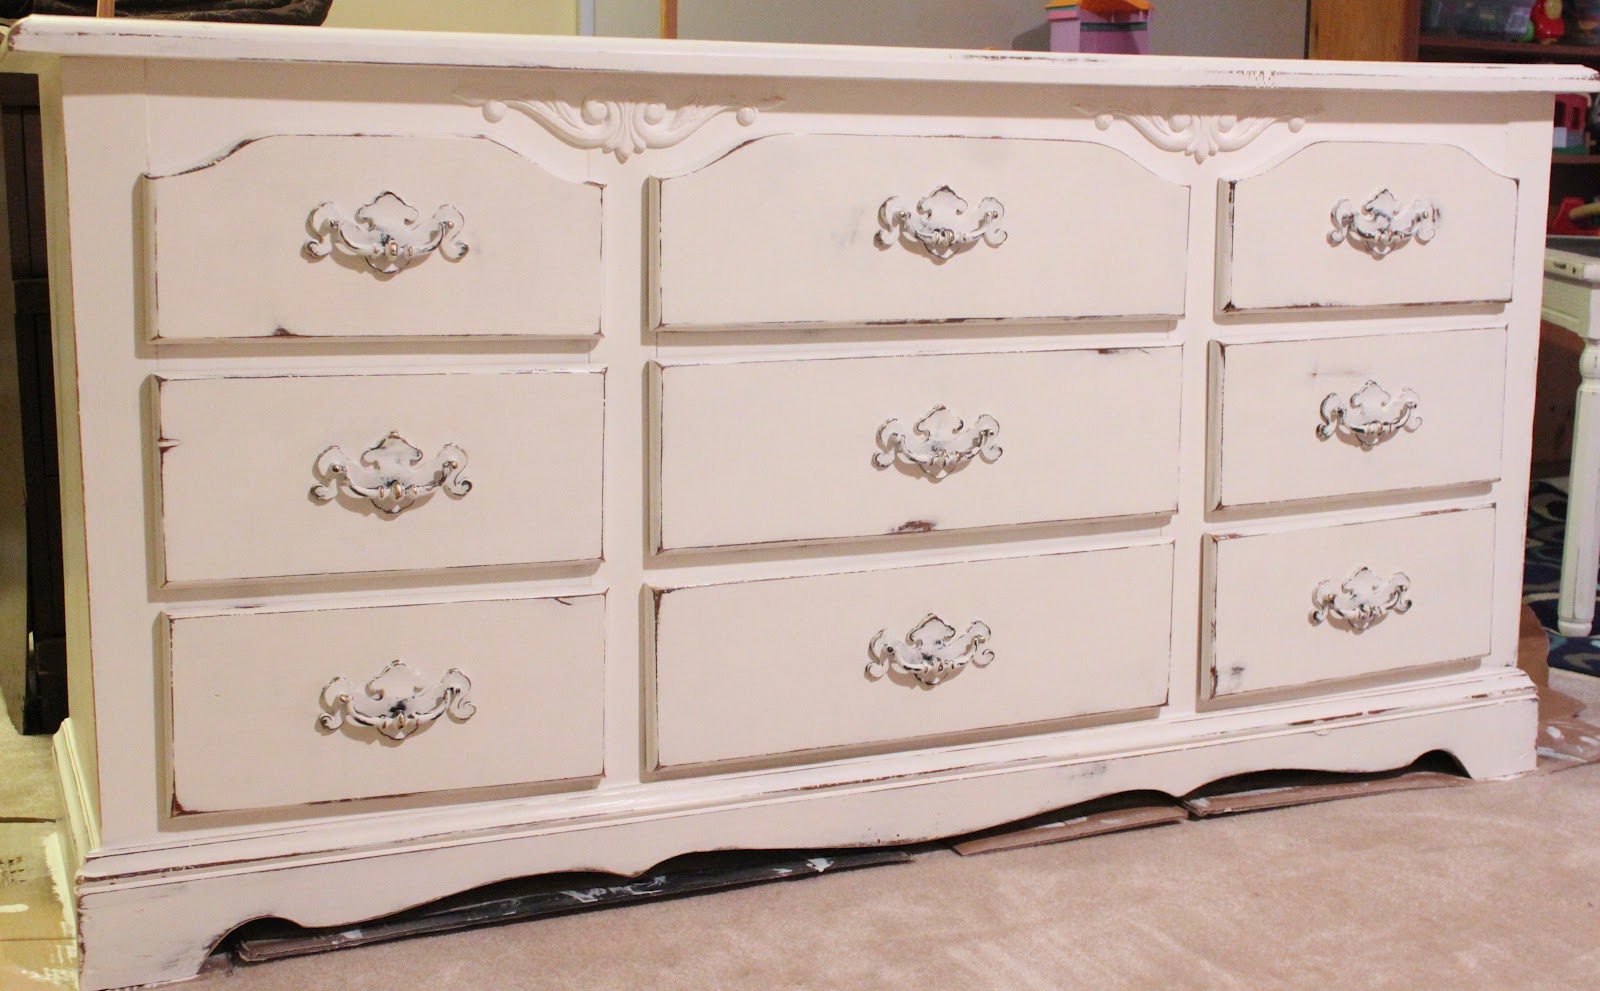 |
| Caulked gaps, 2 coats Annie Sloan Pure White Chalk Paint, a little distressing, added wood details, a little more painting, a coat of clear wax, and freshly lined drawers later and you have this! |
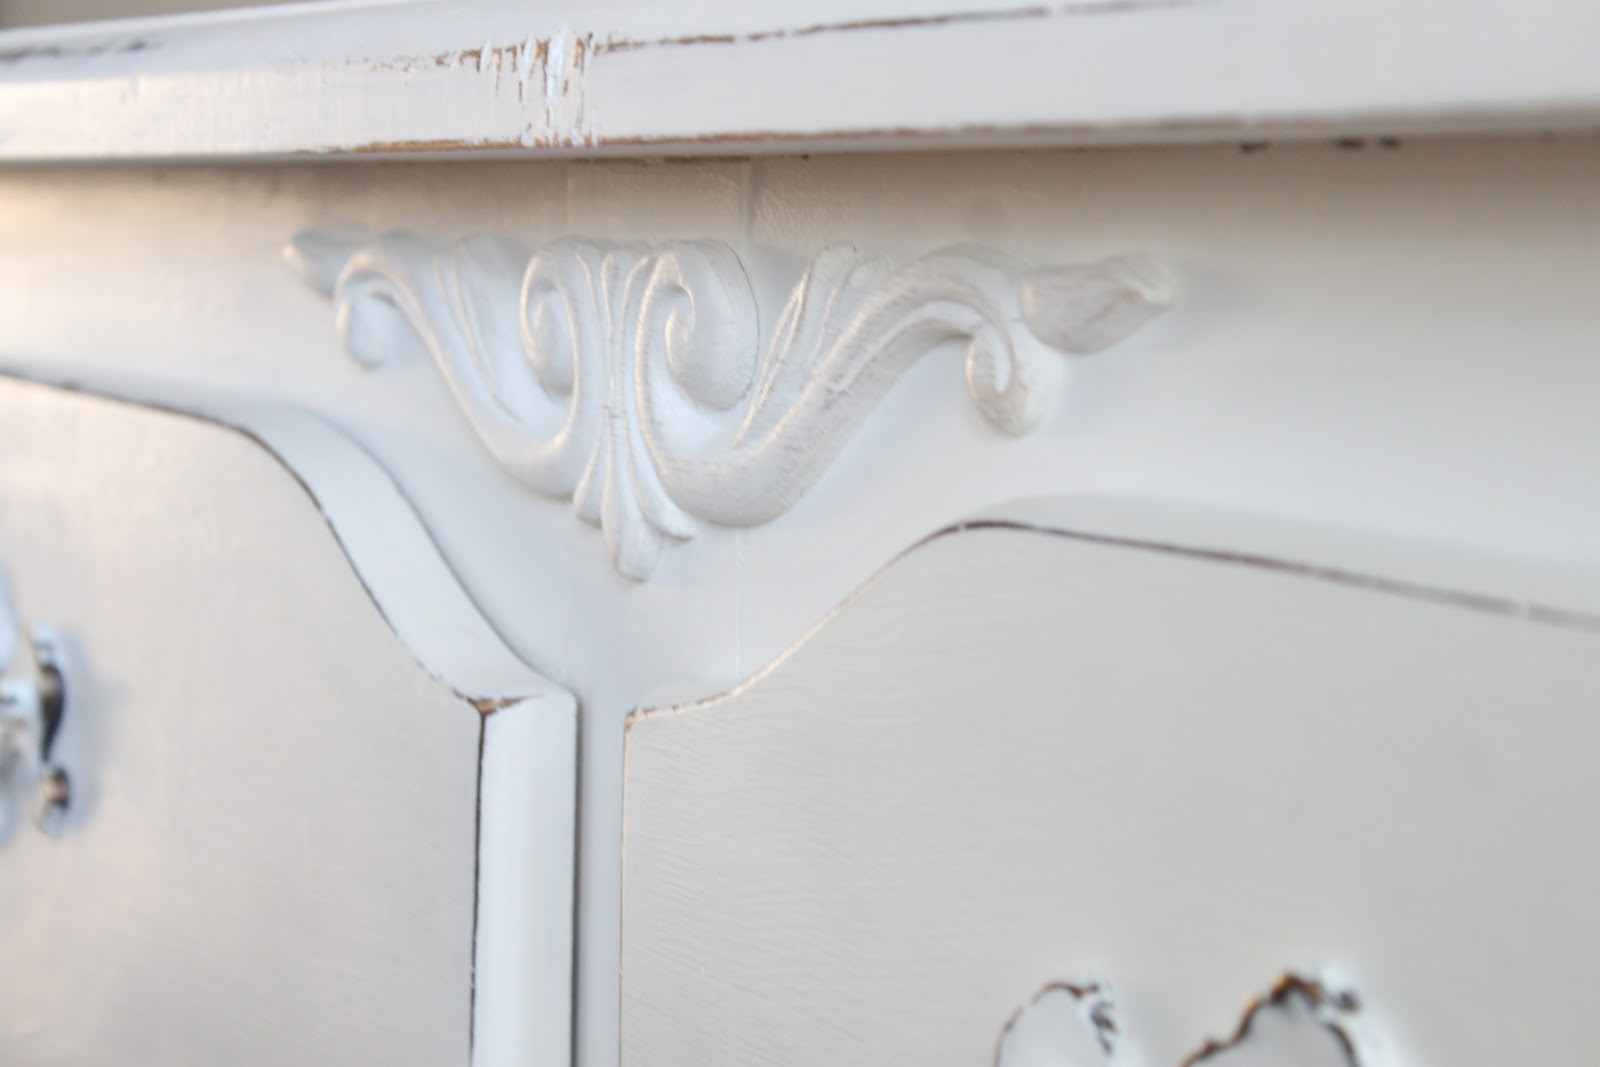 |
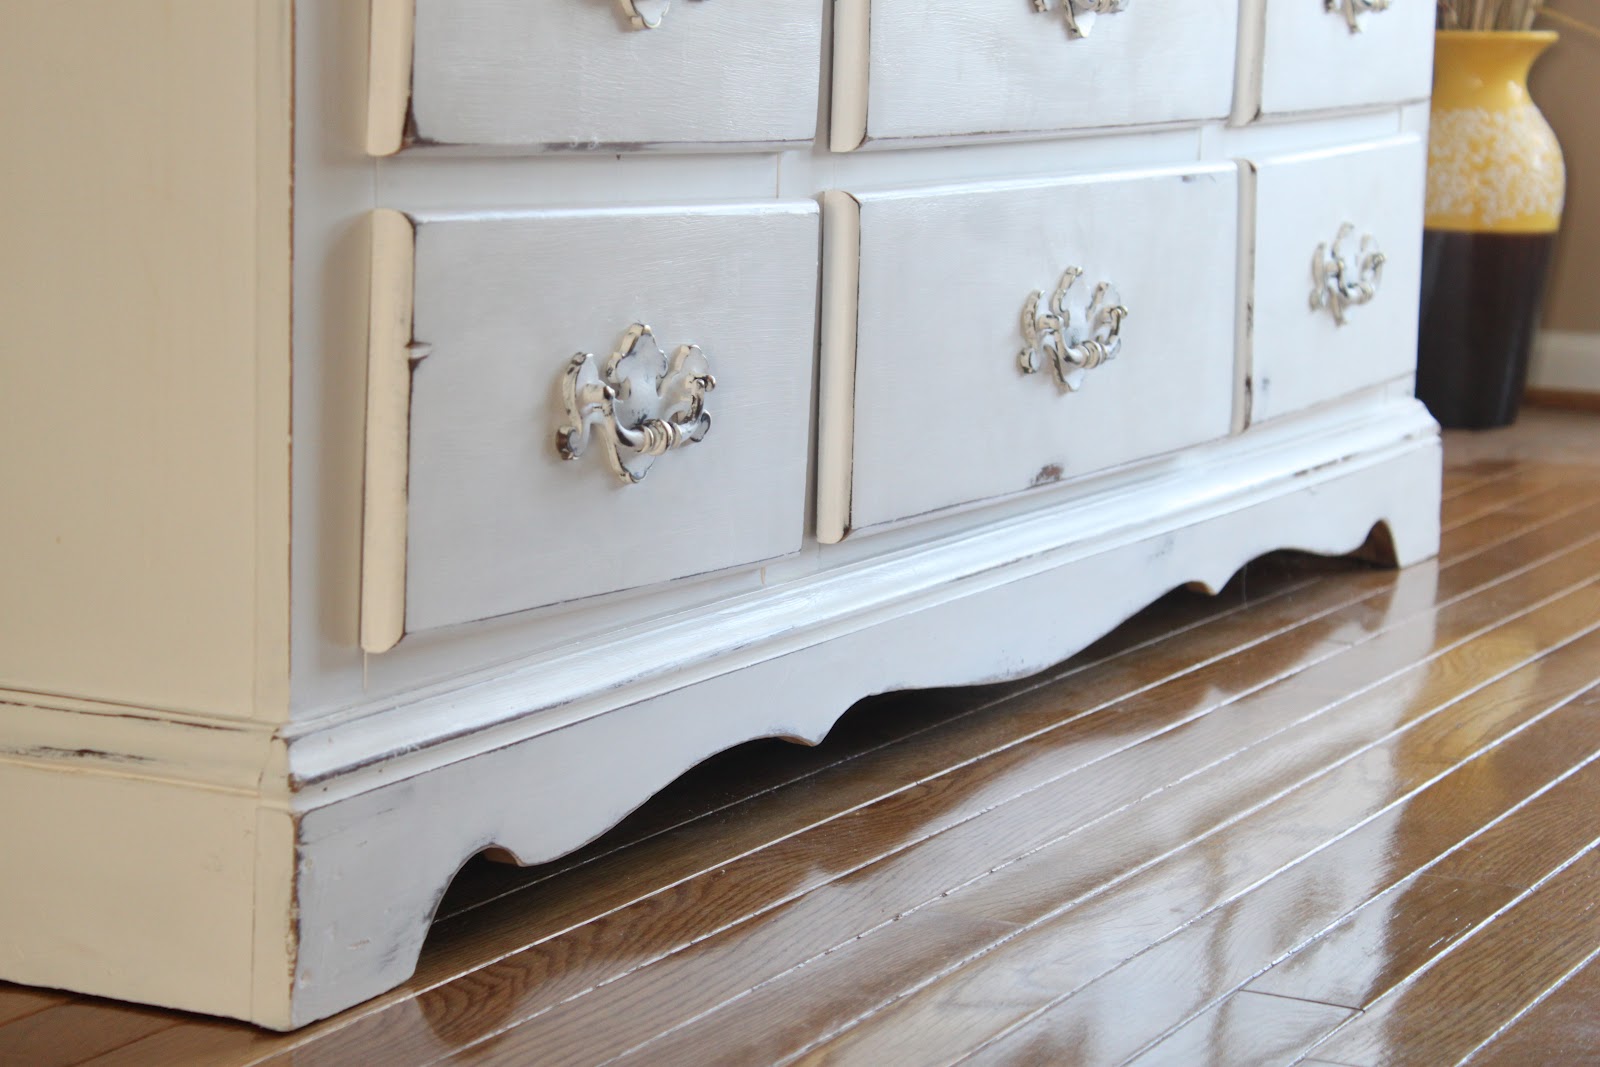
| Off the shelf Lowes wood trim work pieces perfectly accentuate the shape of the top drawers and bottom trim board. |
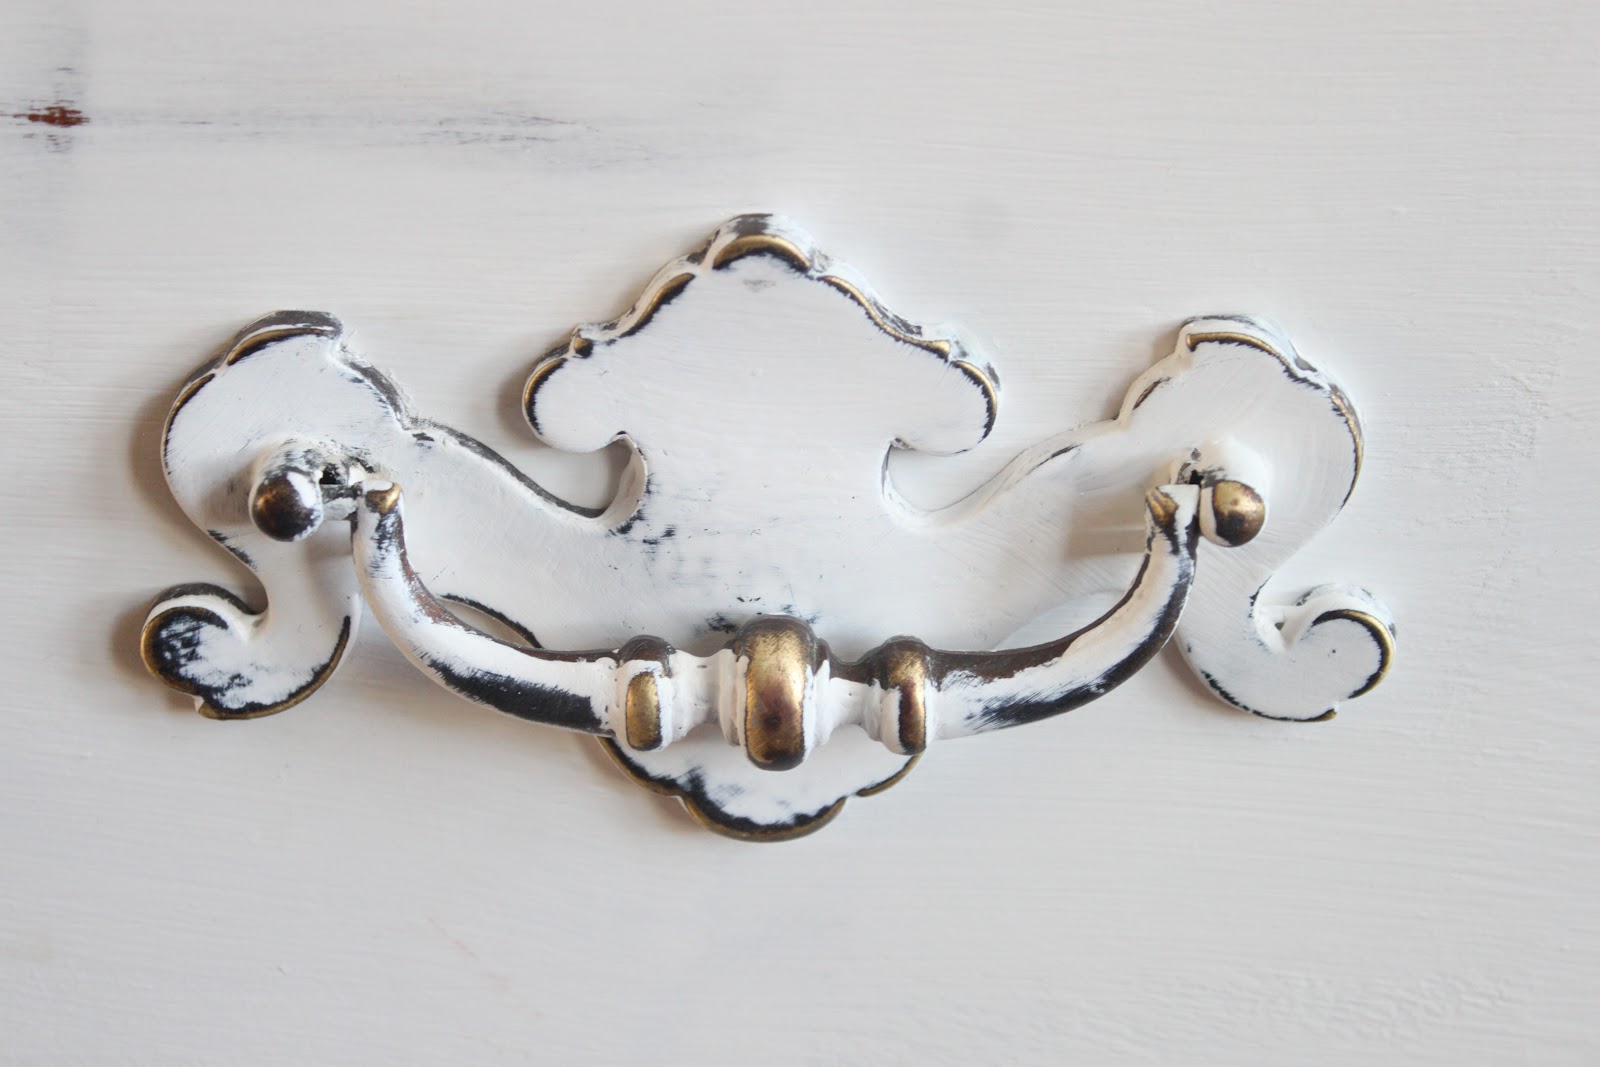 |
| painted, distressed, and waxed hardware |
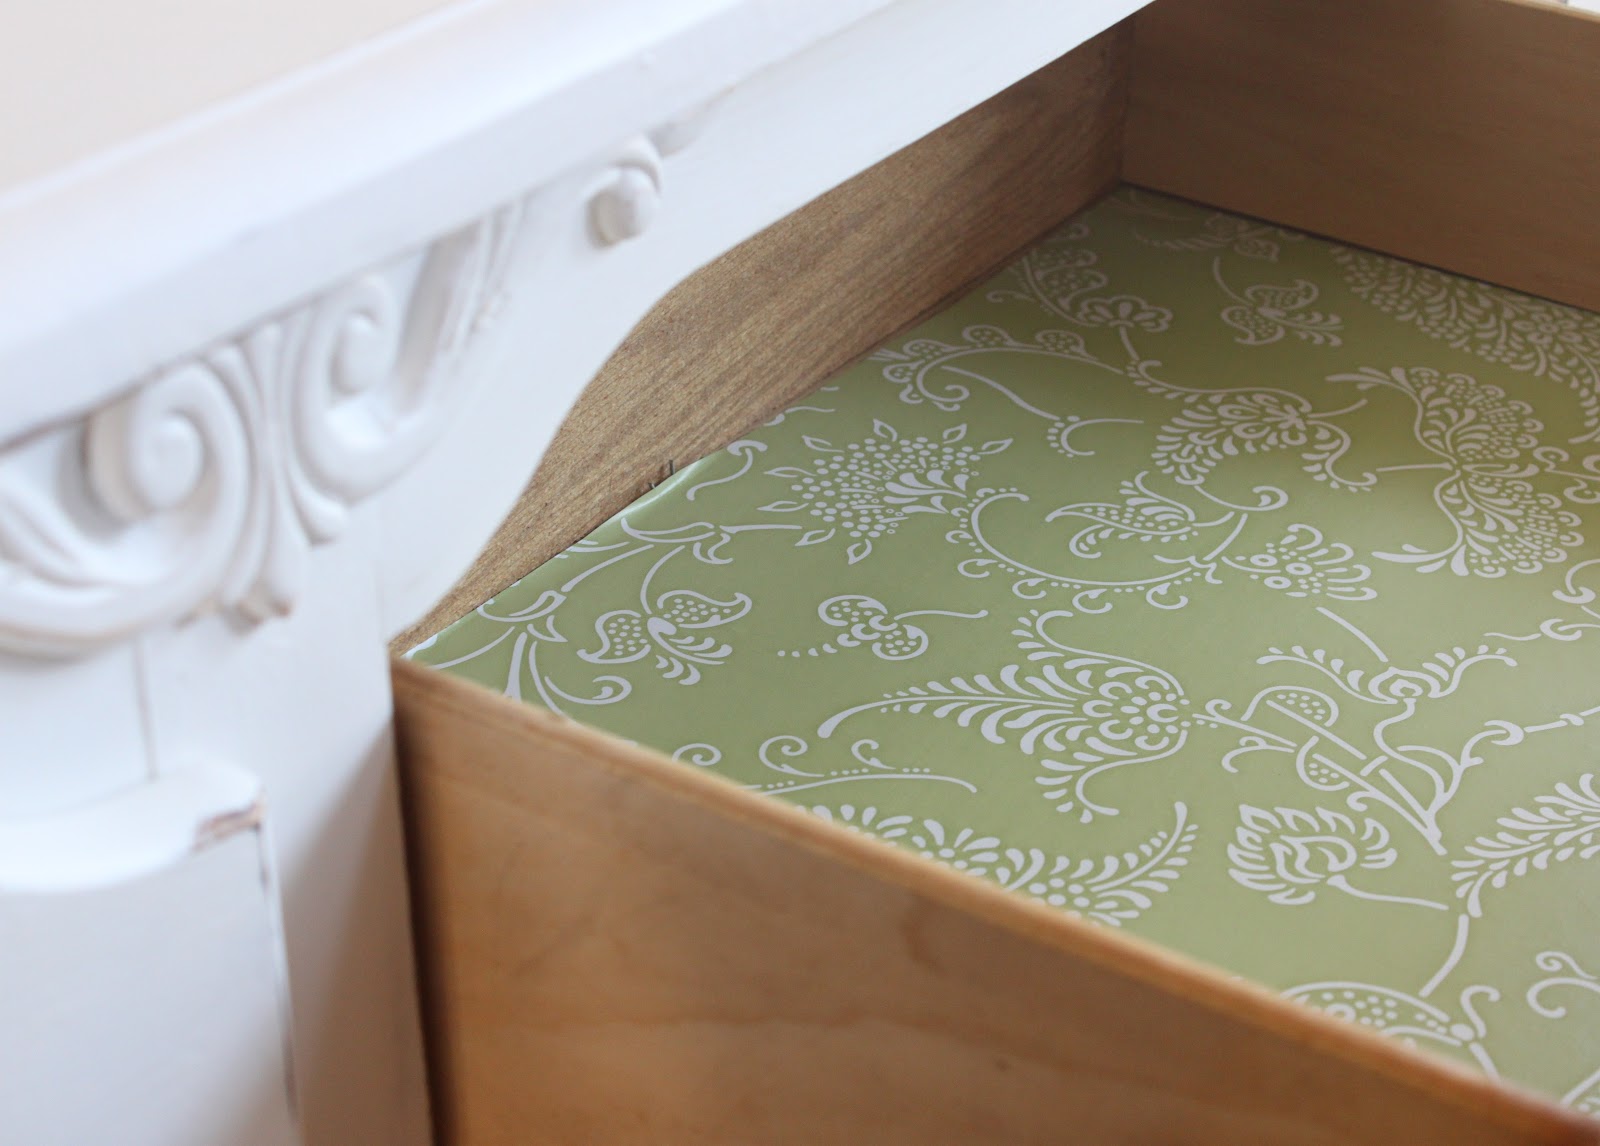 |
| contact paper lined drawers- This pretty one was from Target! |
Caulk! Who knew? What an easy fix! File this tip away for the next time you have a gap to fix!
Great tip…who knew? Thanks!
Stacey of Embracing Change
What a beautiful transformation!! Great job!
What a great idea! And it turned out fabulous!
The dresser turned out great! I kept checking to see how it turned out and you didnt disappoint.
I figured the white caulk would work because we were already painting it white but after talking with my husband he said it didn't matter either way because the tube we had was paintable!
Thanks. This was a freebie off Craigslist and I wasn't sure how it was going to turn out!
Thanks Jennifer! I loved seeing the beautiful pictures of your daughter's the other day on your blog. They are precious! My babies will be 3 and 1 this summer. Time goes so fast!
Thanks Allison!
Great idea! Must remember to use when needed! Thanks!
i love its new soft and pretty look! the painted hardware makes a huge difference, too!
Hopefully I won't forget either!
Thanks Cassie. It was my first time painting the hardware the same color as the piece! I'll definitely do it again. 🙂
Ha! I use it all the time and your right its a gem:) LOVE LOVE LOVE this dresser you did its truely Gorgeous!!! Great job,Deidre http://simplysimplisticated4.blogspot.com
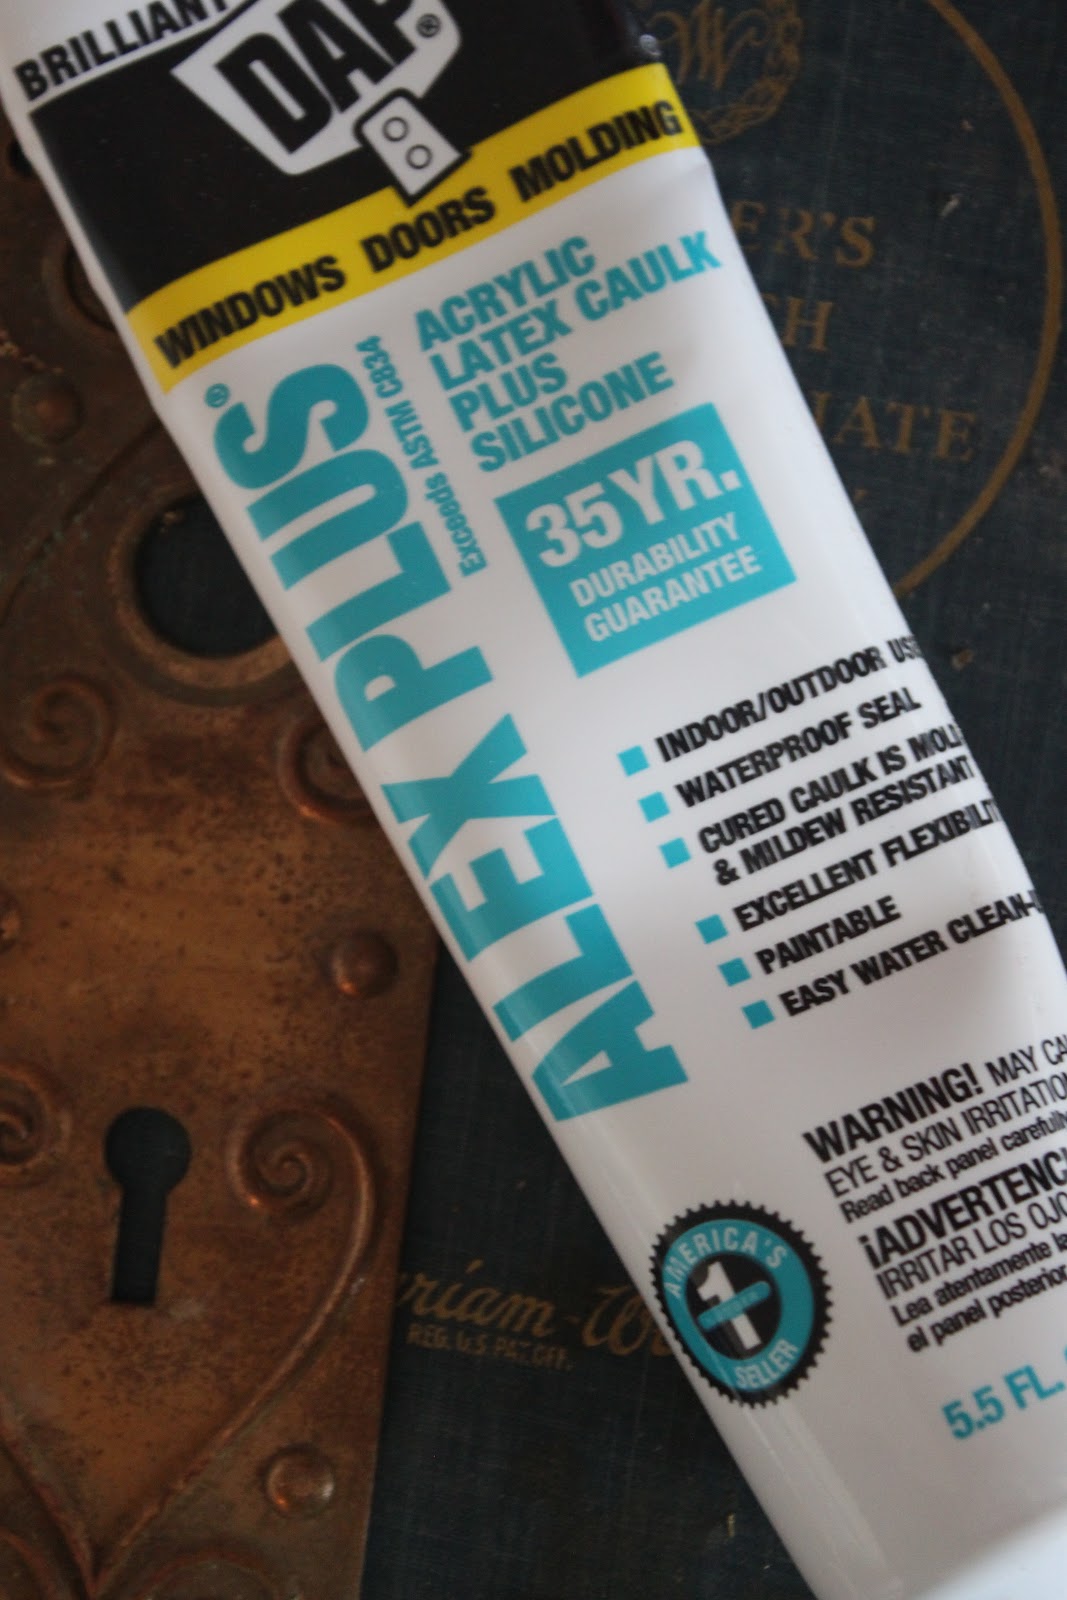
Thanks. I was so glad I thought of it because it worked perfectly! We used some DAP. Alex Plus Acrylic Latex Caulk plus Silicone we had on hand! For anyone else interested it has a 35 yr guarantee, indoor/outdoor, waterproof, mold/mildew resistant, flexible, paintable, easy water cleanup!
Great tips – surely I will need this someday :o)
Thanks for linking up to my Creative Inspirations party!
Please come back Thursday to link up again!
Stacey of Embracing Change
Wow! That's a great tip! Thank you for sharing:)
I definitely made a difference on this piece! Not sure that it would have looked very good if I couldn't get those gaps taken care of!
Thanks for stopping by Karen! I thought other people might like to know that there is a way to save a gappy piece of furniture without much trouble!!