At the end of last week I posted a set of end tables I made as a wedding present for a friend from college. Let’s take a look at the finished product again.
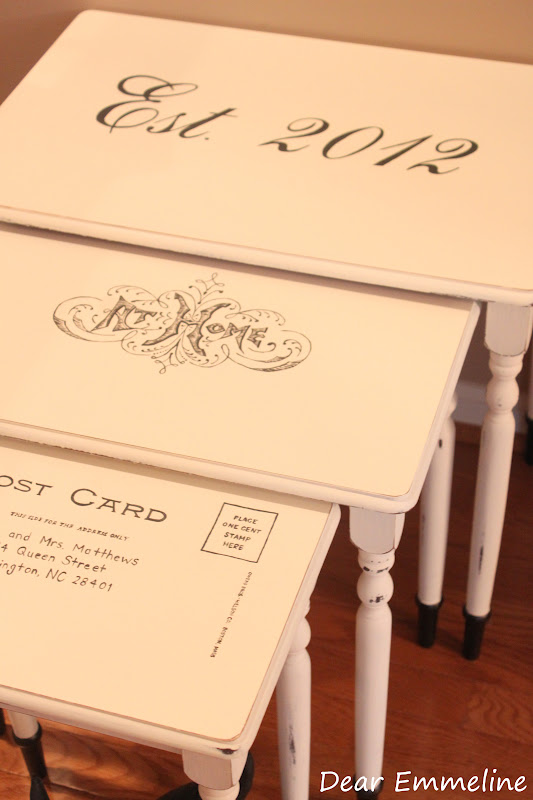
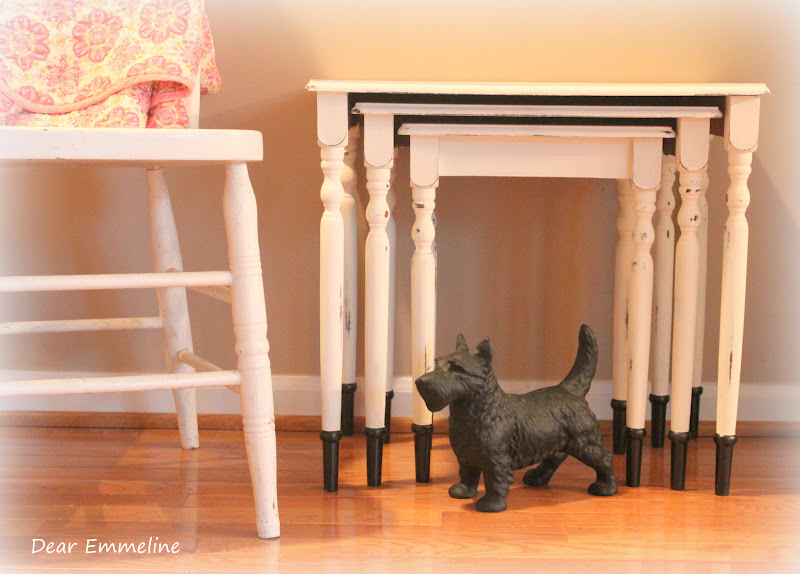
I started this project by painting the tables in Old White Annie Sloan Chalk Paint. Next, I taped off the legs just above the “bump” and sprayed the tips in Oil-Rubbed Bronze spray paint. I wanted to give the illusion that the tables had metal caps similar to the real ones on my Casters and Curtains table set.
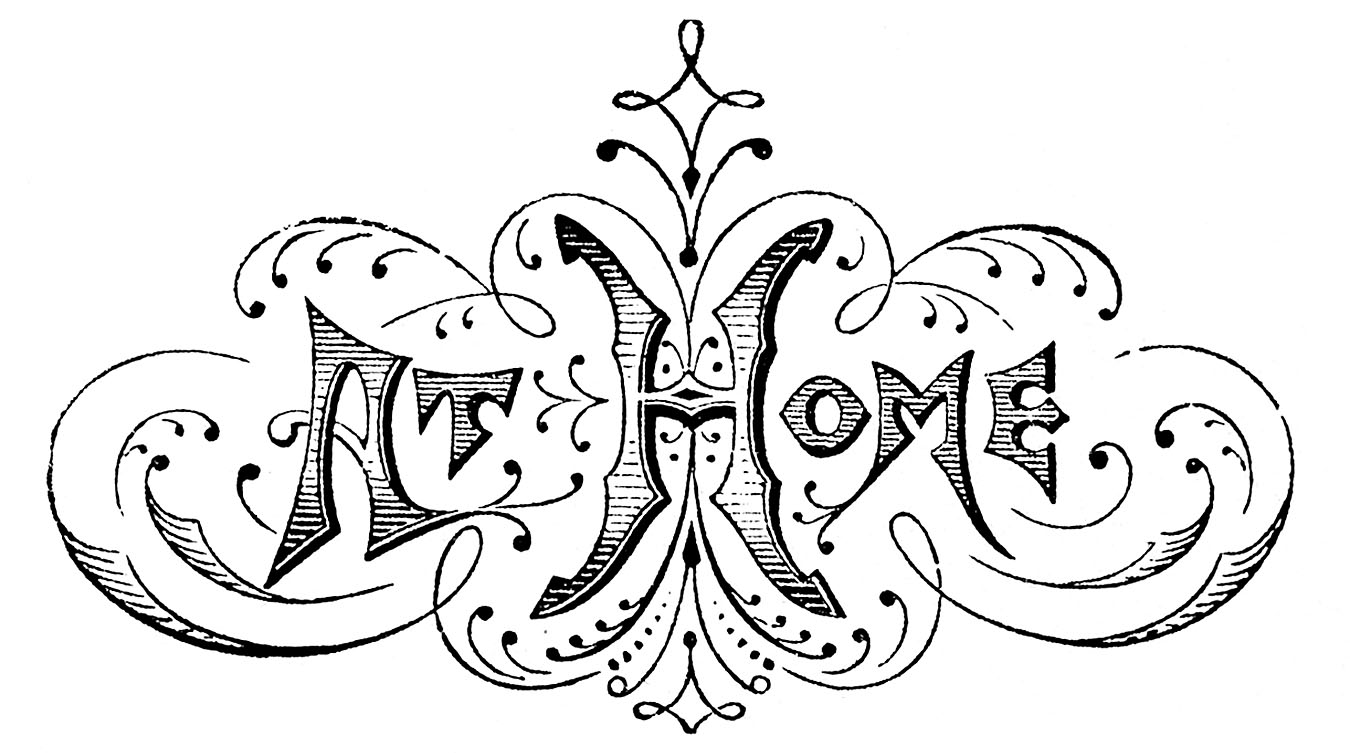
Now for the fun part! I headed over to The Graphics Fairy with a plan in my mind and found an At Home graphic:
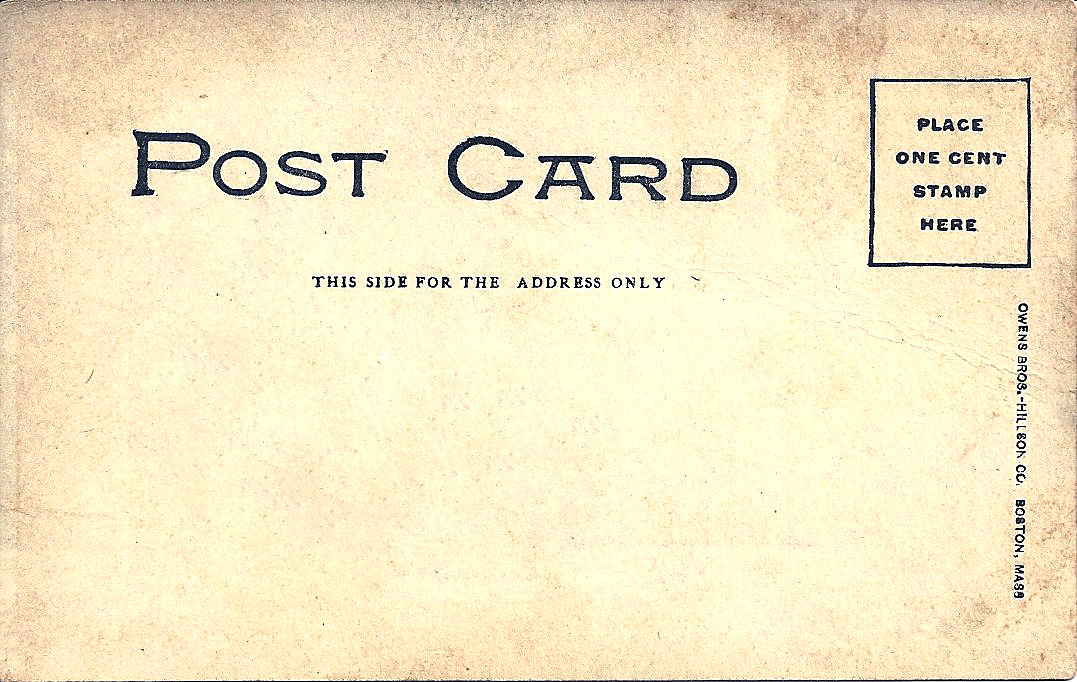
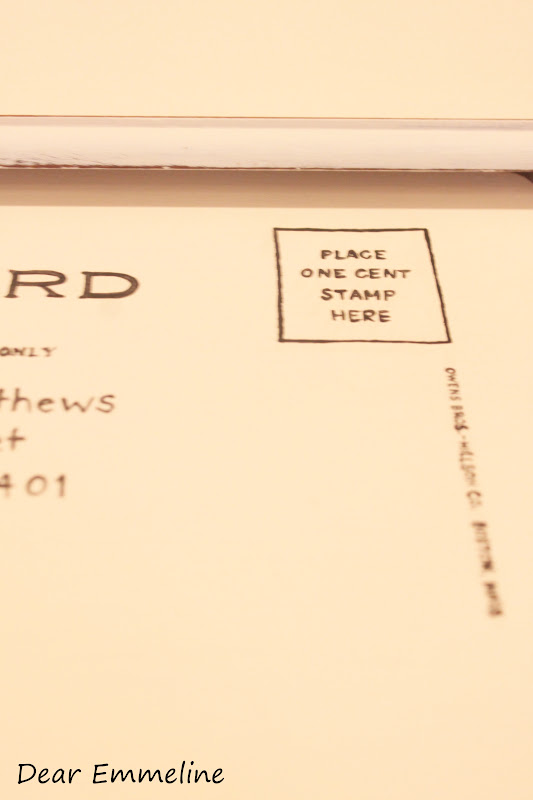
and a Vintage Post Card:
Neither of the images were reversed so I saved them to my computer and reversed and resized them in the Paint program. I also found a script font and created a Word document the said “Est. 2012”. I used the same process to reverse the text.
Once all of the images were reversed and resized I printed them out. Depending on the final size of your image you may need to print it in several pieces and tape it all together.
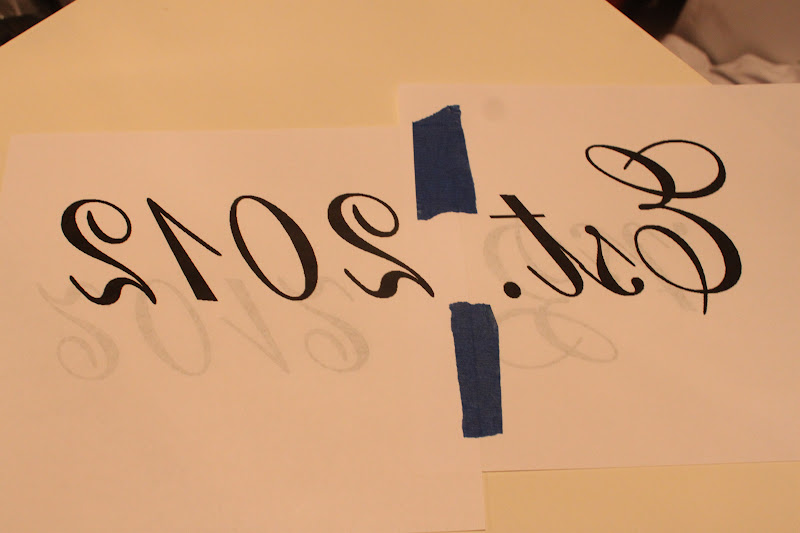 |
| As you can see I messed up on the first print out and forgot to reverse the text! ;p |
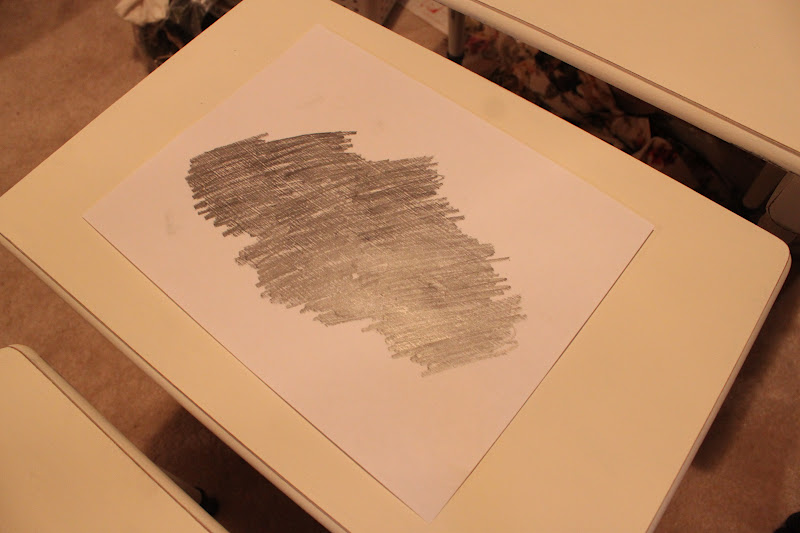
I don’t know if there is a technical term for this transfer method but I simply flipped the images over onto the tables and lined them up where I wanted the image to be. Then I used a pencil and scribbled all over the back of the paper to transfer the printer ink onto the chalk painted surface (I do not know if this would work with other types of paint or not).
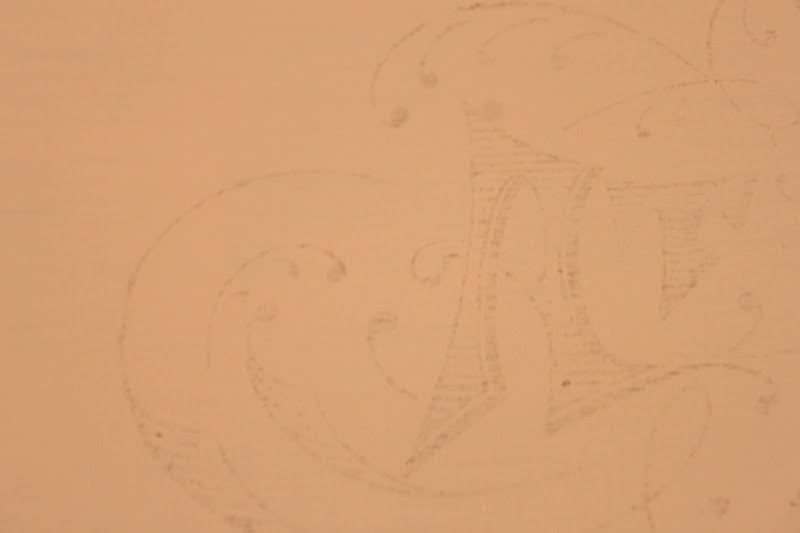
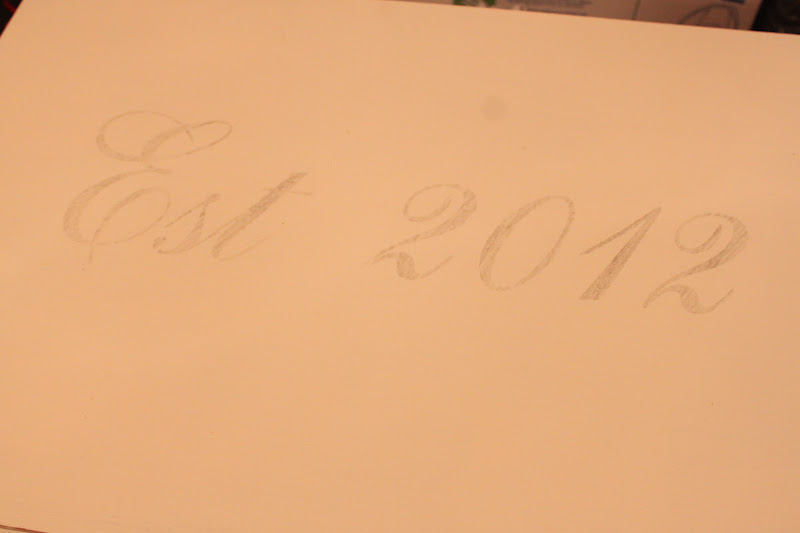
Images transferred!
A few fine tipped paintbrushes, some black paint, and a steady hand later…
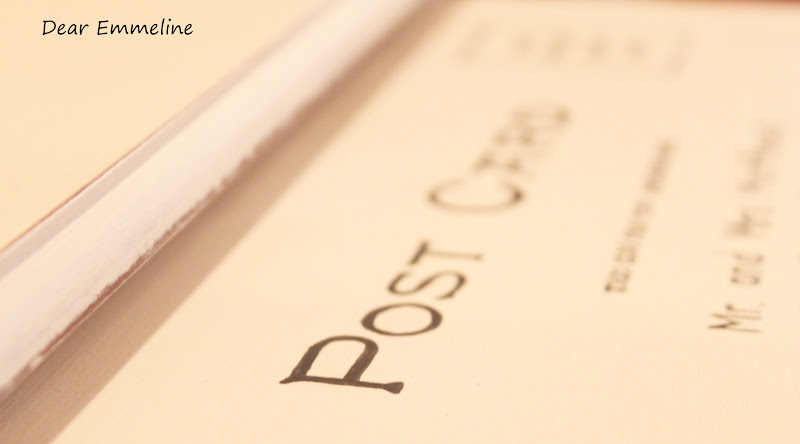
To further customize the set for my dear friend I addressed the post card to the married couple at their home address!
Finish it off with a little distressing and a coat of wax and they are ready to gift to the bride and groom!
Do you have any good image transfer methods to share? Let us know!
Beautiful project. I love it.
so sweet! the little feet are my favorite part!
These are adorable and would make such a great gift.
These tables are beautiful! What a wonderful wedding present. Thanks for showing how you did the transfers. Visiting from The Shabby Nest link party. ~ Jamie
This is such a beautiful project and a very personal one for your friends. I love one-of-a-kind pieces and I bet the newly weds will too. Gorgeous!!
I'd love it if you'd consider sharing this at Shabbilicious Friday. It is so perfect for our shabby, French and vintage round-up. 🙂
I love the nest of tables I bet the newly weds were happy with them.
just lovely! i tried this technique on a dresser that was painted with interior latex paint and it WORKED! "Merci!" 😉
what a great gorgeous gift!
All I can say is WOW!!!! They came out gorgeous!! Amazing talent!!
Mickey
Beautiful Work! Your design and workmanship are wonderful! ~Kristie
Saw your beautiful nesting tables on The Graphics Fairy. Lovely work! You have quite a steady hand too.
http://cinnamonpink.typepad.com/
Hi…I found you at The Graphics Fairy. These nesting tables are adorable! I'm sure your friend will enjoy them for years to come. What a special gift. I'm now a follower. Blessings ~ Judy @ http://addicted2homedecor.blogspot.com
These are gorgeous, what a fantastic idea and a very special and individual gift – thanks for the inspiration !
What a wonderful gift! You did a beautiful job.
Love these! Great project.
Totally adorable!
Smiles, alice
Really lovely tables. Wish I had received such pretty wedding gifts!
Thanks for linking up Jessica!
Stacey :o)
I love the look and sentiment of these tables! this week I did transfers to a buffet using Modpodge and no hand painting is involved in that process. I posted about it here http://www.itsallconnected.ca/2012/06/phase-i-of-dining-room-suite-redo.html
Following you now so I don't miss any of your great ideas! ~ Maureen
This is lovely. What a special and unique gift they can always treasure. I love the graphics and your tutorial. Thank you!
These are beautiful! I've been wanting to transfer images on a few projects and I enjoyed your tutorial. Love how these turned out.
Hmmm, I wonder if that would work with a laser printer?? I've been doing many transfers, and I do it opposite of you – I print it out in its original format, color the back with pencil, pencil side down on the wood, and trace my template with a pen, which transfers the pencil onto the wood (make sense?!) however, i'm getting annoyed with the indentations the tracing makes into the wood… I'll have to try your method and see if it works!
PS, I've seen your work around a lot lately, you are getting featured like crazy! 🙂 But finally came to you through Stacey from Embracing Change – I'm a huge fan of hers 🙂 Now a new follower of yours ! 🙂
Leanne @ http://www.becauseithinkican.com
I'm trying this with no luck getting my print out to transfer. What kind of printer did you use? My Inkjet doesn't seem to work.
Hi Elyse. I think it's a canon (printer, scanner, copier). I transferred it onto chalk paint but I was told it worked on a laytex paint as well from another reader. I try to transfer as soon after I print as possible just in case fresh ink helps with the transfer process. Fine lines do not transfer as well. You have to make sure you a pressing pretty hard and being very intentional about hitting every spot. It can be a pain and cause wrist cramping :0 but it has worked for me. I have also heard of coloring the image with chalk flipping it onto your furniture surface and then tracing the image from the outside of the paper to transfer. I haven't tried that method yet but I've heard quite a few bloggers mention it and it seems like it might be easier with similar results! Hope that helps!
Wow!! I love love love these tables!
These tables are great.. Nesting tables always look wonderful but your method on them put them over the top. Now a follower… Hugs, Cindy
LOVE them! Would ironing the printed pages on the wood work? I'm gonna have to try it.
I have no clue Laurel. I've never heard of that as a method but that doesn't mean it wouldn't work. I do think the chalk method which is similar is probably easier. Rub chalk over back of paper, flip chalk side down and trace image with a pencil, and the chalk should transfer, then paint in chalked outline.
LOVE your tables 🙂
Are you using just straight up printer paper, or a special sort of transfer paper?
I wonder if you could use a credit card or some sort of straight edge to transfer the ink onto your work surface 🙂
I can't wait to try this, and I love what you did with the spray paint at the bottom of the tables. that is thinking SMART! 🙂
Thanks for the inspiration – I love it 🙂
OH! And I have an HTML Template that I use on my blog when I'm linking up to put all the "link" buttons into a nice neat format – I'd be happy to send that over to you if you'd like it 🙂 Lemme know – you can see it at work here:
http://sunflowergal74.blogspot.com/2012/12/oh-christmas-tree.html
Thanks Kisha! I did just use printer paper. I've seen other transfer methods since this that would probably be less labor intensive. This method can be tiring on your wrist and arm. I tried to find an email to message you and couldn't find one on your blog. I'd love to see your template! dearemmeline (at) aol (dot) com
I also love your tables! I have a lot of vintage embroidery transfers. I'm going to get some scrap wood and see if that will iron onto wood. the lettering is already reversed. I'm in the process of re doing my sewing room and I have a desk that i'm trying to figure out what to do. you have given me food for thought thanks. kathleen
I also love your tables! I have a lot of vintage embroidery transfers. I'm going to get some scrap wood and see if that will iron onto wood. the lettering is already reversed. I'm in the process of re doing my sewing room and I have a desk that i'm trying to figure out what to do. you have given me food for thought thanks. kathleen
I also love your tables! I have a lot of vintage embroidery transfers. I'm going to get some scrap wood and see if that will iron onto wood. the lettering is already reversed. I'm in the process of re doing my sewing room and I have a desk that i'm trying to figure out what to do. you have given me food for thought thanks. kathleen
Thanks Kathleen! Vintage embroidery transfers sound like they would be so neat! I've been in the process of working on my craft/sewing room too! Hopefully it will be together soon. 🙂
Dear Emmeline. I just saw your project on the Graphics Fairy site and had to come right over to check it out. I have a table I want to use as a dining table for my husband and I. I know I want to use chalk paint and add a neat graphic, but after months of searching I have not found anything I like, until now that is. I love the AT HOME graphic and think I will use it. Now I am off to snoop around your site to see what other awesomeness I can find.
I'm so glad! I'd love to see the table once you've finished it!
I have had pretty good luck with Saral wax free transfer paper. On the back of envelope it says..for precision tracing on any surface.