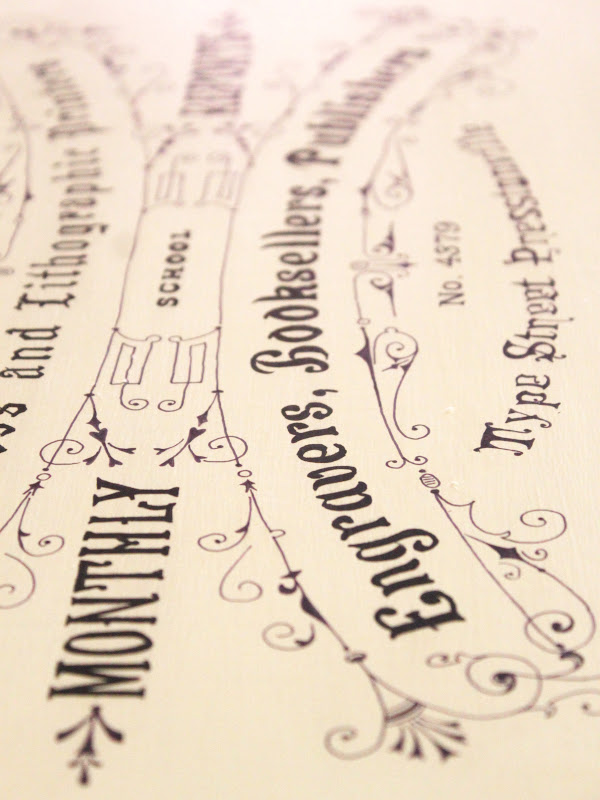
I did it again. I wanted a graphic for a plain Jane bookcase spruce up, so I headed over to The Graphics Fairy and found this lovely image from an 1880’s type book.
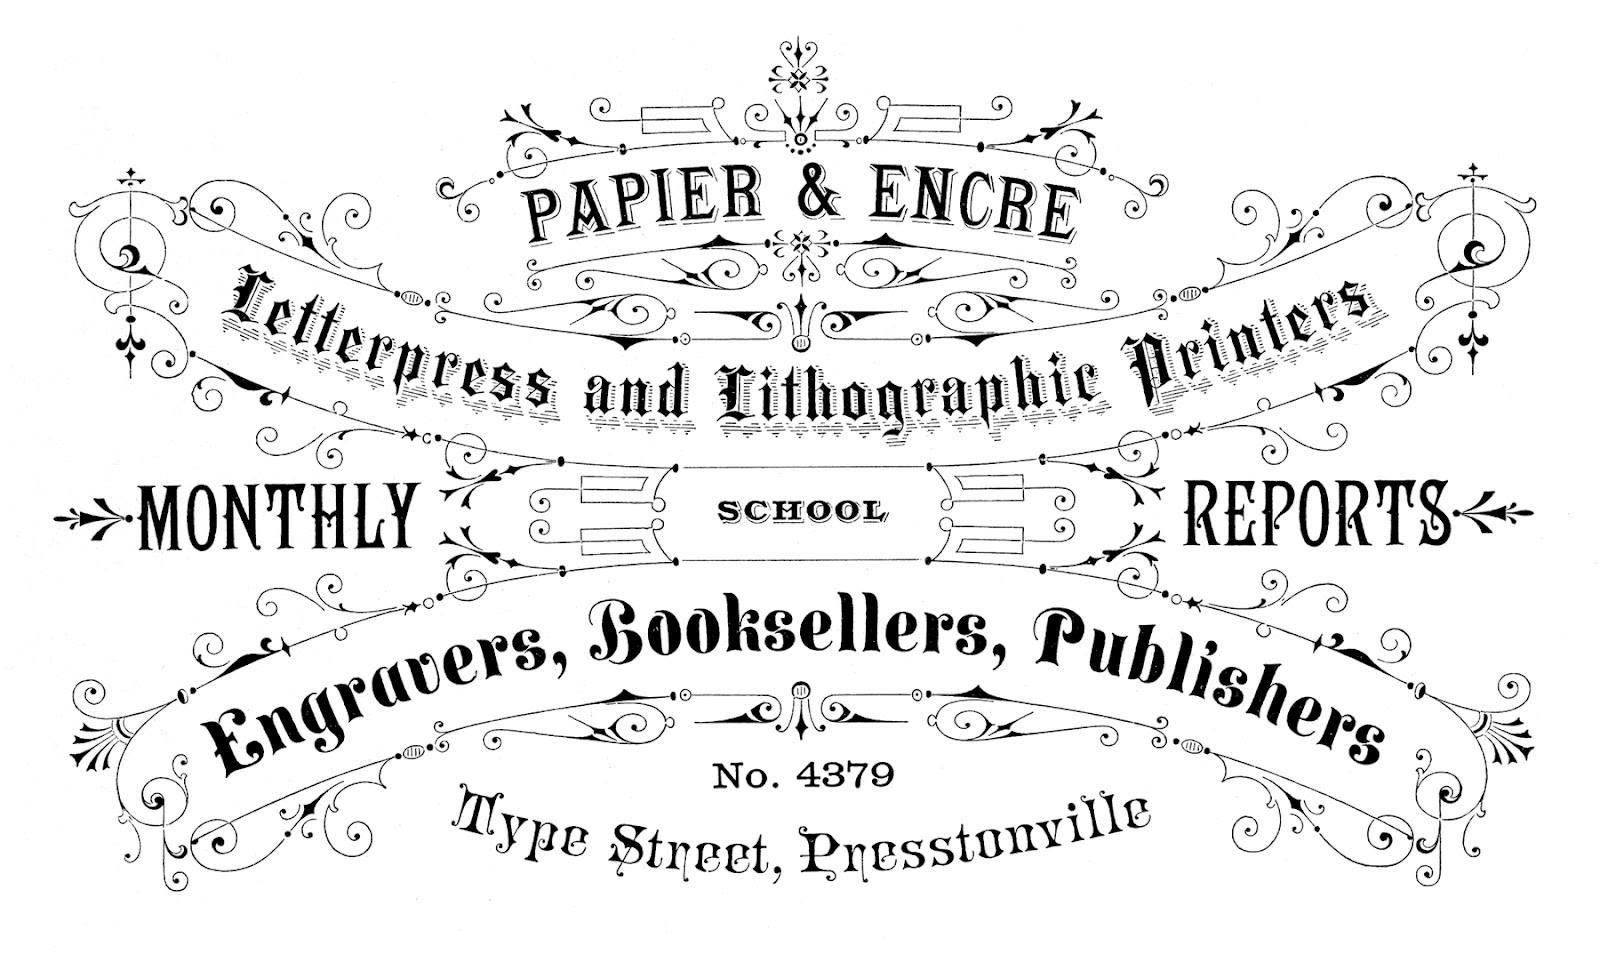
Thematically, it is the perfect graphic for a bookshelf!
First things first, I set to using up some cans of Annie Sloan Chalk Paint. The exterior of the bookshelf was painted in Old White and the interior and shelf lip that extends to the outside of the piece was painted in French Linen.
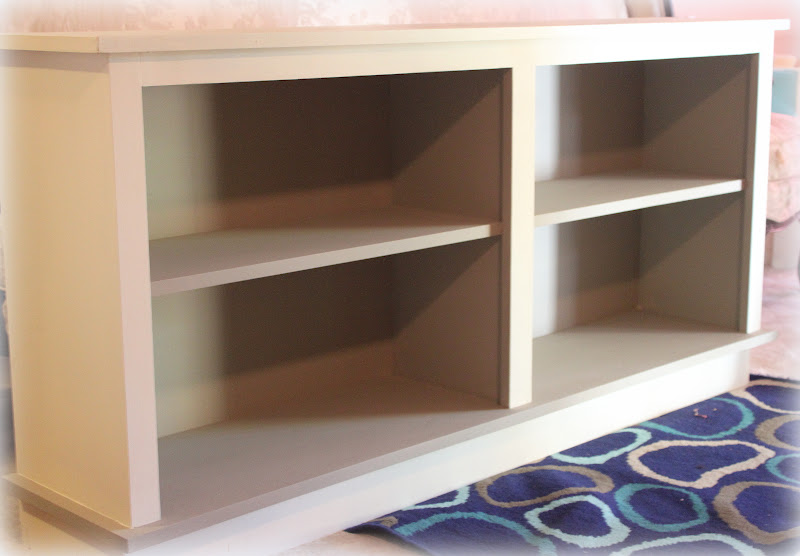
Please excuse the sub par lighting. I painted and have this stored down in the dungeon basement and a) couldn’t haul it upstairs by myself to take photos, and b) I currently have no space upstairs to haul it to!
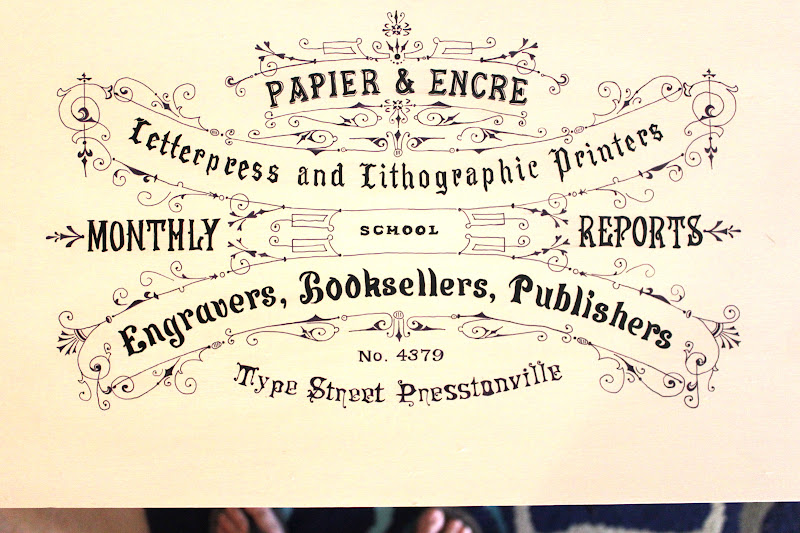
I then used the same flip the image and pencil rubbing transfer method from my Wedding Present Tables tutorial.
Because of the fine lines in this image some of the graphic did not transfer very well. It was my own fault though! I should have taped one side down and lifted to check the transfer progress and re-rubbed the areas that didn’t transfer as well…..but I didn’t so I had to basically freehand parts of the image by looking at my original printout….takes more time and starts to play tricks on your eyes. Learn from my mistake!! Please, save your eyes!
After the image was transferred I busted out a fine tip paint pen and set to work on filling in the text. Fine line? Phooey! Not so much. I finished up most of the larger bits of text but it was quite obvious to me that the paint pen was NOT going to cut it for the smaller text and details.
Enter genius idea!!! Fine tip Sharpie! Not only did it work but I don’t think you can really see a difference! What do you think?
A little Sharpie painting tip: have a piece of paper or notepad handy to scribble on when the tip gets a little gummed up. It doesn’t actually get gummed up but the ink WILL stop flowing and you will need to do a couple little scribbles to get it flowing again.
I wasn’t sure if I was going to need some sort of spray sealant so that the image didn’t get smudged but I tested my Annie Sloan Clear Wax on the little graphics I painted on each corner and it worked!!
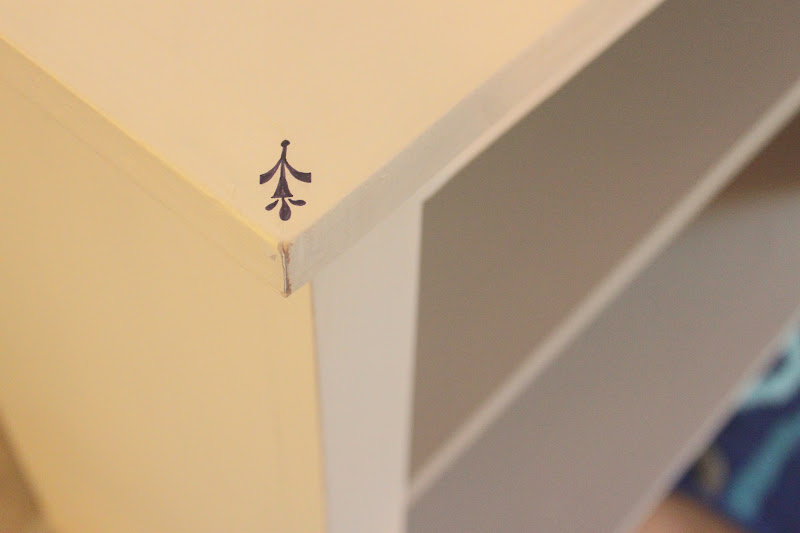
No smudging!
So onto the main image I went with complete success.
I can safely say that my new go to for detailed images will probably be my trusty Sharpie. Who knew?!
Genius, Emmeline! Who knew…??? lol! Beautifully done and thanks for sharing that tip! 🙂
xoxo laurie
Great idea! Did you put a wax on top to protect the transfer?
It looks PERFECT!!!
Sure did! I was afraid it might smudge so I did a test area but it worked so I waxed the entire top! 🙂
Emmaline I'm so impressed with all the work you did tracing that intricate design. My table top wasn't so detailed and you did a beautiful job. I love it. Thanks for coming by my blog and leaving kind words. I'm a new follower. Peggy~PJH Designs pjhdesignsoneofakind.blogspot.com
Lovely job – its perfect for your gorgeously painted bookcase – lovin the colour combination!. CJ
I love the transfer! It really adds a unique detail to the bookcase!
Wow, love all the detail! I don't know that my over 50 eyesight could handle all those fine lines! 🙂 Thanks for the sharpie tip!
Beautiful! You did a wonderful job on the transfer.
Dee
i heart sharpies too – what could we do without them!
You have such a cute blog.
amazing detail! Did you find that the image wanted to rub off on your hands as you were applying the Sharpie? I was wondering if you sprayed over the letters with some clear sealer before you started to draw over it or if it would get all over your hands!