A $20.00 yard sale score finally gave us the dresser we needed for our son’s room.
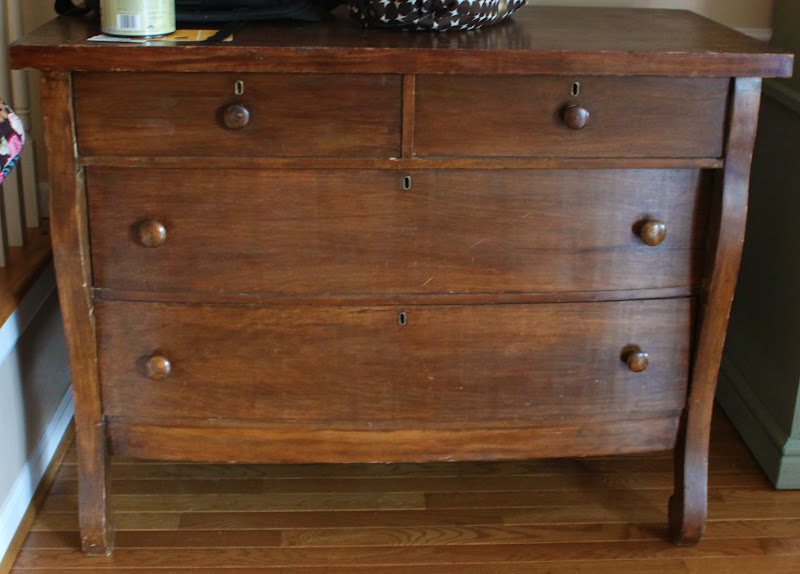
Out with the changing table, in with the dresser…well sort of. The edges of this piece were quite dinged up so the piece needed a bit of work. Plus the mirror frame was missing the mirror so we had to figure out a solution for that as well.
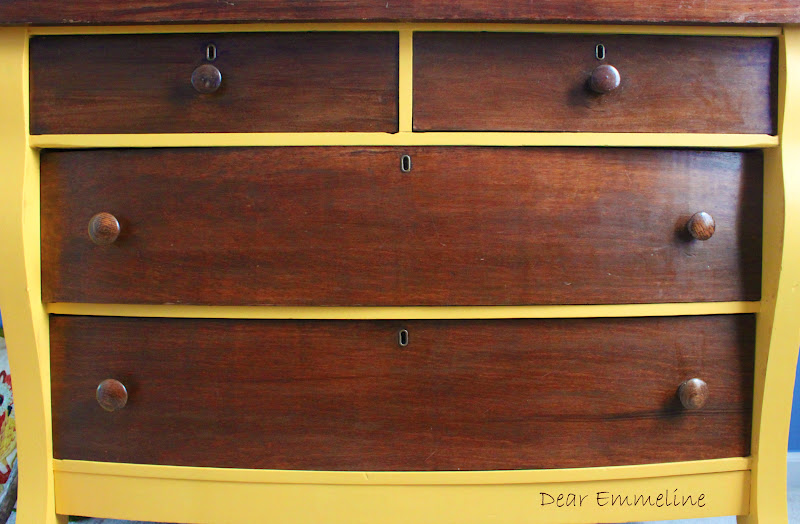
We decided to keep the drawers, top, and mirror frame wood tone. A little Old English Scratch Cover and Old English Lemon Oil and the wood looked pretty much good as new. The more major scratches faded down to give the piece a worn but not dry and scratched up look.
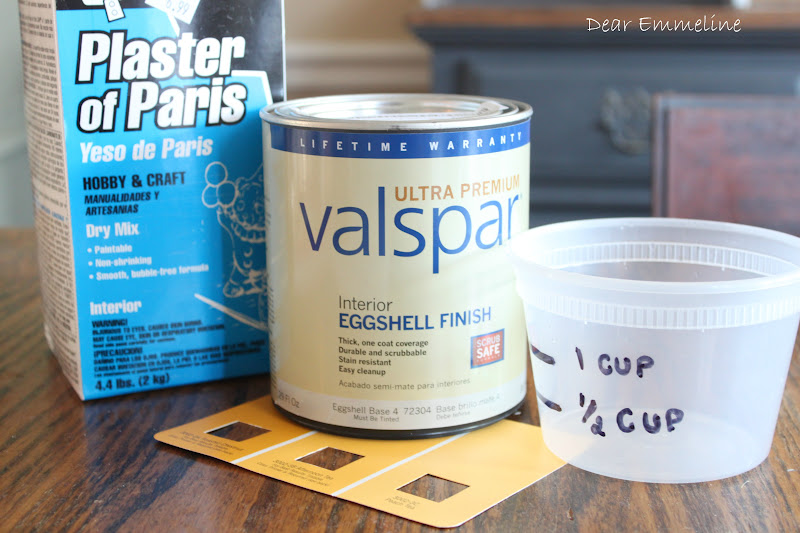
Next, time to pick a paint color (Afternoon Tea- Valspar, check) and mix up a batch of DIY chalky finish paint (check). I used a recipe that was recommended by Cassie of Primitive and Proper. 1/2 cup water, 1/2 cup Plaster of Paris mixed up and then added to 1 cup paint. Cassie told me she just eyeballs it but my husband measured it out with our fancy DIY Chinese food container measuring cup. If I use this recipe again I think I definitely will dump in some more plaster and less water because our batch was super runny and took a good 3+ coats to cover and when I went back over parts that hadn’t quite dried the paint lifted right back off.
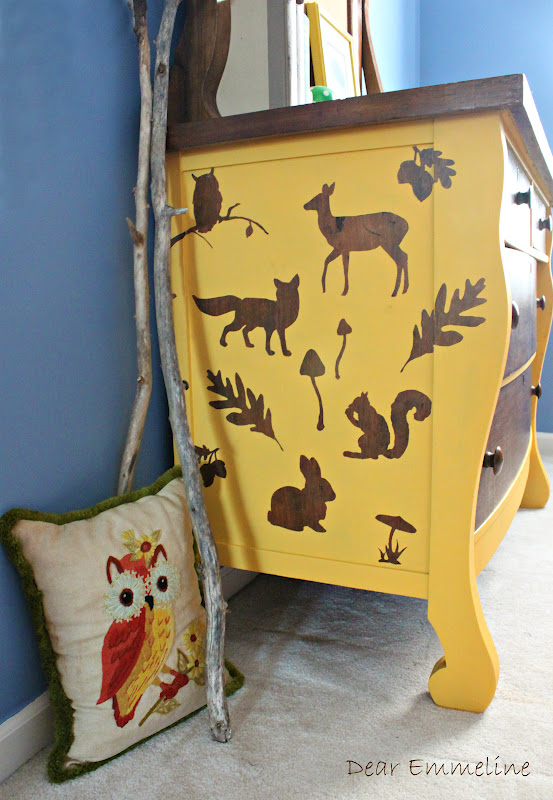
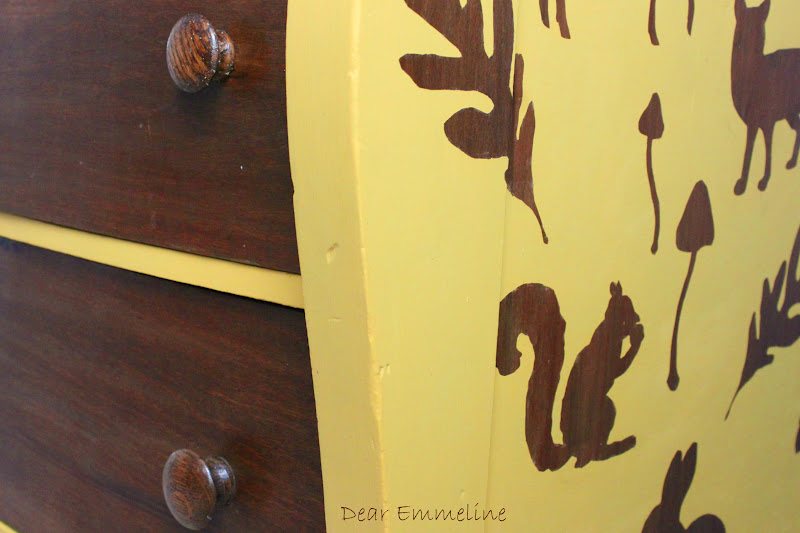
My son’s room is decked out in owls and I wanted to incorporate some other woodland animals sooo……..I went down to the computer and hunted for woodland animal silhouettes, shapes, clipart, etc until I found ones I liked. I resized them in Paint until they were the size I wanted them (one the screen). Since our printer ran out of ink and we were out of backups I took tissue paper laid it across the computer monitor and traced the shapes.
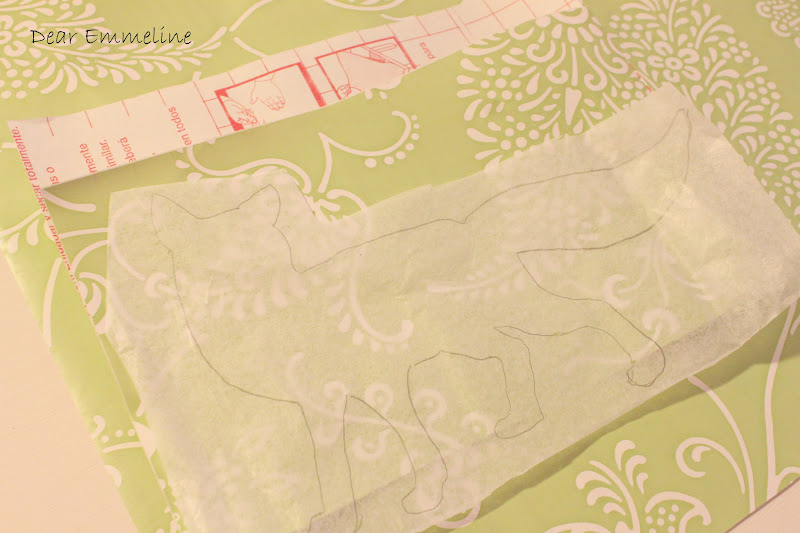
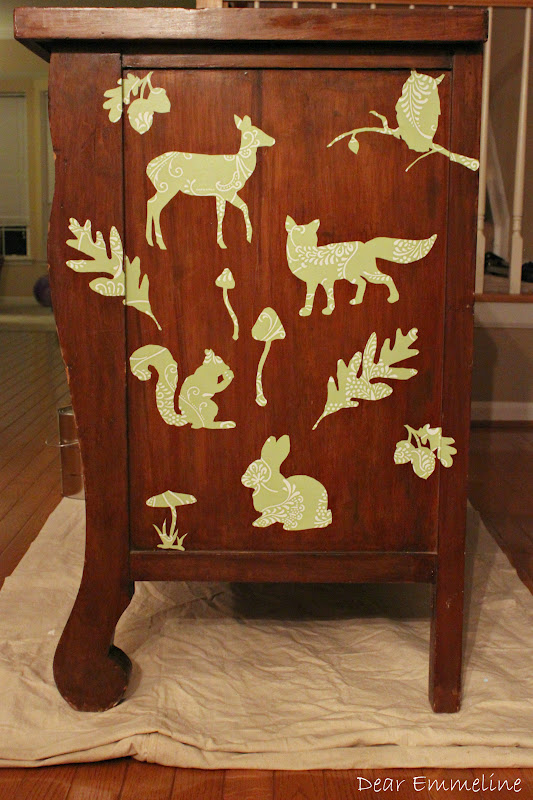
I laid the tracings over contact paper to create reverse stencils for the sides of the dresser. Since I needed the same images facing opposite directions I folded the contact paper and stapled the tissue to it before I cut. Once it was cut I had two contact stencils each facing opposite directions. Then I laid all my stencils out in mirror image layouts on the sides of the dresser.
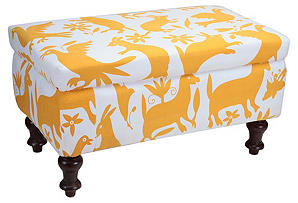
I was loosely inspired by this ottoman I saw on Joss and Main.
After painting I tried to peel off the stencils while the paint was still a wet (because I read you should do so) and to my shock and horror some of the paint started to peel up too…NOOOOO! Because the paint was watery I also had a little bleeding under the edges of some of the contact paper as well. Seriously?! Can I ever catch a break? Well my remedy was to take a paint brush and touch up the spots that peeled up and to take baby wipes and wipe (to wet) and scrape off the excess that bled under. What I should have done was use real chalk paint which will not peel up and has a nice thick consistency so it probably wouldn’t have bled under. Oh well! You live and you learn! Despite my technical issues I ended up with what my husband has dubbed as “his favorite piece I have ever done”!

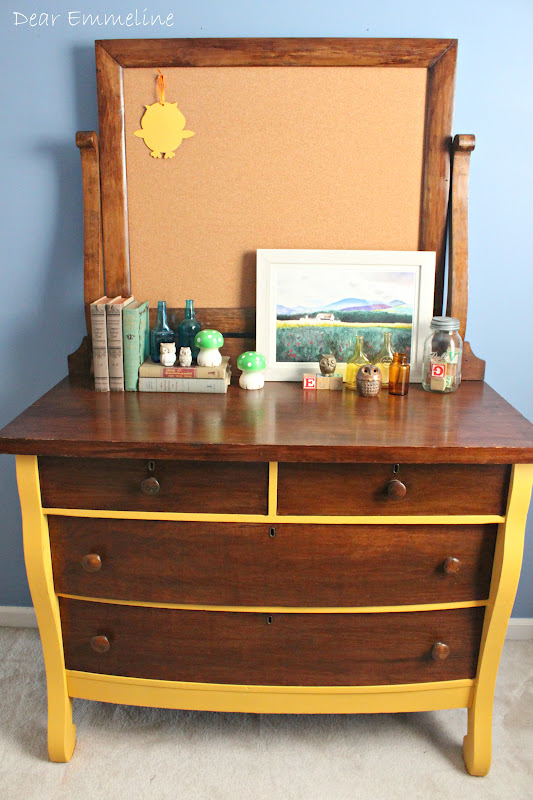
As you can see our missing mirror was replaced by using an old cork board we had lying around. My dearest husband cut it to fit then cut backer board to stabilize it and nailed it down around the back or the frame. Now it’s the perfect spot to hang mementos or art!
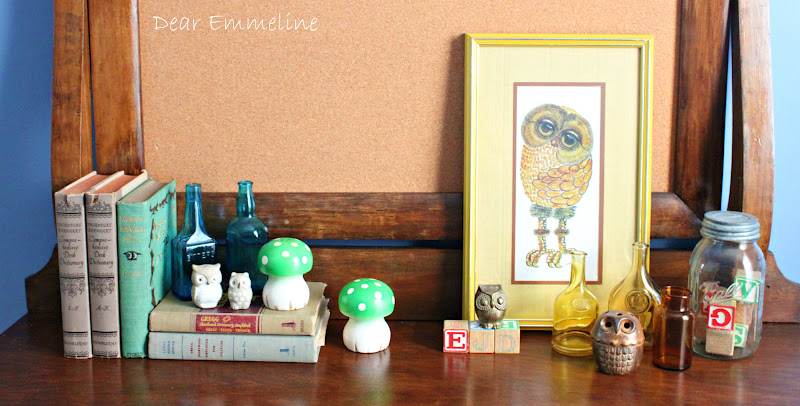
Here’s a few more peeks at the dresser and the artwork and trinkets we’ve been hoarding collecting for Everett’s room.
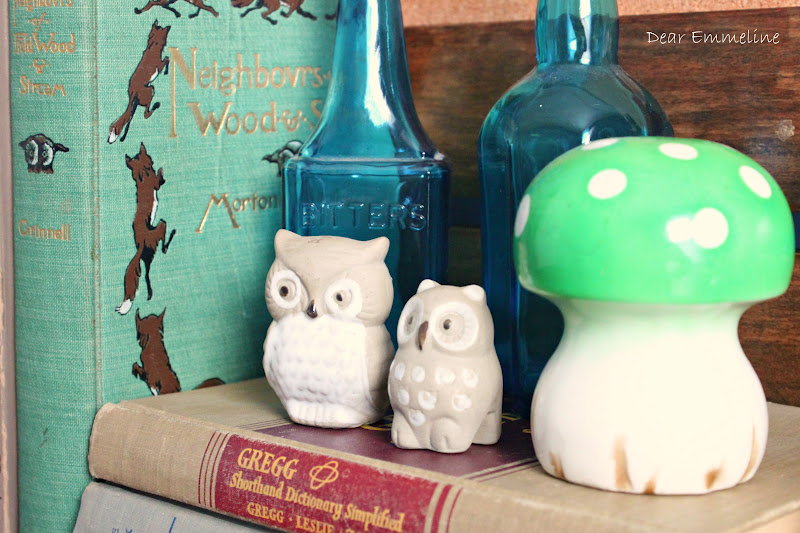 |
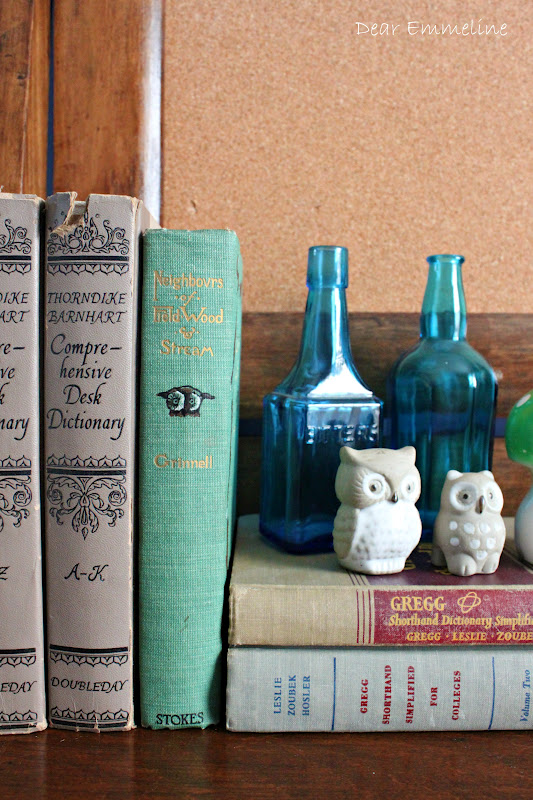
| How fabulous is the vintage Neighbovrs of Field Wood & Stream book we found at a yard sale?! |
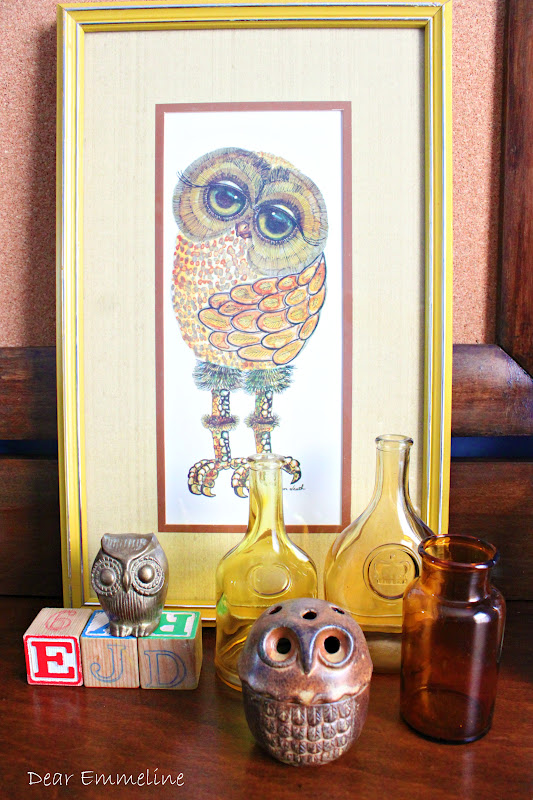 |
| I love the painting we found at a consignment store and it came with a perfectly complementing yellow and gold frame! |
Bonus points if you noticed I swapped out the artwork. 😉 Trying a few different options never hurts!
Thanks for visiting. Hope to see you again soon!
This is very neat! I bet your son loves it 🙂
Fantastic! I love how you did the reverse stencil and we're big owl fans over here so all the owl accents are adorable!
Angela
That looks great! A $20 find – wow! I am a little green with envy – really cute! Love the yellow two-toned look.
Stacey :O)
SO cute with the cheerful yellow!
This is so incredibly charming!
Thanks so much Deme!
absolutely love it – unique and fresh!
Cute idea with the dresser! I have a desk that looks a lot like that, minus the stencils. Yellow frame with wood drawers. Very cool 🙂
That is GORGEOUS!!! I love the whole room!! I am a big owl collector. 😉
StacySewsandSchools.wordpress.com
Thanks Stacy! We are big owl fans over here too!
oh jessica, you totally got me on this one…. i am in love love love. tell my husband i am so sorry but i had to leave him for this dresser.
Love Love this! Super cute idea…………and we live in a cabin. Would so match our decor!
That's awesome Jessica! I love the yellow color you picked out and leaving all the wood unpainted definately makes it a more strong, masculine piece, if that makes sense!?
Thanks Rebecca! I completely understand what you're saying. It's one of the reasons we decided to do it….and how can you have a woodland room without some natural wood?!
Adorable! I've tried this technique a couple of times and I never get tired of how much fun it is! That is a darling addition to the room!
AMAZING X10!! I LOVE IT! pinning, pinning, pinning!
Absolutely amazing! I love love love it!
Love the woodland whimsy! Great job!
So cute! Love all the little animal silhouettes. 🙂
Wow, so much work – and love the little owls!
Thanks so much for linking up and grabbing a button. Good luck and feel free to follow us on facebook for all the contest updates!
Jocie@TheBetter Half –
I love the dresser makeover. It turned out so cute! Well done!
What an amazing dresser makeover! Super cute!
Thanks Michelle. 🙂
This comment has been removed by the author.
We must be on the same brain wave: First, I have that same contact paper and I love it! Every drawer and shelf in my house is lined with it. Two, I am starting a similar project this weekend. Sawdust and Embryos uses vinyl to do the same kind of treatment and they put a good coat of poly (they didn't specify "-urethane" or "-crylic," but I am guessing polycrylic) over their stencils so that there isn't any bleed through. Even so, I love what you did – it looks fantastic!
Such a cute idea with the animals. What a deal, too.
I think this is possibly the cutest dresser ever! Coming over from POWW!
That dresser is THE CUTEST! Way to go!
I love new motivation to buy Craigslist pieces! Such a cute design and perfect for little men!!
Oh I love the color and the woodland theme is darling!
It's darling! You did an amazing job! So sweet!
I am so in love with your dresser! Sweet!
So awesome! I love reverse stenciling and you have done such fabulous job! I'm sure your son is thrilled to have these creatures in his room. 🙂
Thanks Kathryn! He does love animals!
Oh, so cute! Great job!
I also love your vintage books, very wonderful vignette!
Besos from Argentina, Silvina.
Very cute! Loving the mustard yellow and owls. So retro.
Gorgeous. I've pinned it as inspiration for my living room. I'll be mentioning this piece on my blog this Friday. Thanks for inspiring me.
Christa from http://www.controllingcraziness.blogspot.com
This is amazing!! Seriously amazing! I have seen it floating around blogland and don't know why I never commented (bad Kelly)!!
From the animals to the fabulous idea to use contact paper to the color – I love everything about this. Everett is one lucky boy (and I love his little collections – the owls are a hoot)!
So glad you joined our Color party! Pinning this – so maybe one day I can be as fabulous!
Kelly
This is so incredibly awesome!!! Perfectly whimsical. I want one for our lodge … well, I want a lodge, too. 😉 Thank you so much for linking to our party!
I just love this dresser … I've seen it popping out at the linky party and so happy you shared at our Crazy for Color linky!
And your contact paper tips is one to file away … or pin away, which I plan to do!
🙂
Linda
I saw this on Pinterest! Thanks so much for the inspiration. I love the contact paper tip!
Thanks so much for joining our Color Party!
blessings,
karianne
You're featured today in Crazy for Color!
Kelly
Gorgeous makeover, despite your issues with the paint and peeling. It's so original and adorable!
What a wonderful idea for a child's room! Great job. And I love reading about your DIY chalk paint recipes & disasters (even though your pieces turned out wonderfully). I haven't gotten up the nerve to try my own, but I think I will try that baking soda recipe soon!
Thanks Kristen! 🙂 You should definitely try making your own!Popped over to your blog. Beautiful!
I am your newest follower.I can't believe your continued and repeated great furniture scores. What part of the country do you live in?
You've inspired me today!! I usually use purchased chalk paint – either ASCP or CCC. However I'm ready to try my hand at my first milk paint dresser this week. I think I'll leave the drawers natural like your son's dresser. Thanks for the inspiration!
Small House / Big Sky Donna
White Oak Studio Design/Hand-Painted Vintage Furniture Transformations
BLOG: http://smallhouseunderabigsky.wordpress.com
Facebook: donnaallgaierlamberti@facebook.com
Thanks Donna! We live in MD!
That has to be the cutest dresser redo I've ever seen! I absolutely love it. Perfect choice on paint color and natural wood ratio. Such a beautiful piece!
(I've attempted making my own chalk paint a few times but have never been happy with it.)
Seriously?!?! I LOVE this dresser! I was going through the links and was thinking this might just be my favorite and I am not even a little suprised to find that it is yours!!! Thank you so much for sharing it at the Thrift It party! I would have missed it otherwise! Goodness, one of these days I am going to have to sit down with a cup of coffee and just go back and check out all of your old projects!! :o) Hope you are having a great day!
Jaime