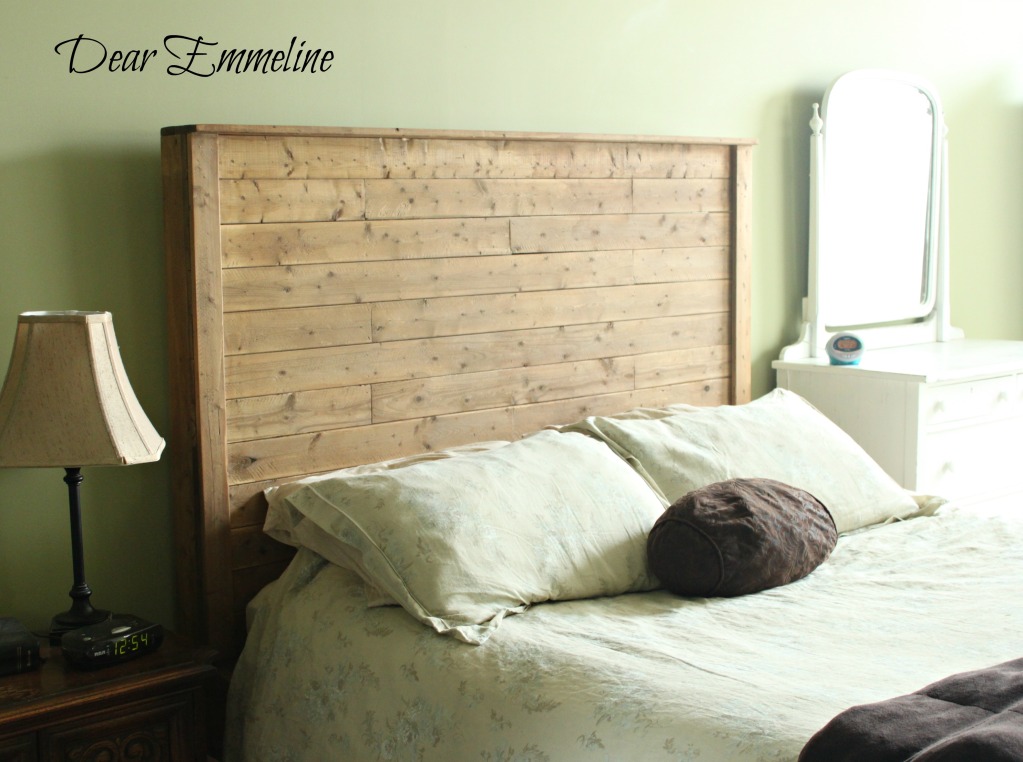
We revealed our new master bed last week. The low platform bed that our kids thought was their own personal jungle gym just wasn’t cutting it anymore. We experimented with different wood weathering techniques and settled on using apple cider vinegar and steel wool to create an oxidizing stain. We are very happy with how it turned out and are sharing our plans if you are interested in making your own!
Weathered Bed Plans
Materials (we purchased all of our supplies except the bed frame brackets from Lowes)
3- 2×4 =$2.74 each
1- 2x8x8 =$6.68 {side rail}
1- 2x8x12 =$9.98 {side rail & foot board}
3- 2x2x8 =$1.87 each
12- 1x4x8 (furring strips) =$2.42 each
4- 1x3x6
box of 2.5″ wood screws =$5.58
1 pack of bed rail fasteners =$13.69
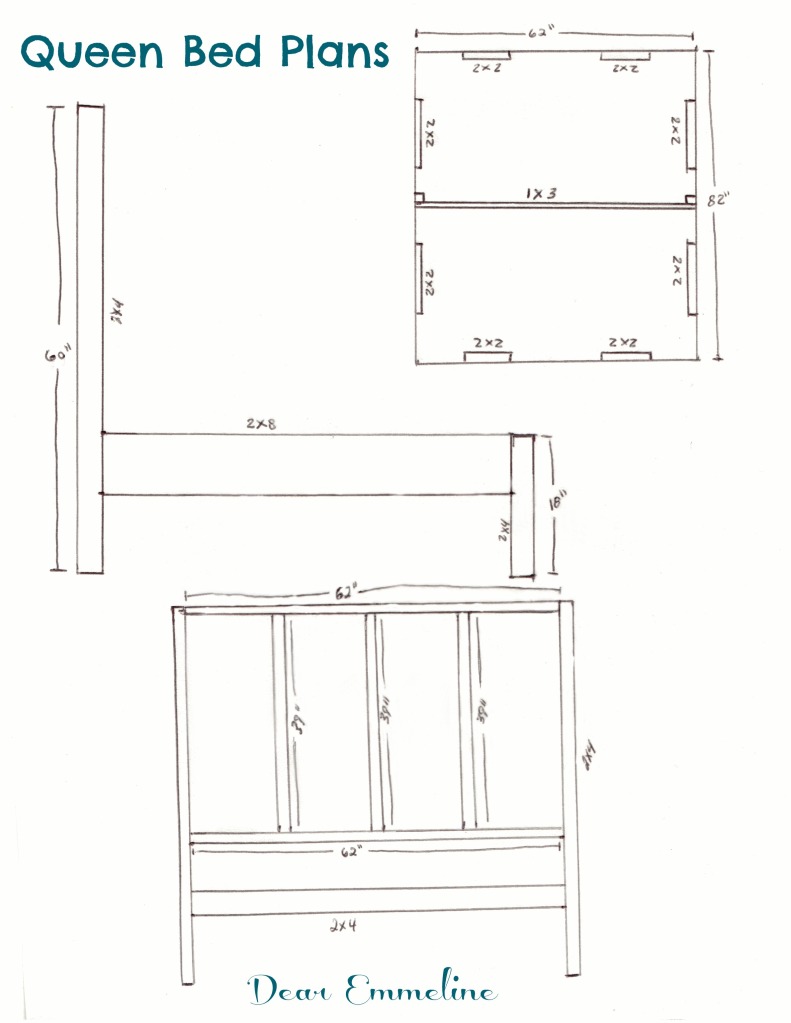
1. Determine mattress size (ours was 60″ x 80″) and add 1″ in all directions for proper mattress clearance.
Headboard Frame:
2. Cut two 2×4’s to 60″ in length.
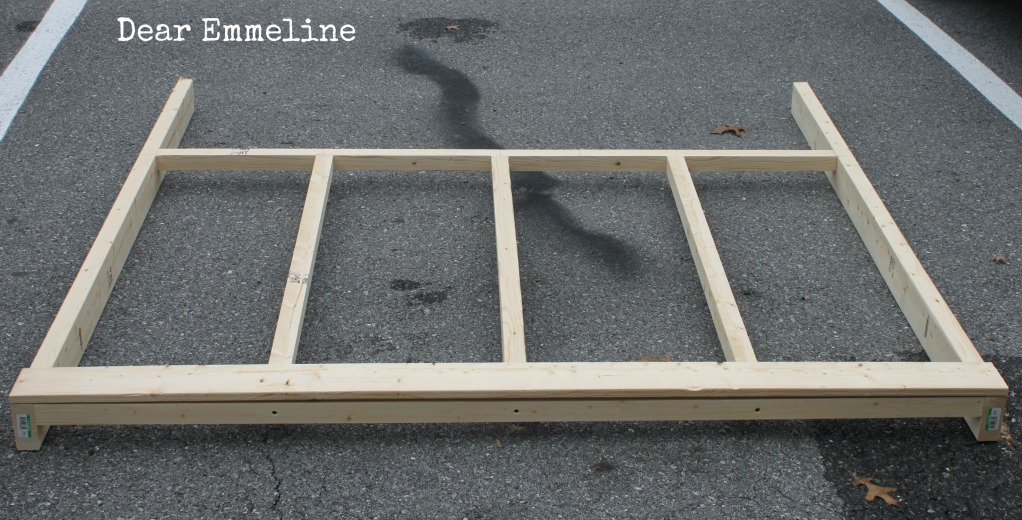
3. Make frame by laying the two 2×4’s out on the ground parallel to each other on 2″ ends.
4. Cut two 2×2’s to 62″ in length.
5. Screw first 2×2 to the tops of each 2×4. Measure 42″ from top and attach the bottom of the second 2×2 along this line. There should be 39″ between the two 2×2’s.
6. Cut three 39″ lengths in 2×2’s. Attach between 2×4″ at 16.5″ from each side and at center (32.5″).
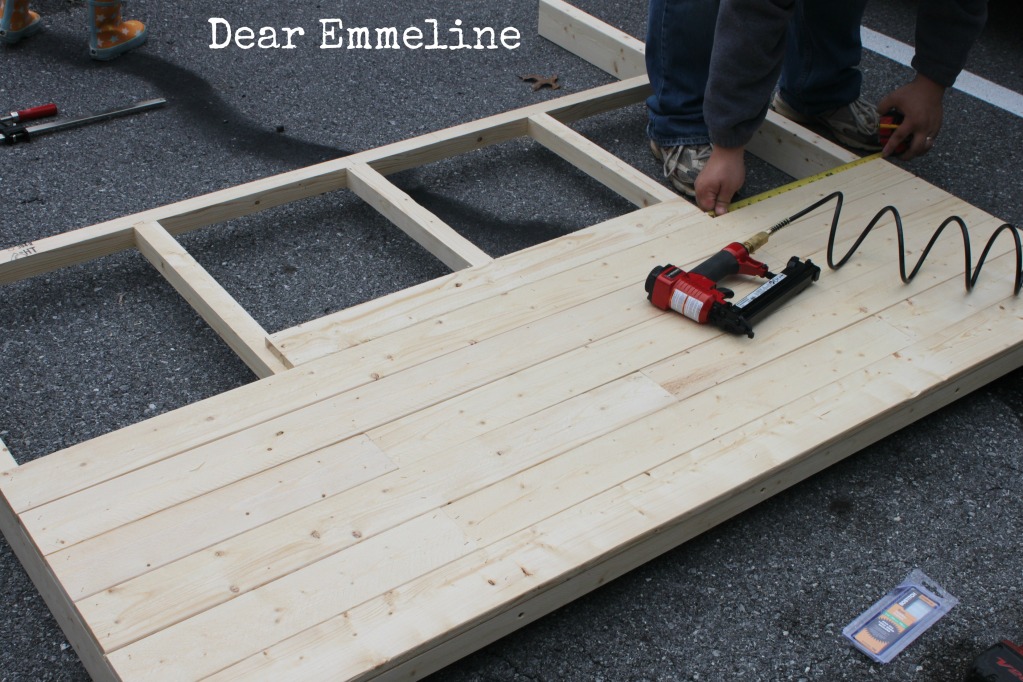
7. Begin cutting furring boards to size. Start with a board the full length of the bed (65″).
8. Measure and cut boards as you go to stagger as desired. Lengths will need to measure 16.5″, 32″, 32.5″, 48.5, or 65″ so they can be nailed into the 2×2 uprights.
Possible combinations are:
- 65″
- 16.5″, 32″ and 16.5″
- 32.5″ (x2)
- 16.5″ and 48.5

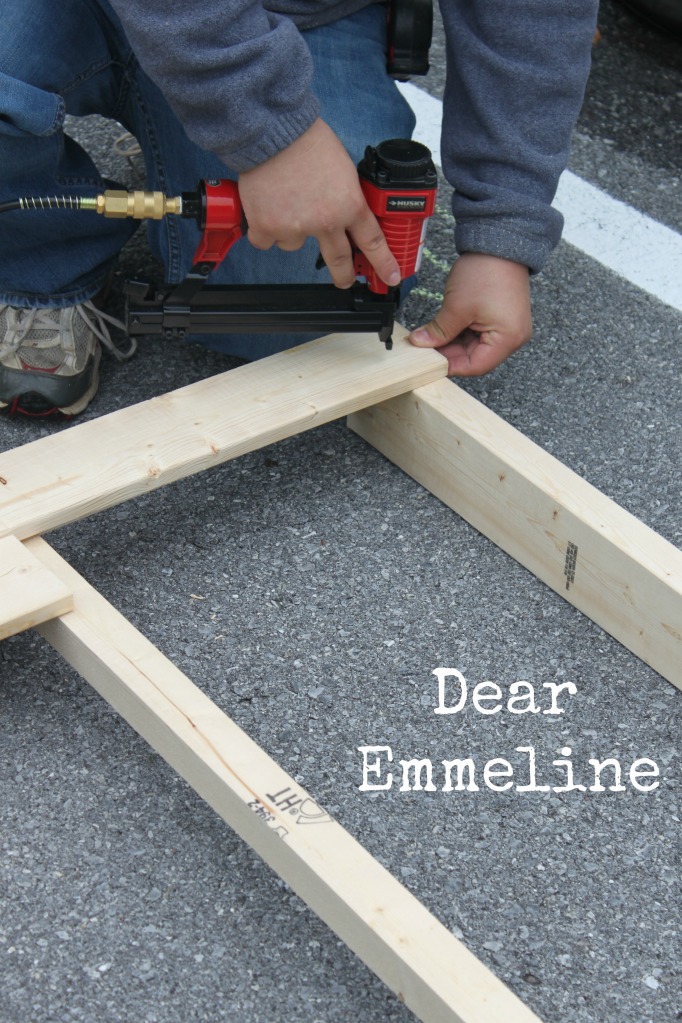
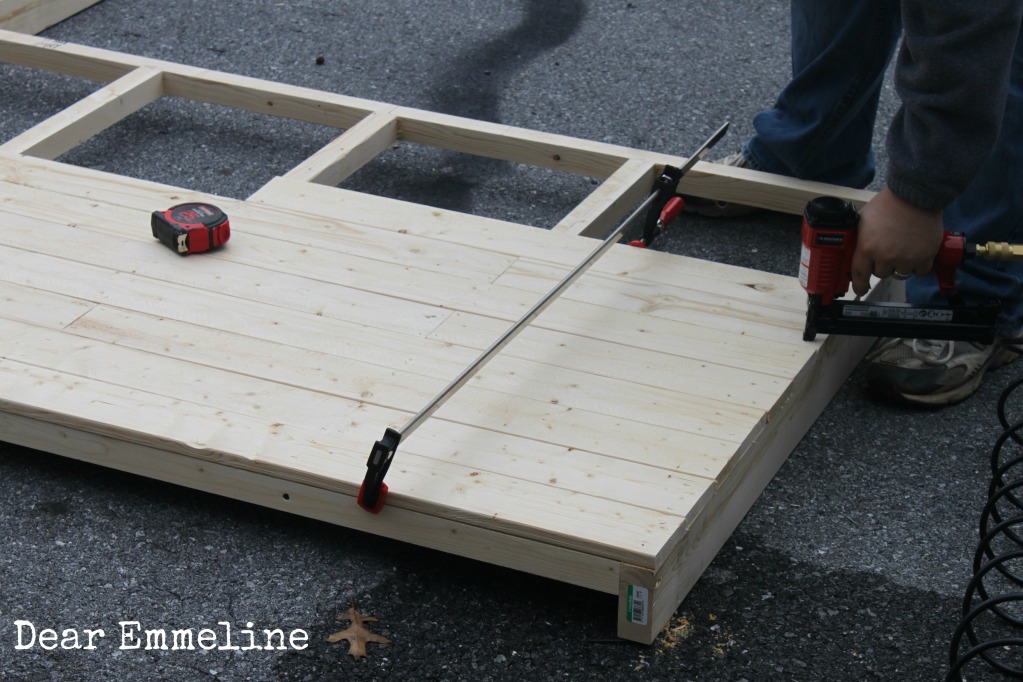
9. Lay out boards and nail into supports as you go.
10. If the boards are bowed use a large clamp to straighten and hold them tight while you nail them in place.
11. Measure and cut a 1×3 and 1×4 to 65″ in length. Nail the 1×3 flush with the back of the 2×4’s and nail the 1×4 directly in front overhanging the front of the headboard.
12. Measure two 1×3’s 42″ in length and nail them one each side of the headboard from top to bottom to trim out the furring strips.
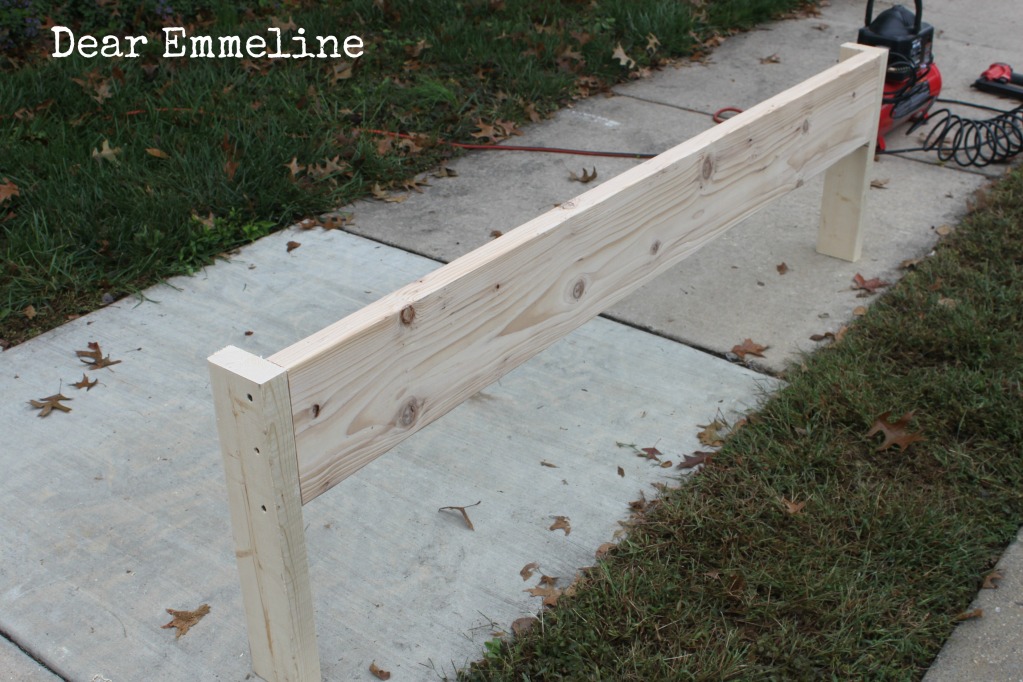
Footboard:
13. Measure and cut one 2×8 to 62″ off of the 12 foot board (if you from the 8 foot board you will be running to the store for another. Learn from our mistakes!).
14. Measure and cut two 18″ lengths of 2×4 (these will be cut from the leftovers of the uprights from the headboard).
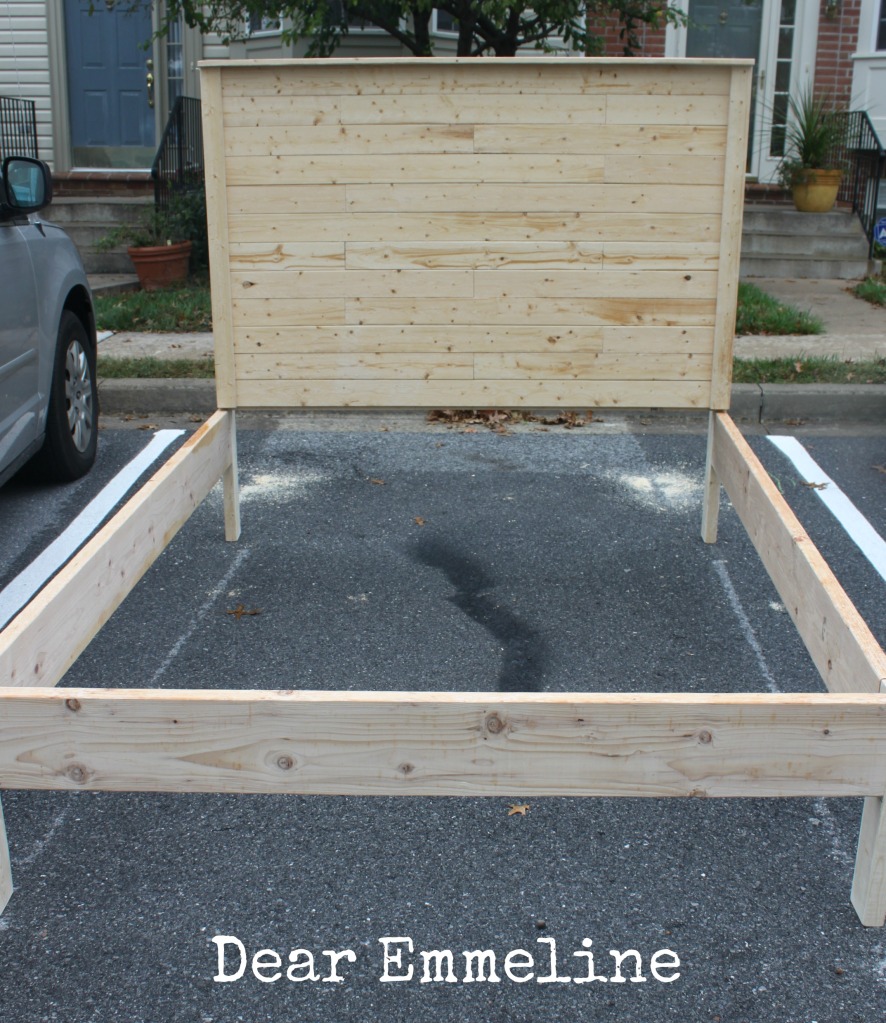
15. Attach as pictured below.
16. Cut the two 2×8 side rails to 82″ in length.
17. Follow the instructions on the rail kit to attach the rails. Attach clips at center of side rails.
18. Cut one 2×4 62″ in length and attach 10.5″ up from ground on bottom of headboard to attach mattress supports (this board should line up with the bottom of your side rails). -not pictured
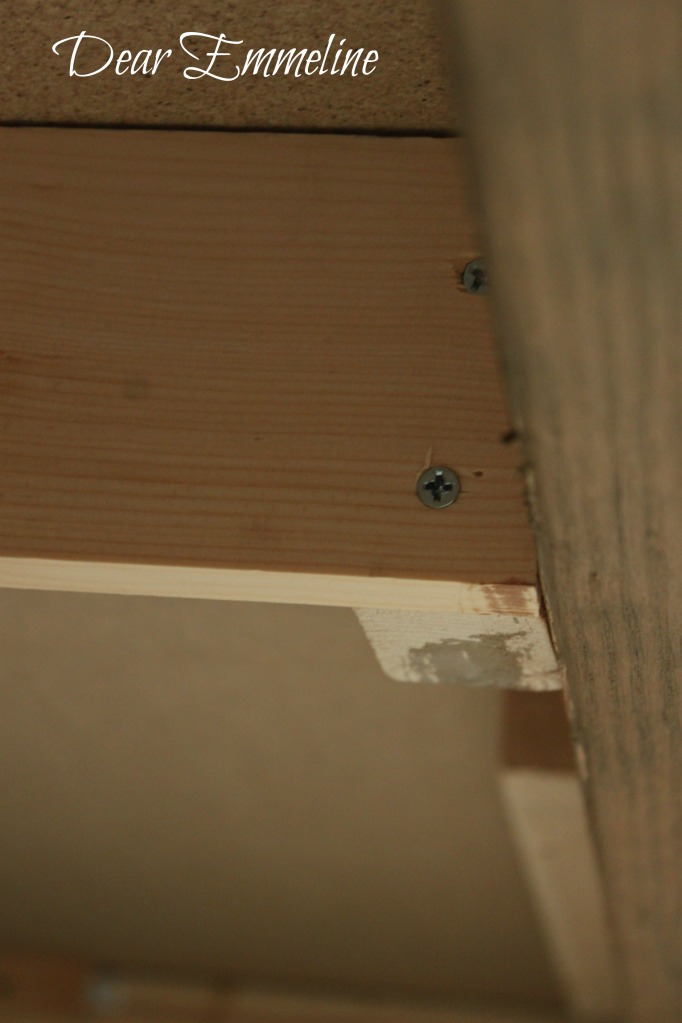
19. We created our mattress supports a little differently than normal in order to use plywood from our old bed frame as seen in the image below. My suggestion would be to attach 2×2’s the length of each side rail (lined up with the bottom) and purchase 1×4’s to act as traditional bed slats. In which case they would need to be cut a hair shorter than 62″ so they will drop down and rest on the 2×2’s to support your mattress.
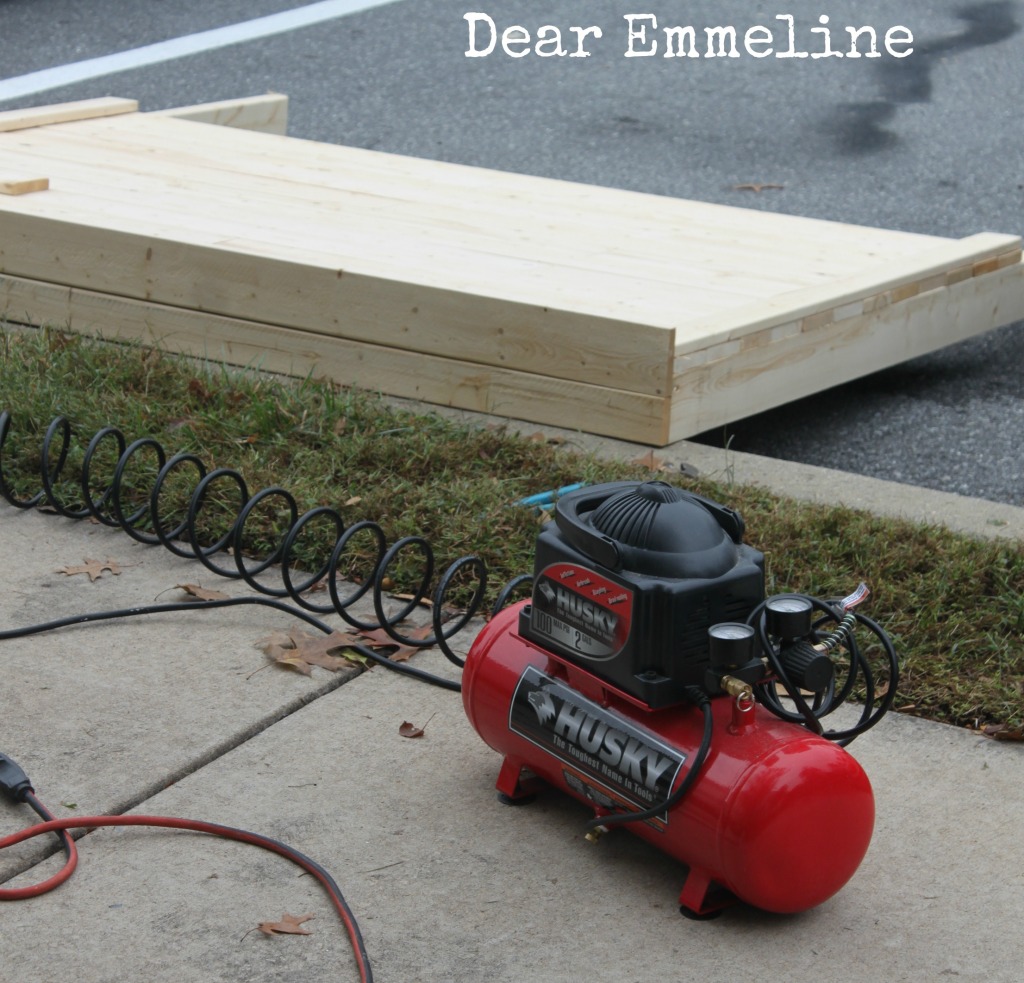
And, just to throw a dose of reality in….here are some shots of my husband’s pickup truck workbench, parking space workshop, and assistant handygirl!
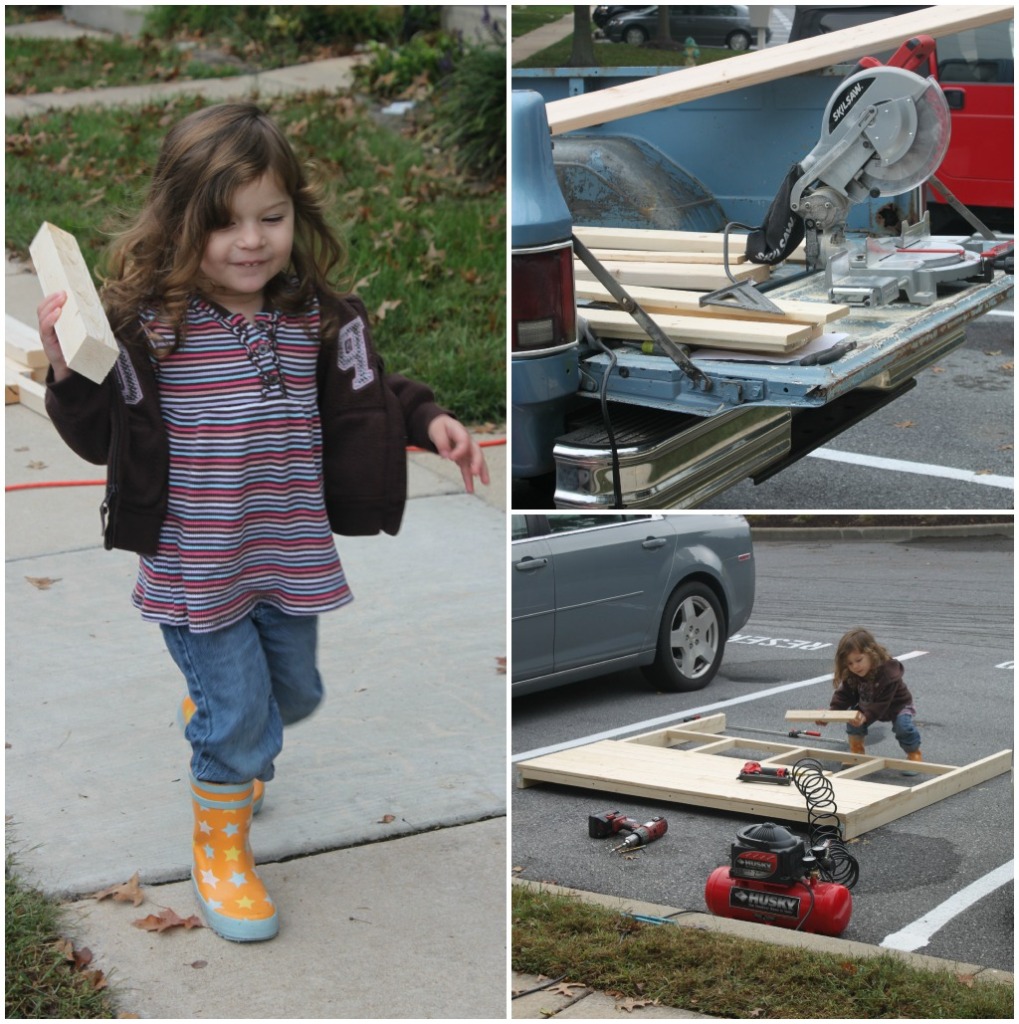
Did I mention he built this outside on a cold drizzly morning? Can’t believe the little one had so much fun and stayed out there for quite a while! She likes to be a part of our projects as evidenced by her need to be in the middle of my Old Pickup Blue photo shoot.
Thanks for sticking through the whole tutorial and if you decide to use the plans or modify them, I would love the see your final project! Feel free to email me pictures or leave a link in the comments.
it looks awesome! what did your neighbors think of all the work going on in your parking spot!
Your headboard is brilliant! What a great tutorial! I hope you share this at TUTORIALS TIPS AND TIDBITS!!! Wow!!!!!!
Oh my goodness, your little one is just precious!
I love this! What a great job. I have to make this! Would the frame work alone with a regular bedframe if I followed these plans or should I change anything? Thanks so much for sharing!
Looks great! And I need a queen headboard–showing this to Dh 🙂
Wow! Incredible tutorial and photos. If you have time you should join Hometalk. It's easy peasy to sign up and this is the perfect post for that forum. If you have any questions I'd be happy to answer. We'd love to have you!
That is terrific! Love it, and thank you so much for the tutorial. It's beautiful!
Great job and tutorial. Looks real professional. I need to try that method for aging wood.
Blessings,
Audrey Z. http://audreyzumwalt.blogspot.com/
Timeless Treasures
Love! And I have a queen. Wonder if I can talk the hubs into making me one…
🙂 If you can work a saw and nail gun it isn't a very hard build. If you decide to go for it and have any questions feel free to ask!
I love how this came out! It looks so great.
<3 Melissa
wildflwrchild.blogspot.com
Very nice – thanks you for the plans!
Thanks for sharing this week!
Stacey of Embracing Change
So cool .. congrats !!
Travnjaci
Even more awesome seeing it all come together! Thank you for sharing the details! Hope you are planning to join the party this week. I see lots of features in your fututre!
What a great project and a super cute little helper!
Thanks so much for linking up and linking back last week at the Humble Brag! Hope to see you back tomorrow to link up more great projects and see if you were featured. Don't forget, we will be giving away more free ad space! 🙂
http://www.oneprojectcloser.com/the-humble-brag-link-party-6/
Great job! I love homemade furniture!
Jessica, the bed frame turned out fabulously! I have a full size bed in need of a headboard and I just might have to steal your plans. It looks like something I can even handle myself while my husband is at work 😉 Thanks so much for an amazing tutorial!
WOW!! Thanks for this! My Husband and I have been driving ourselves (well, more me driving him) NUTS trying to find an idea for a new bed. I think I just found it!! <3
Do you have a picture of the whole bed completed without the mattress, etc? I'd like to see the final product. Thanks! Olivia
there are a few more pictures in this post: http://www.dearemmeline.blogspot.com/2012/10/and-finish-is.html
otherwise I do not have any additional pictures short of taking the mattress off and taking one.
If you have any further questions please email me directly so I can reply through email. I explained what we did to the bottom but if you need more information please let me know.
i loved your bed and decided to build one myself. a question about the plan is the sieboards are cut at 82". for a total of 84" long when connected to the footboard. is this correct? ill send a picture when ive finished. thanx.
the side rail cut is 82" When you attach the headboard and footboard (which are both made with 2×4's) then your total length should be 90". The 2×4 boards are facing in the 4" direction where they connect to the sideboards. The picture of the bed frame in the parking space gives you a better picture of what I mean.
thanx Emmeline. i was referring to the inside length. wasnt sure if 84" was to long for an 80" mattress, but i just wanted to make sure i was reading it right.thanx for replying.
How sturdy is this frame?
the frame is very sturdy. as I mentioned we don't have a picture of the bracing on the inside because we did ours different than you normally would since we were trying to reuse pieces from our platform bed. If you screw 1×2's the length of the bed frame and then place the traditional bed slats accrost to hold the mattress(es) you should be good to go!
This is super cute!! Thanks for your sweet comment on our rustic bed frame…I'm officially a new follower ;).
Thanks for the sharing this! I'm looking forward to trying to build this myself in the next week or two.
Two questions:
1) You kind of addressed this above, but didn't quite get to the follow-up on it. If the side rails are cut at 82" and you have an extra nearly space from the footboard 2x4s (taking into account the width of the attached 2×8, so it will be less than 4"), then the inside dimensions will be longer than the 82" that you'd want for an 80" mattress. So it seems that when cutting the siderails, you'd want to account for that extra space on the footboard 2x4s.
2) Did you use screws or nails (or both) throughout the process? The materials list mentions only screws, but some of the pictures shows him using a nail gun. If he did use nails as well, what size were they?
3) We won't be having a box spring and so will need to use plywood. Did you attach the 2x2s and 1×3 to align with the bottom of the siderails. If not, does it matter where on the siderails (and footboard) those are attached Also, any idea as to how the plywood was aligned?
Thanks! I look forward to hearing back from you.
And by "two questions," I meant, of course, three! 🙂
1)Our side rails measure 79" between the 2, 2×4's. Giving a total measurement of 82.5 off face of the 2×4 on the headboard. The total measurement of the bed (rail + 2×4 (foot) and 2×4 (head) = 86"
2)We used 1-1/4 brads in the nail gun to attach the firring strips to the headboard frame. The screws were used for everything else.
3)You can place the 2×2's and 2×4 (the original 1×3 broke because we reused the thin plywood from our original bed) at whatever depth you want your mattress. Ours were not lined up with the bottom they are approximately 2"" up from the base. 2 pieces of 3/4" plywood side by side (ripped to fit) Should work for your base.
Where did u get the bed rail kit? I'm having a hard time finding some. Thanks
There's a link in the materials list for the bed rail fasteners we used.
Amazing! Thank you for posting this.
I just want to clarify one thing – how did you attach the foot board to the bed rails? Via bed rail fastners also?
Yes! There is a set of fasteners between the rails/foot board, and rails/head board.
Great job! One of the most expensive things within our bedroom decorating is the bed. I'm thinking of making out own.
Amazing bed!
I really like the color of the wood. Do you have instructions on how you got that finish?