A local lady brought me this sewing table with the hopes that I could fix it to be auctioned off to support a family in the area who lost their home to a fire. The top surfaces had badly chipped and peeling veneer. We came up with a plan to remove the existing veneer and replace it with either fabric or an image transfer. Here’s how it turned out.
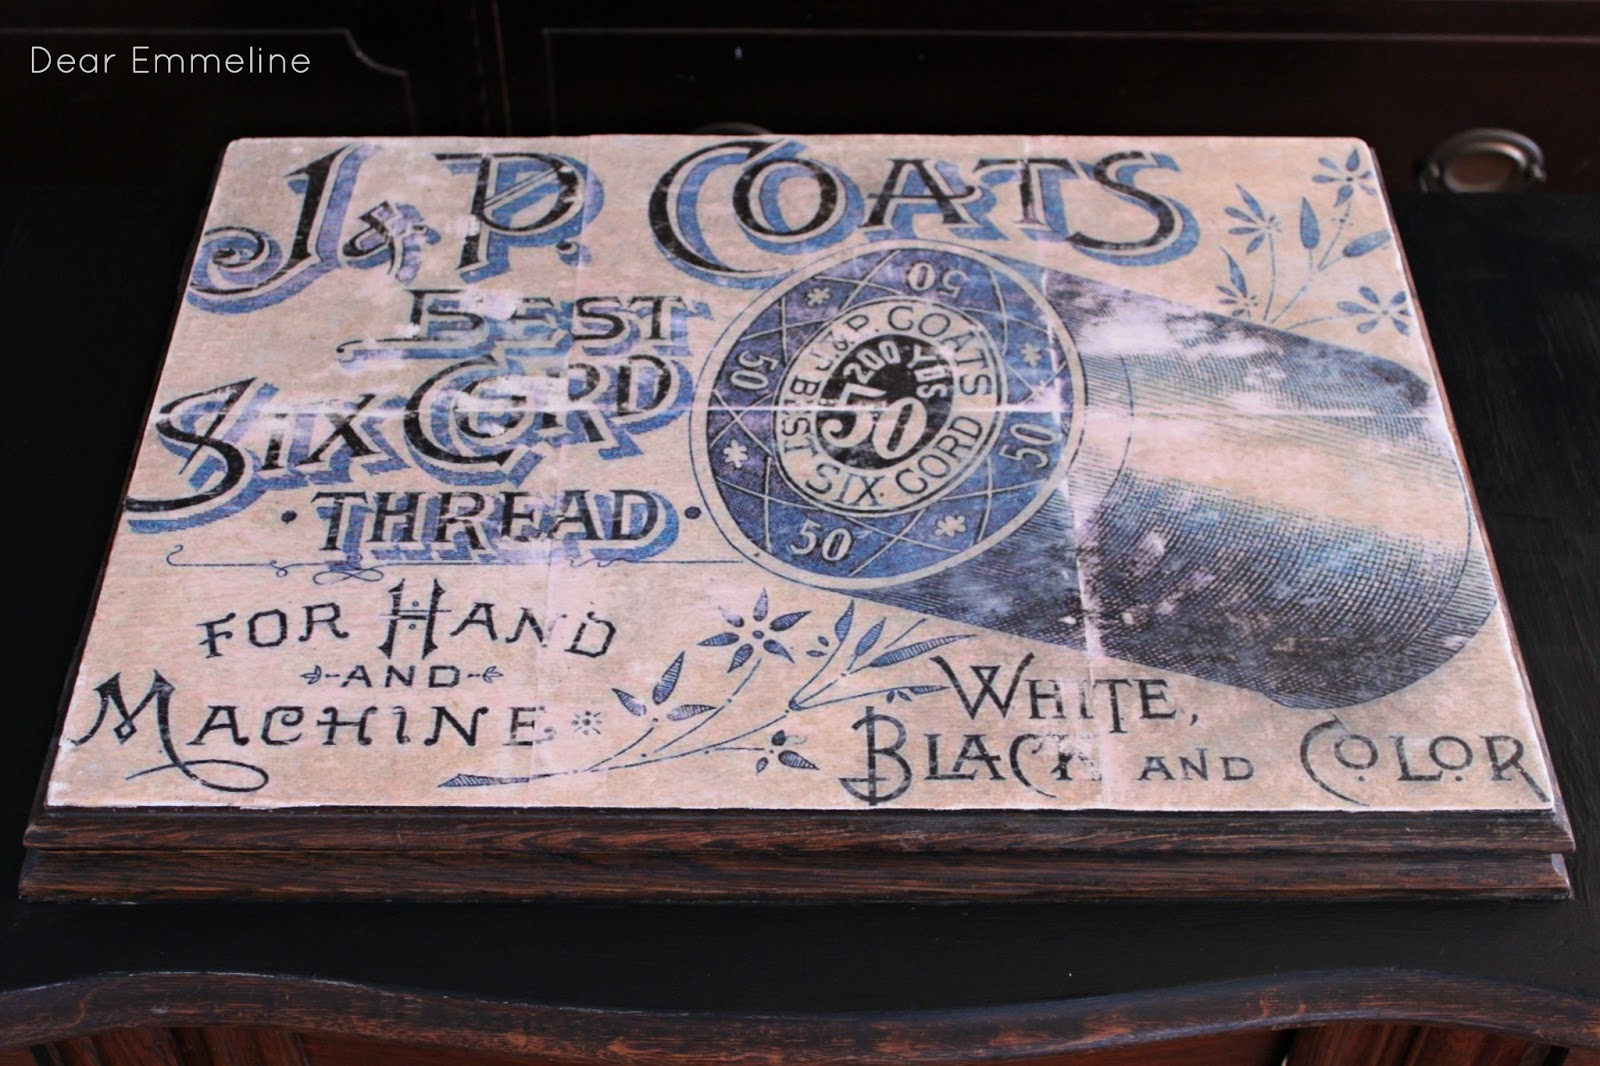
After the entire top surface (both levels) was painted with white chalk paint I resized and printed an antique advertising card for J & P Coats Thread from The Graphics Fairy. Apply one layer of Mod Podge onto the furniture surface and then place the image face down onto the Mod Podge.
| You can faintly see the lines of the paper. I printed my image centered on 6 sheets to get the right size. |
You can see some of the seams in the final product because my image was printed on 6 sheets of paper. If this bothers you a trip to a print shop to get a larger printout will solve the issue of seams. At first I wasn’t sure about the seams but they actually grew on me because it kind of gives the illusion of a multi-piece antique print or sign.
Lightly spray the image with water to loosen the paper and rub your fingers around to peel it off. In my case areas with too much water or too much rubbing peeled down to the paint. Again I wasn’t too upset with this little snafu because it added to the vintage charm. I even got out a sanding block and purposely distressed those and other areas a bit more so it looked more authentically worn.
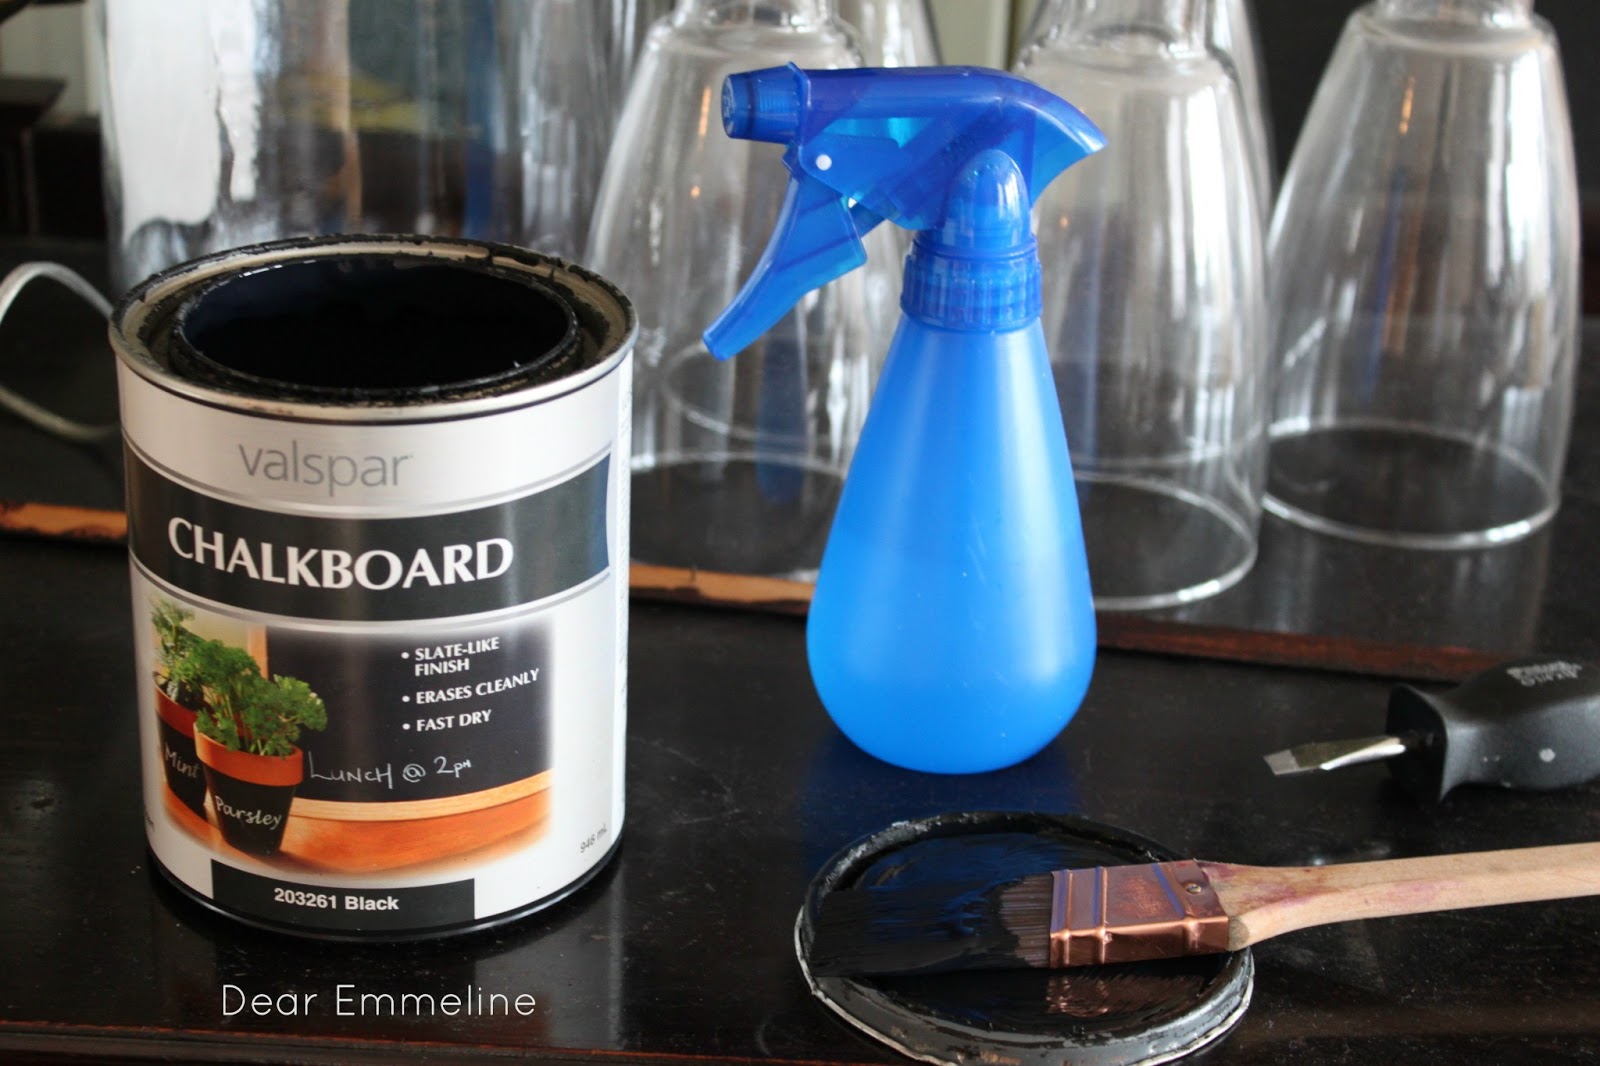
I painted the lower level with chalkboard paint to leave little measurement notes or number of cuts. The sewing machine and all the parts were still with the table!
This was the first time I completed a Mod Podge transfer and I’m absolutely thrilled with the result!
Have you attempted a Mod Podge transfer? How did it turn out? Have you heard there is now a Mod Podge specifically formulated for transfers? I still need to pick some up and give it a try!
it looks beautiful! thank for helping the lillards!
Looks awesome!!!
Love this!!! Thank you so much for showing us. I'm for sure going to try it!
Thanks for sharing!
Erica 🙂
lol me again. I have some questions if that's ok.
You must have had to print your image in reverse then? How does that work?
And then did you let the paper dry completely before you sprayed it with water?
Also does it have to be a laser printer or an ink jet printer?
Thank you!
Erica 🙂
This turned out so great! I did try a Mod Podge transfer once. It didn't work very well for me, but I think it was because the surface I was working with was just too glossy. By the time I rubbed all the paper off, most of the image was gone too. I would definitely try it again, though! I love the way yours turned out!
Jeanette @ Creating a Life
Absolutely gorgeous! Do you know how many old sewing machine tables I've passed up because the tops were just way too beat up (or so I thought!). I keep reading about the Mod Podge transfer method. Can't wait to try it out. Once again, beautiful work from you. I'm sure this piece was snatched right up at the auction!
Thank you Desiree! I you can get one for a good deal at auction you should go for it!
I love it! I have done mod podge on furniture before, and have plans on doing lots more…I love the effect!
Debbie 🙂
I've read about 6 people recently talking about mod podge transfer methods… sounds to easy not to give it a go- I think I will pretty soon, cuz your sewing cabinet is to DIE for! Very nice and thanks so much for sharing this with us! 🙂
Stopping by via: Miss Mustard Seed's linky party
Happy Easter!
Smiles, Suz @ MaytagNMom
My Project For This Week's Linky Parties
love this and planned on something along the same line…I have a not as old unit in my workroom as I type…but two rooms to paint and move everything because carpet coming next week….I know why not wood…cause in our house the carpet cuts down on the noise….again thanks for the great inspirations
Your vintage sewing table is really
wonderful… and the way you did the
transfer makes it very special.
Love it
Sandy
I did a sewing box with this image…the sewing machine is now a showpiece!
What a fun, creative touch! It brings new life to the pices. Beautiful!
I'm visiting you today from The 36th Avenue. I hope you get a chance to stop by my blog and leave a comment and Link Up, too!
~ Megin of VMG206
Medicine Cabinet Makeover
Wow, that is really cool! What a perfect design you found!
Emmeline: This is beautiful. I have an old sewing machine that needs some help on the top as yours did. Do you have to do a reverse print" (probably yes) and also did you let the paper dry completely before you sprayed it with water?
Please let me know at your convenience and I will get started. Thanks for your wonderful idea and your help. (bmurphy@dtrtn.com)
The image does need to be reversed so that the ink side is facing down and bonding to the mod podge. Wait until it is completely dry before spraying. I suggest using a very light mist spray bottle and giving a light spray over small sections at a time.