
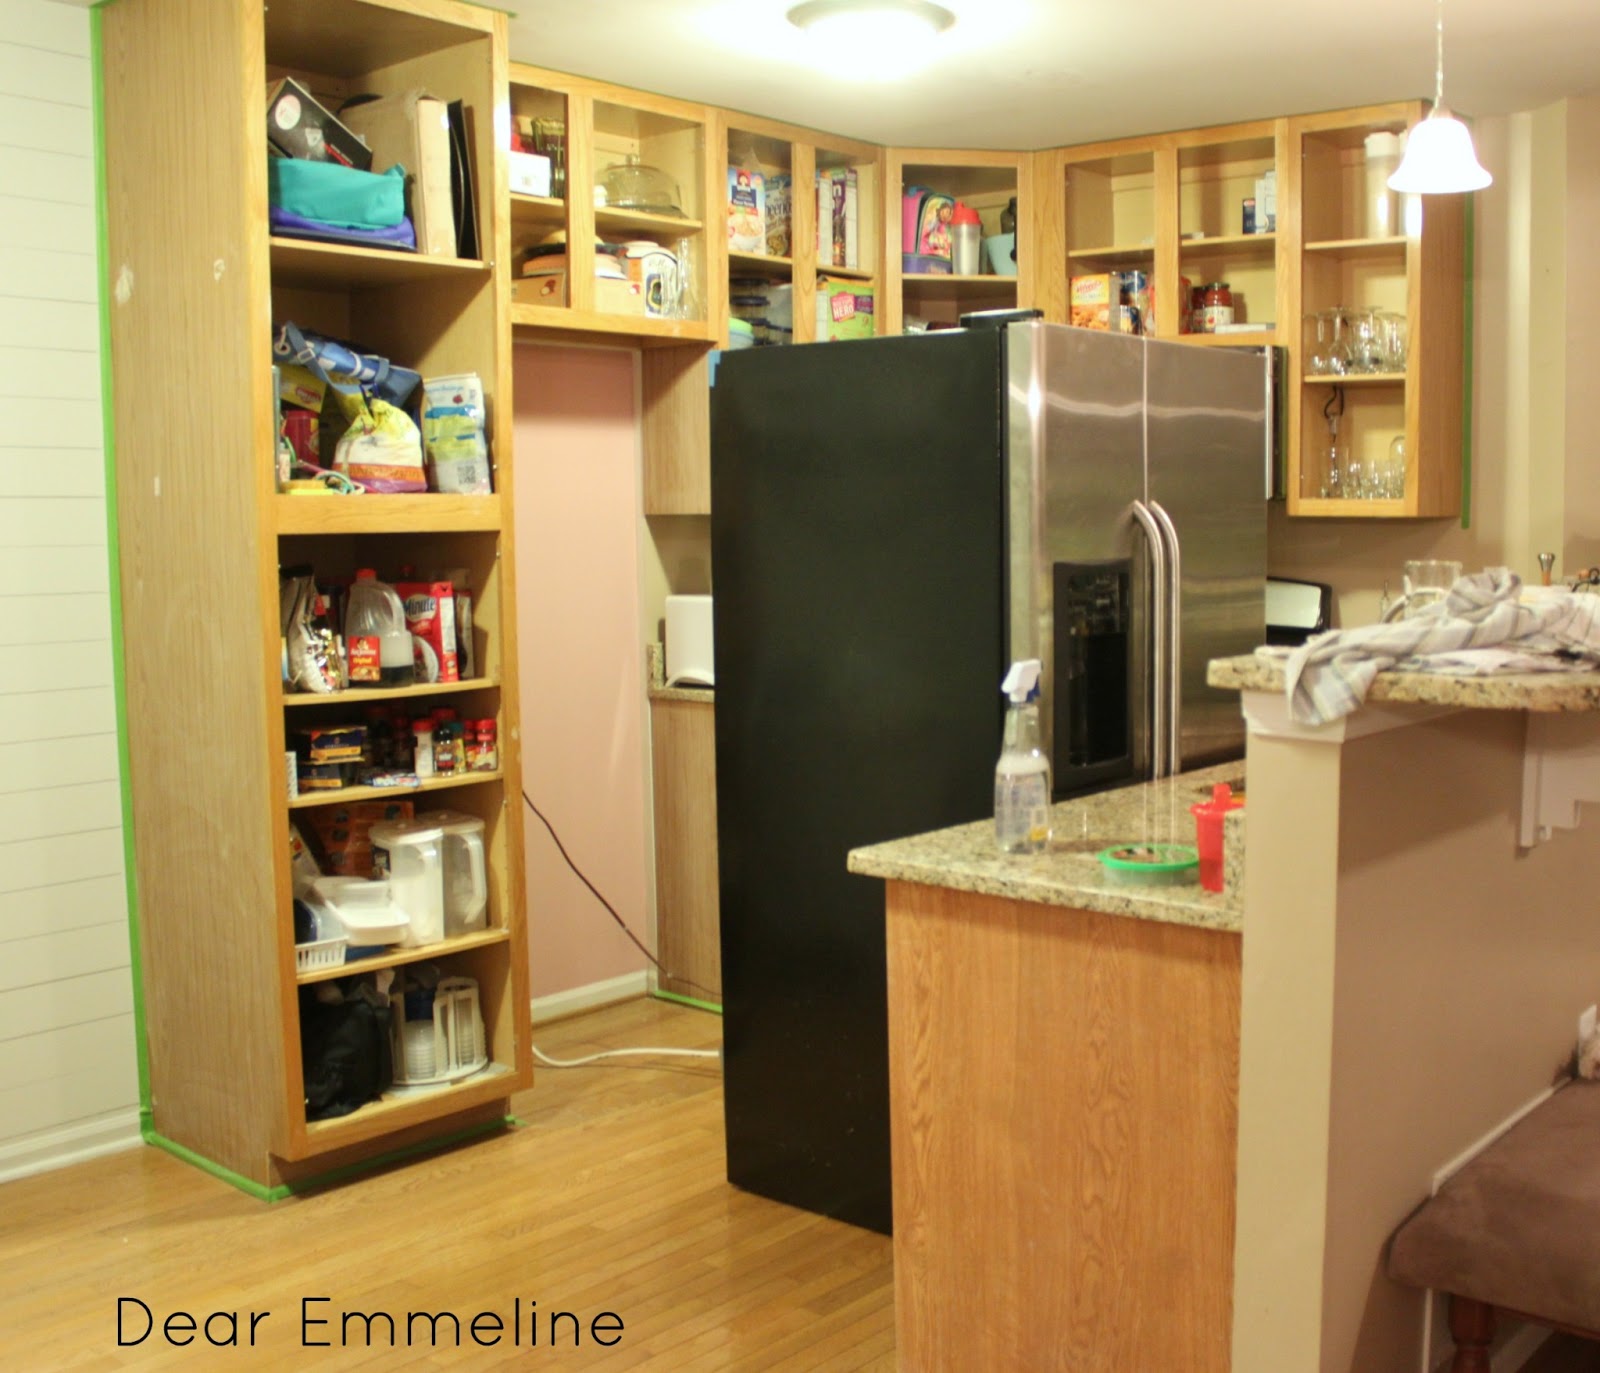
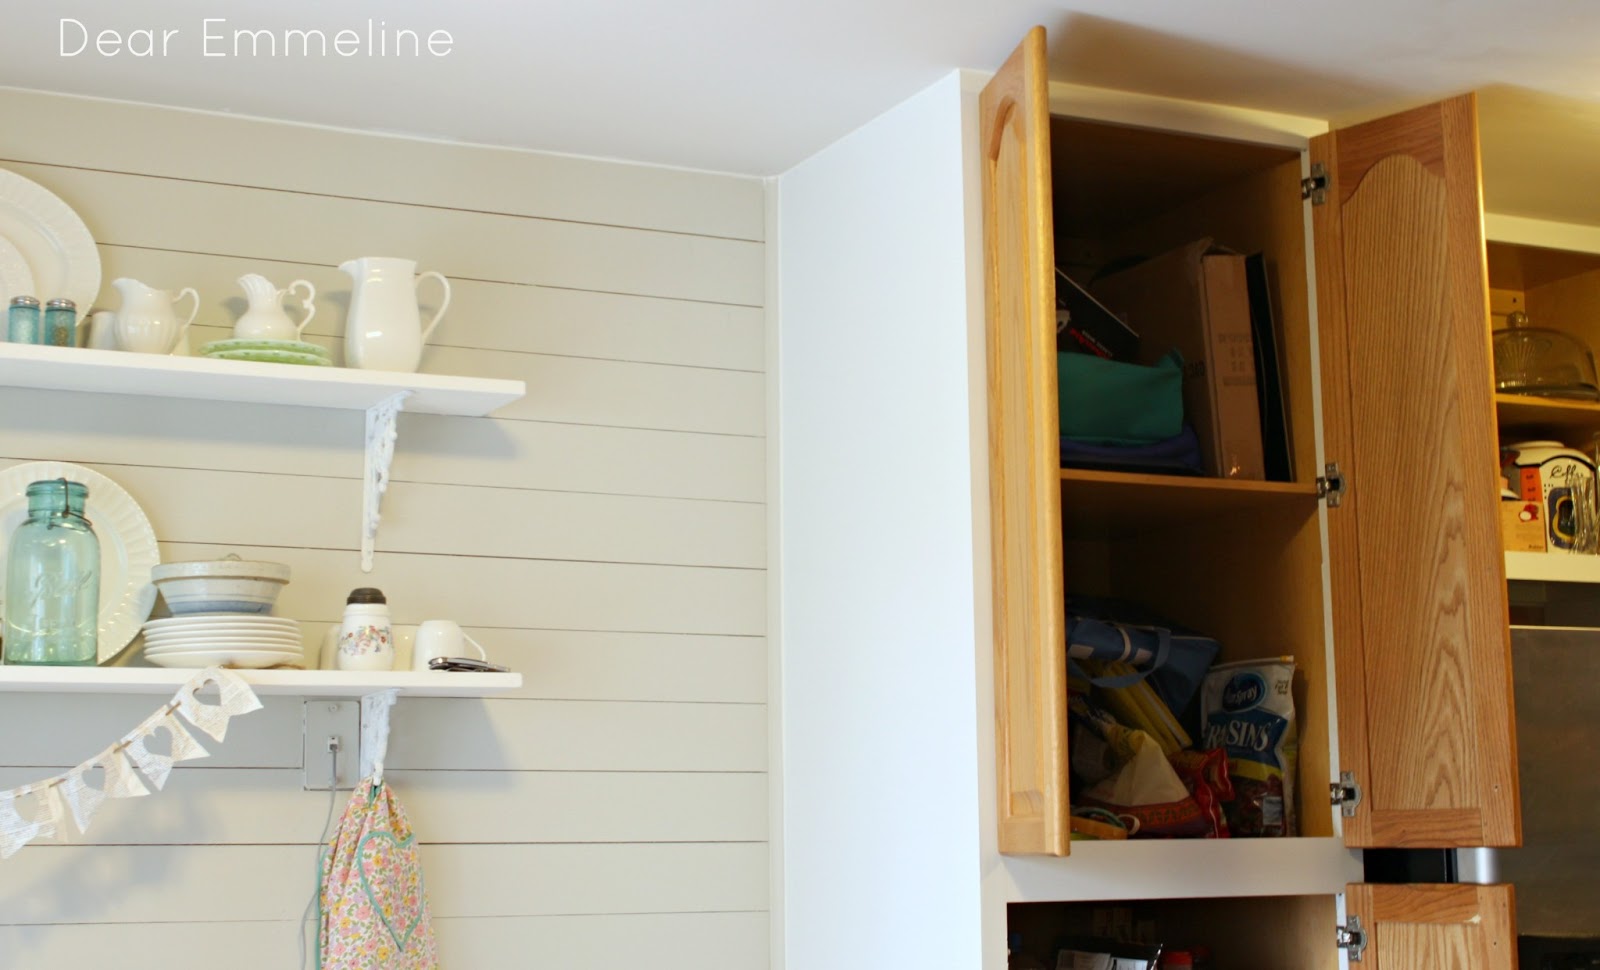
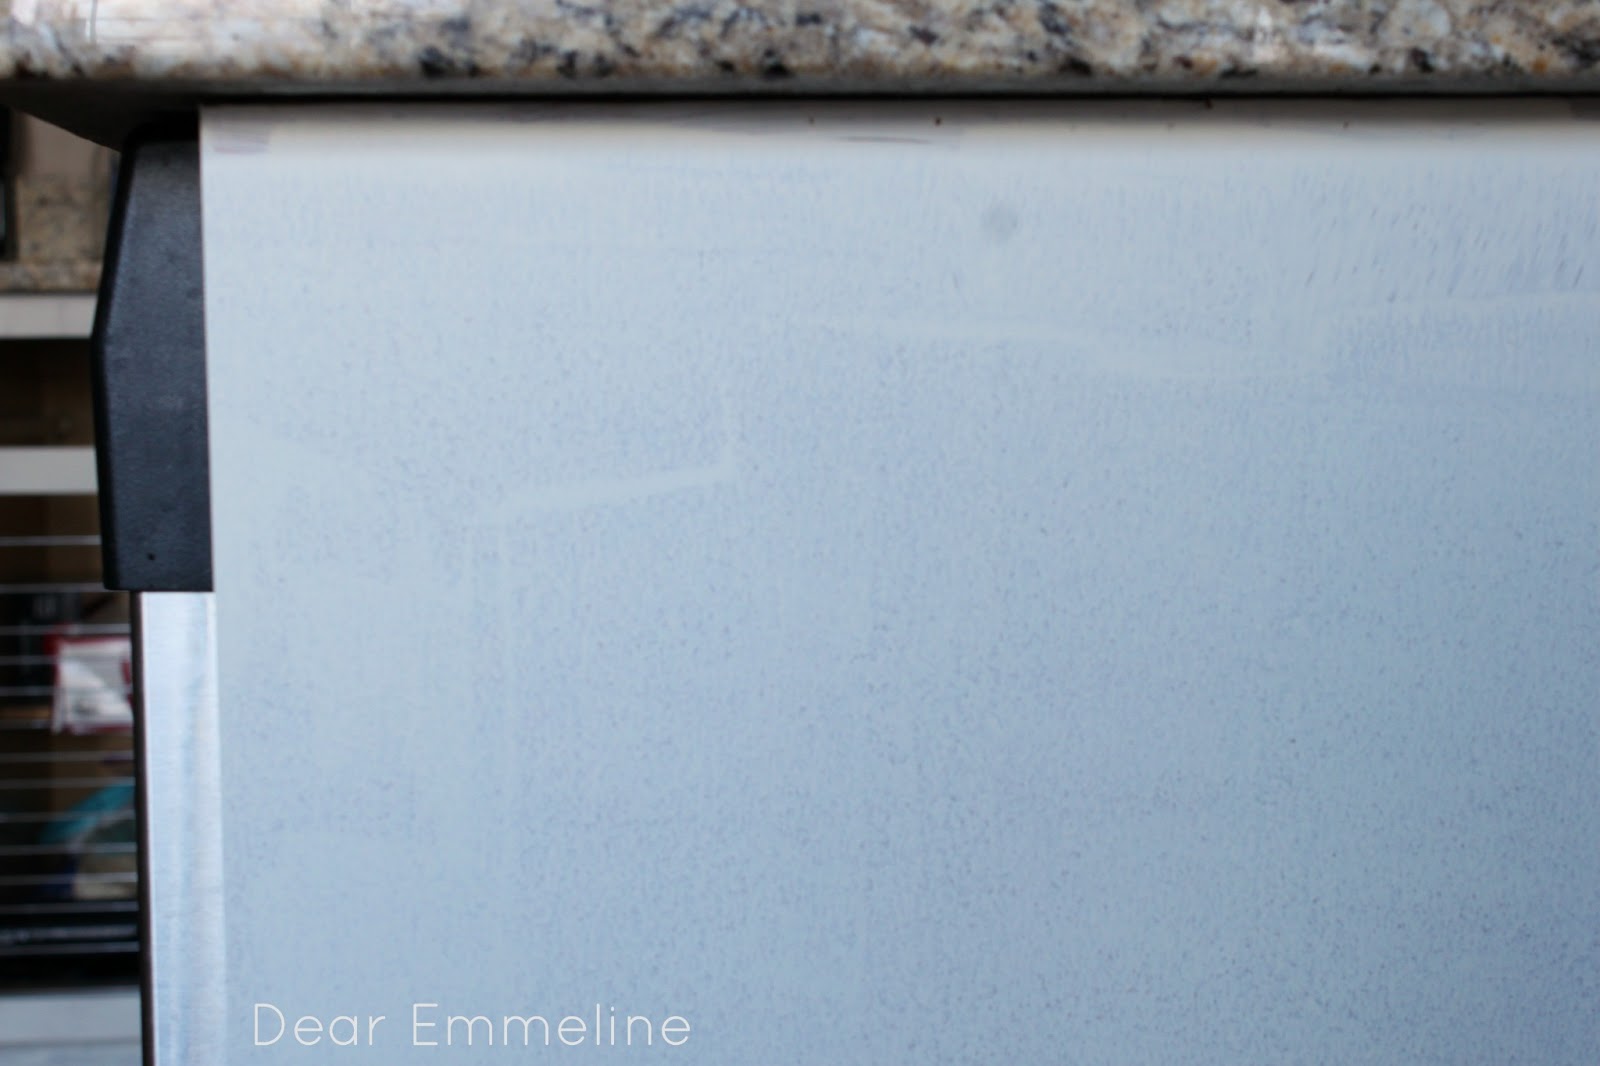
Before we dive into the details of the painting process, I want to give you a good look at the cabinets before and how they look now.
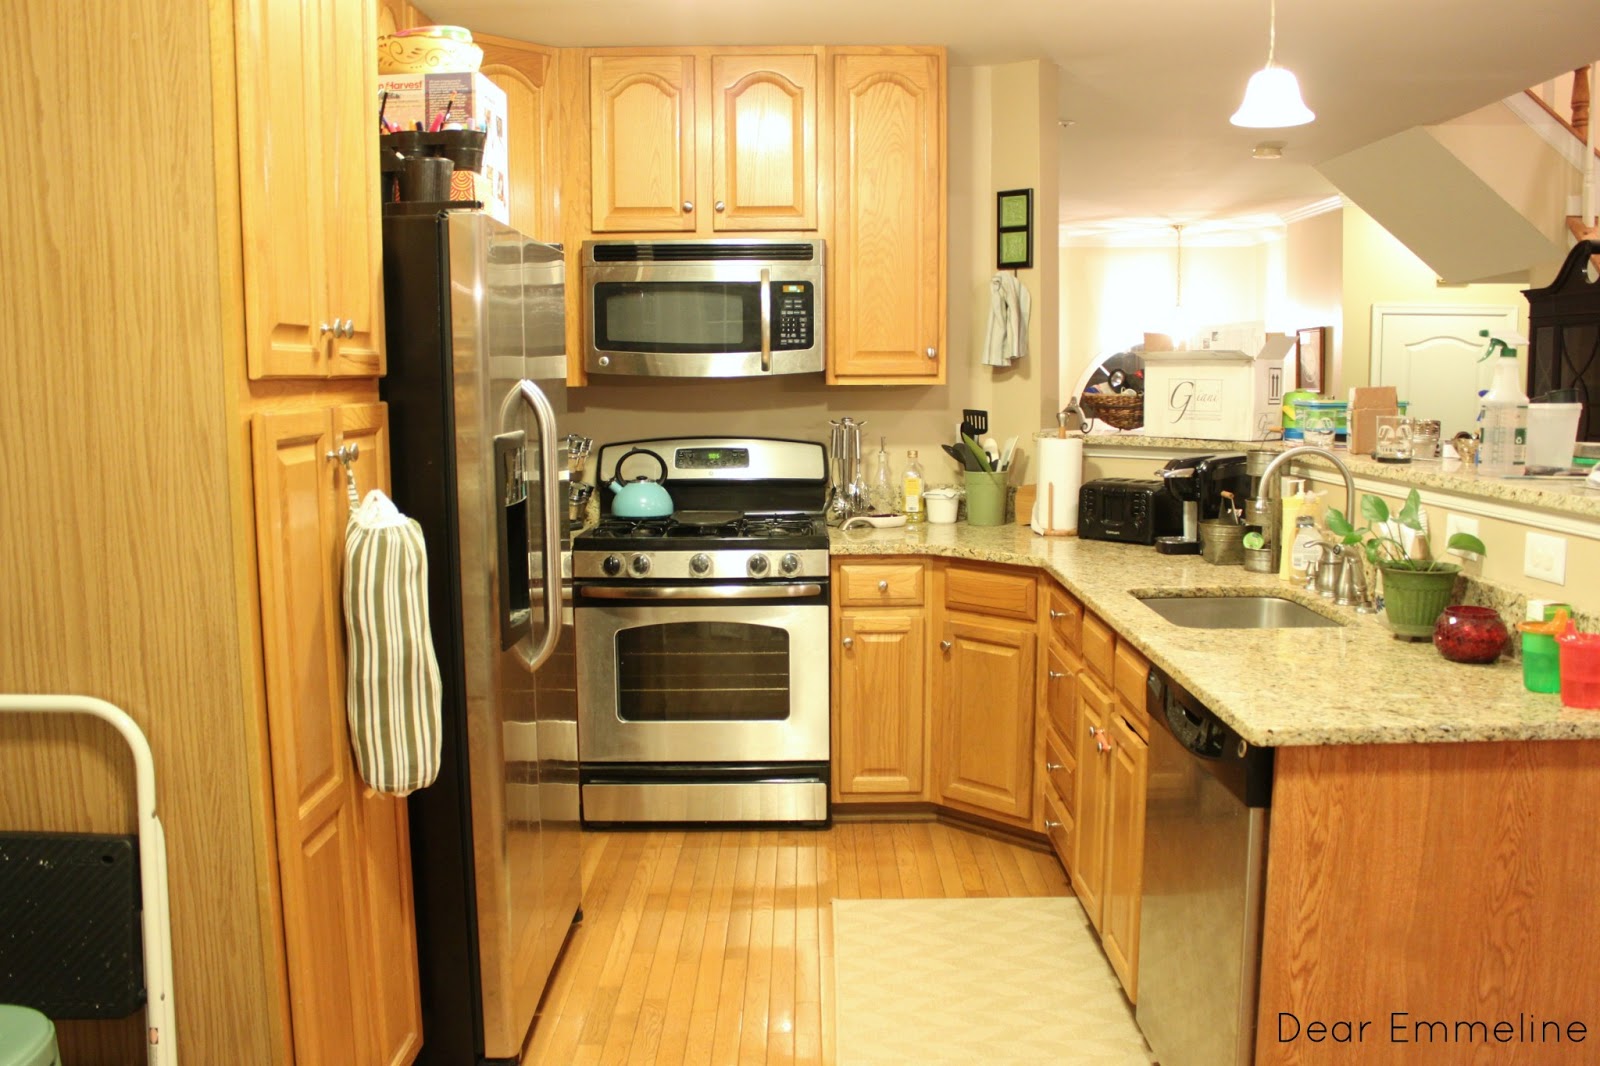
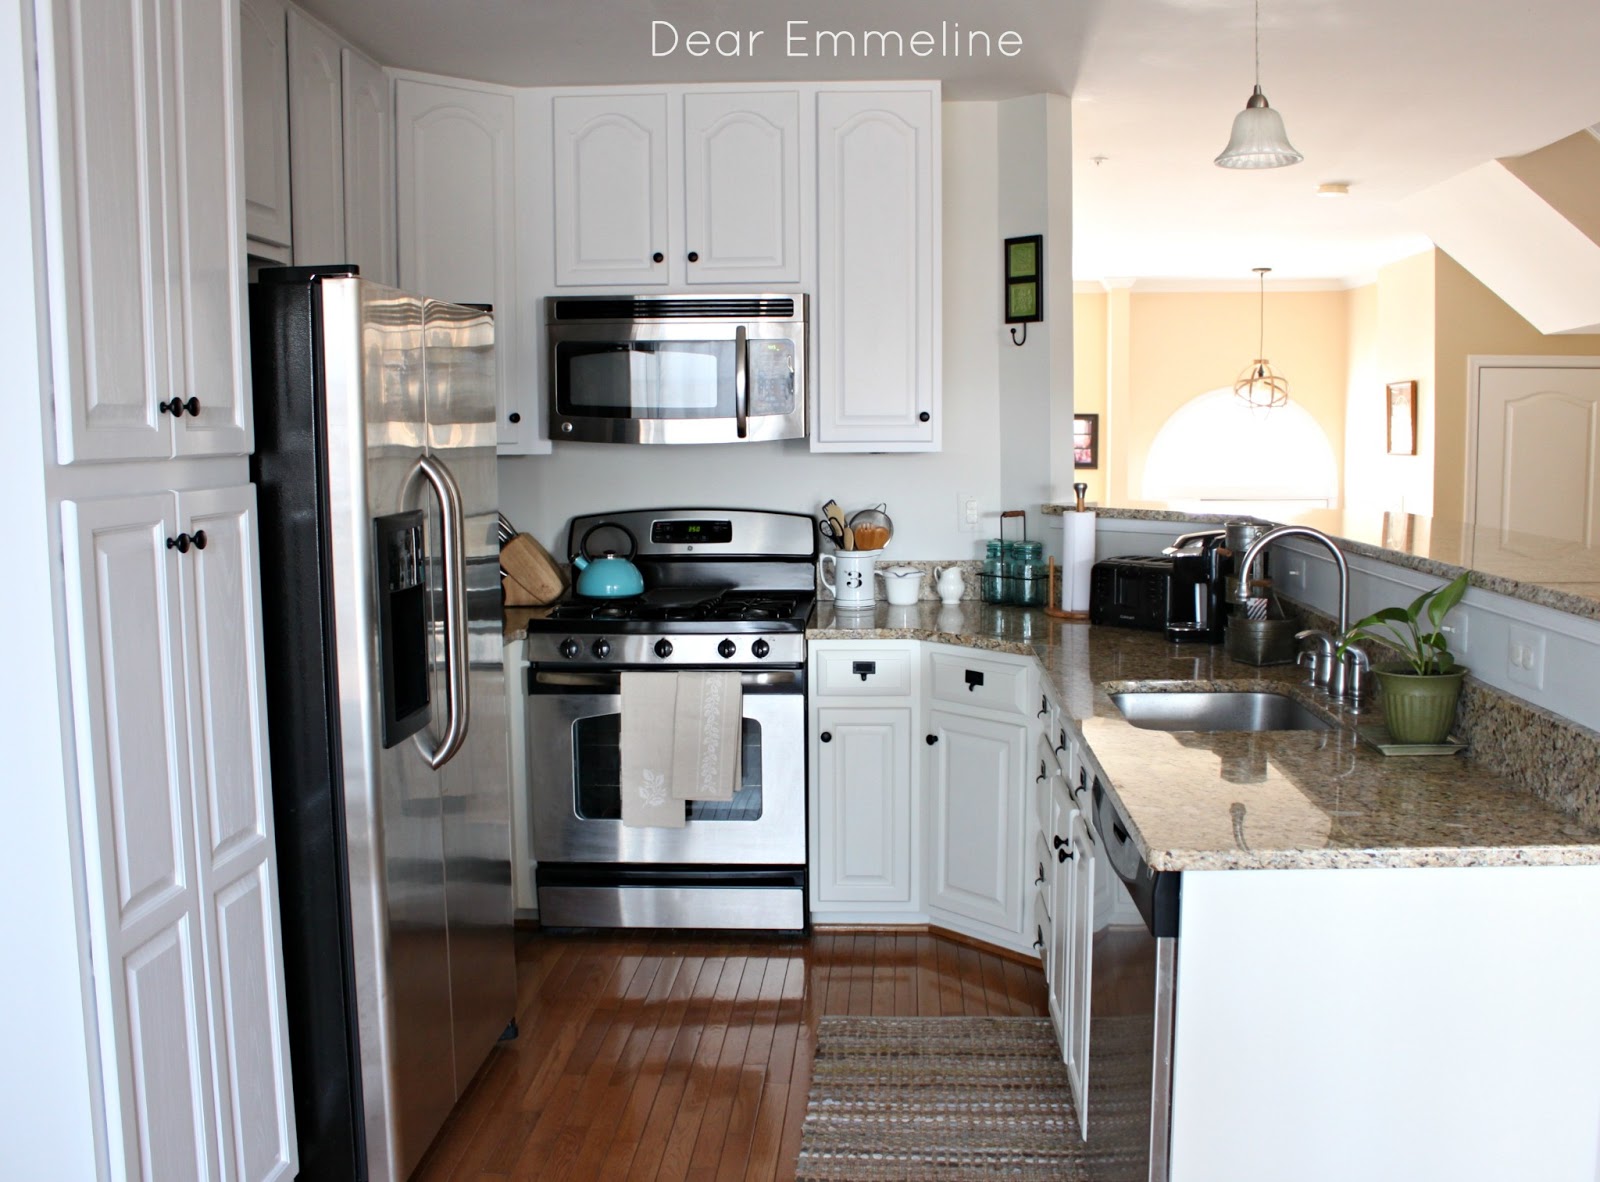
Big difference, right?
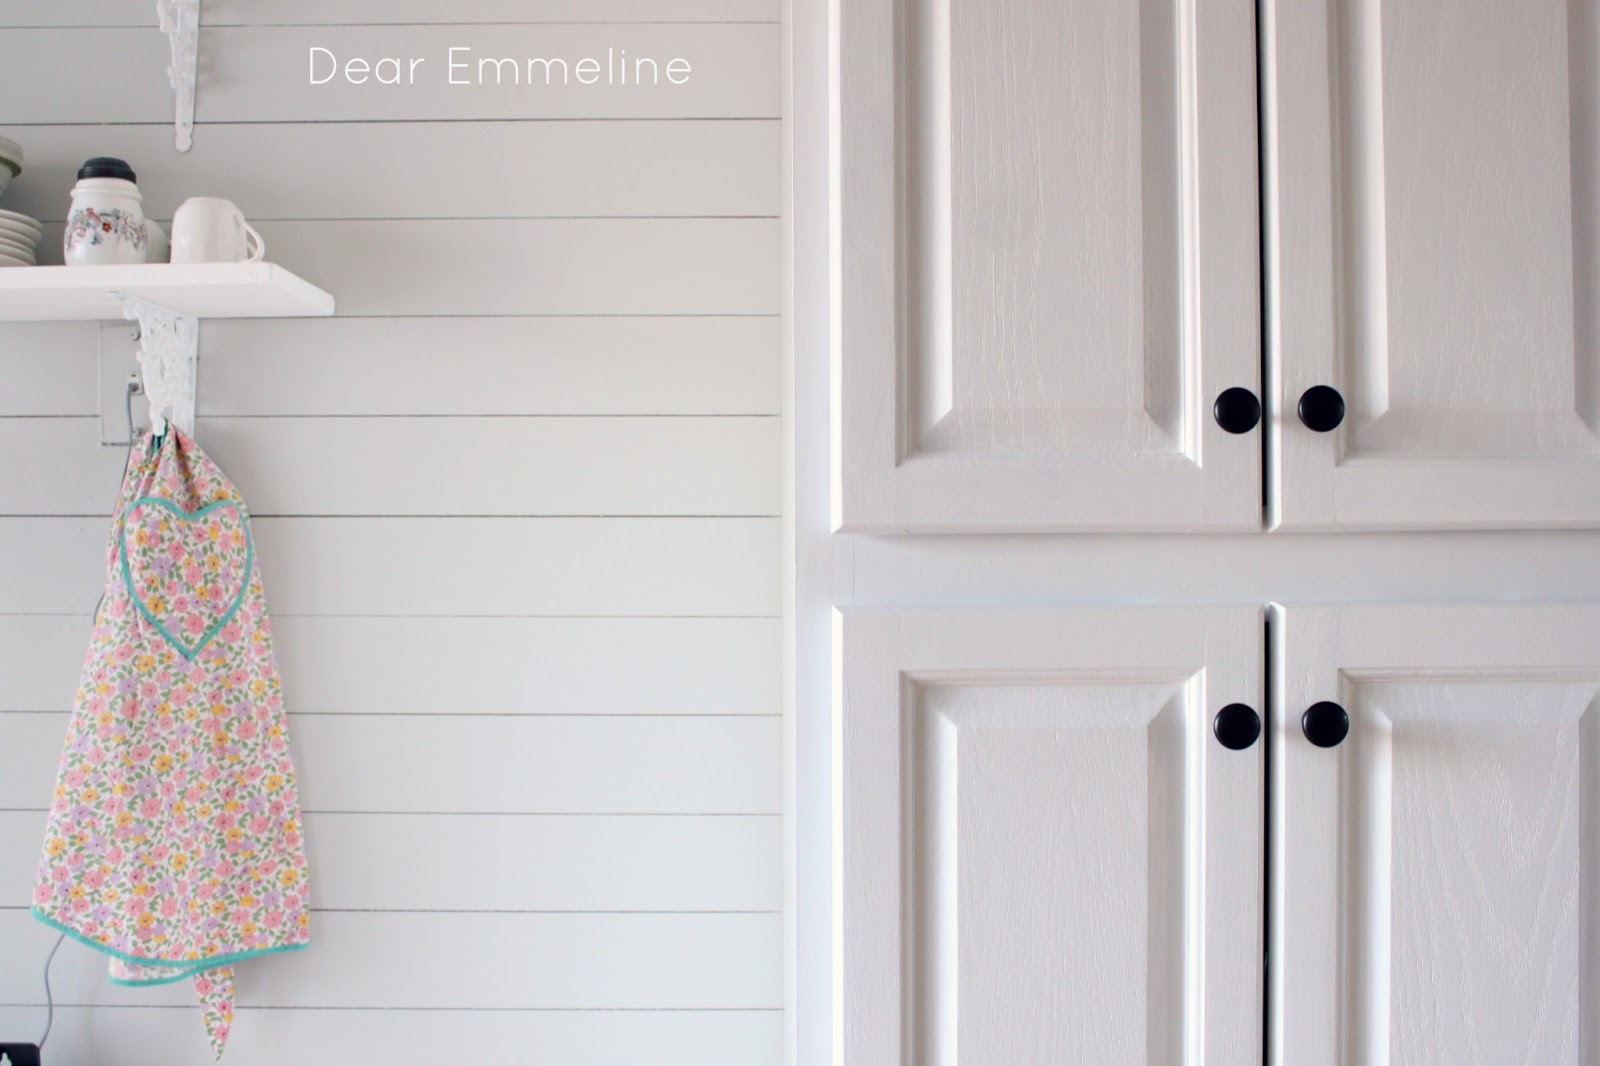
We painted the cabinets using Giani Granite’s Nuvo Cabinet Paint.
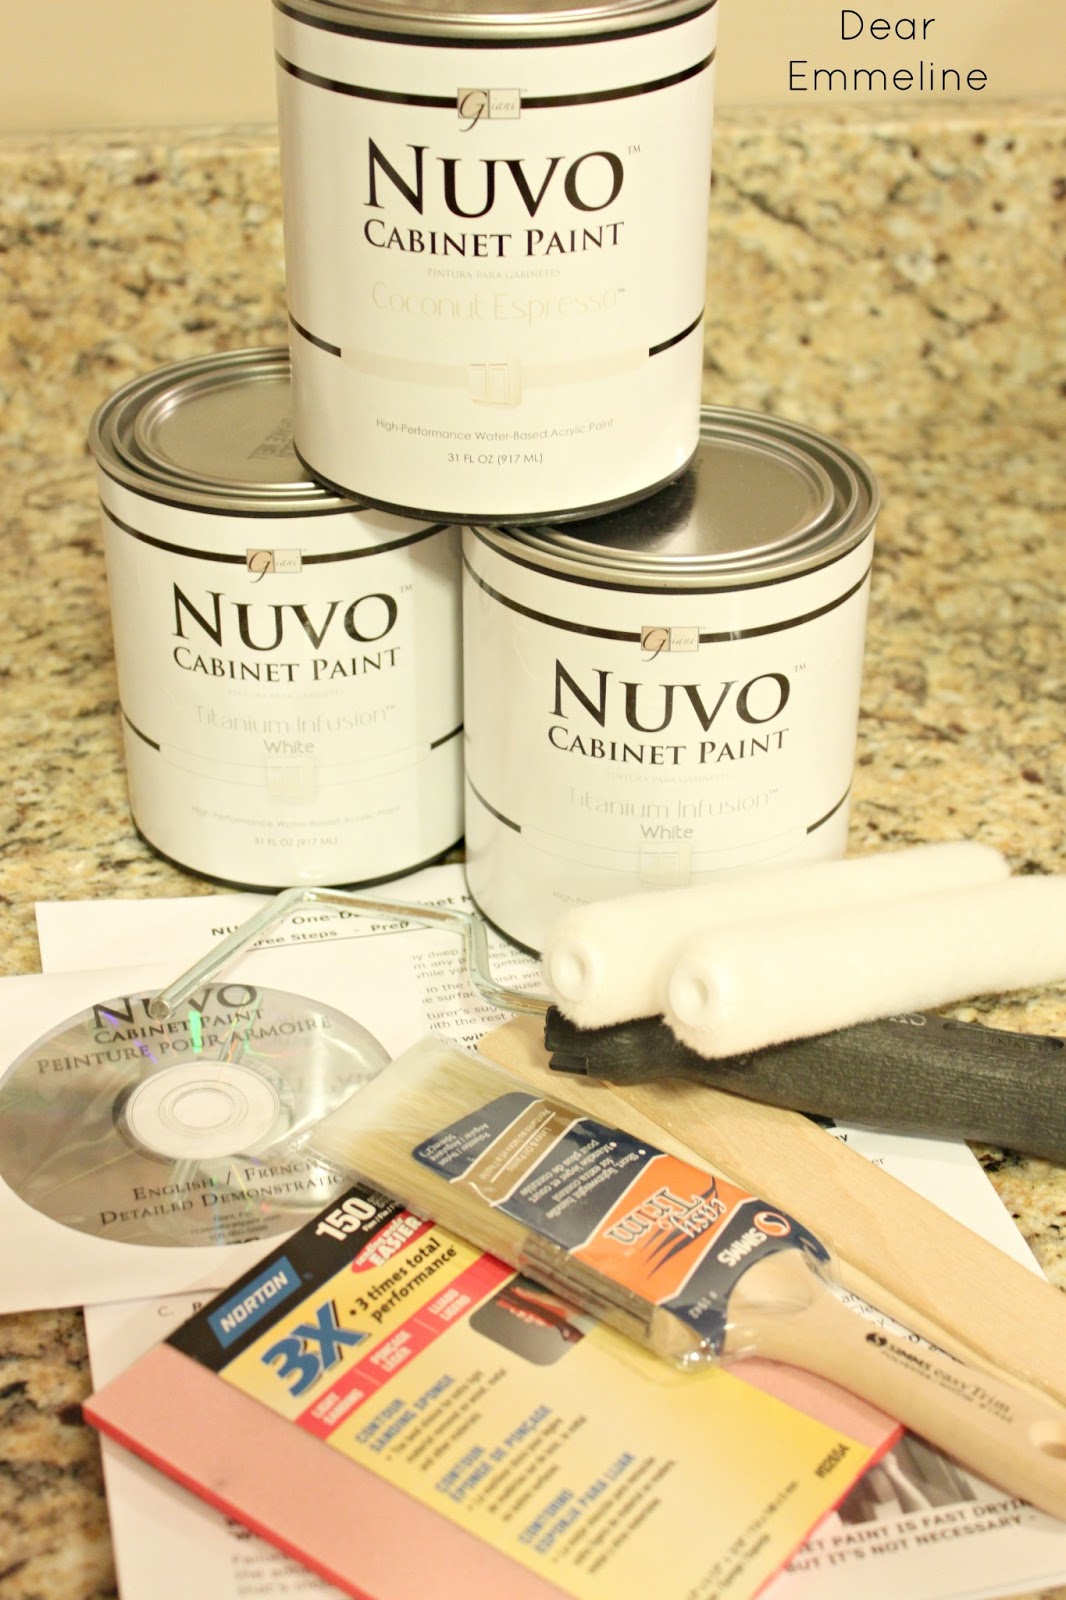
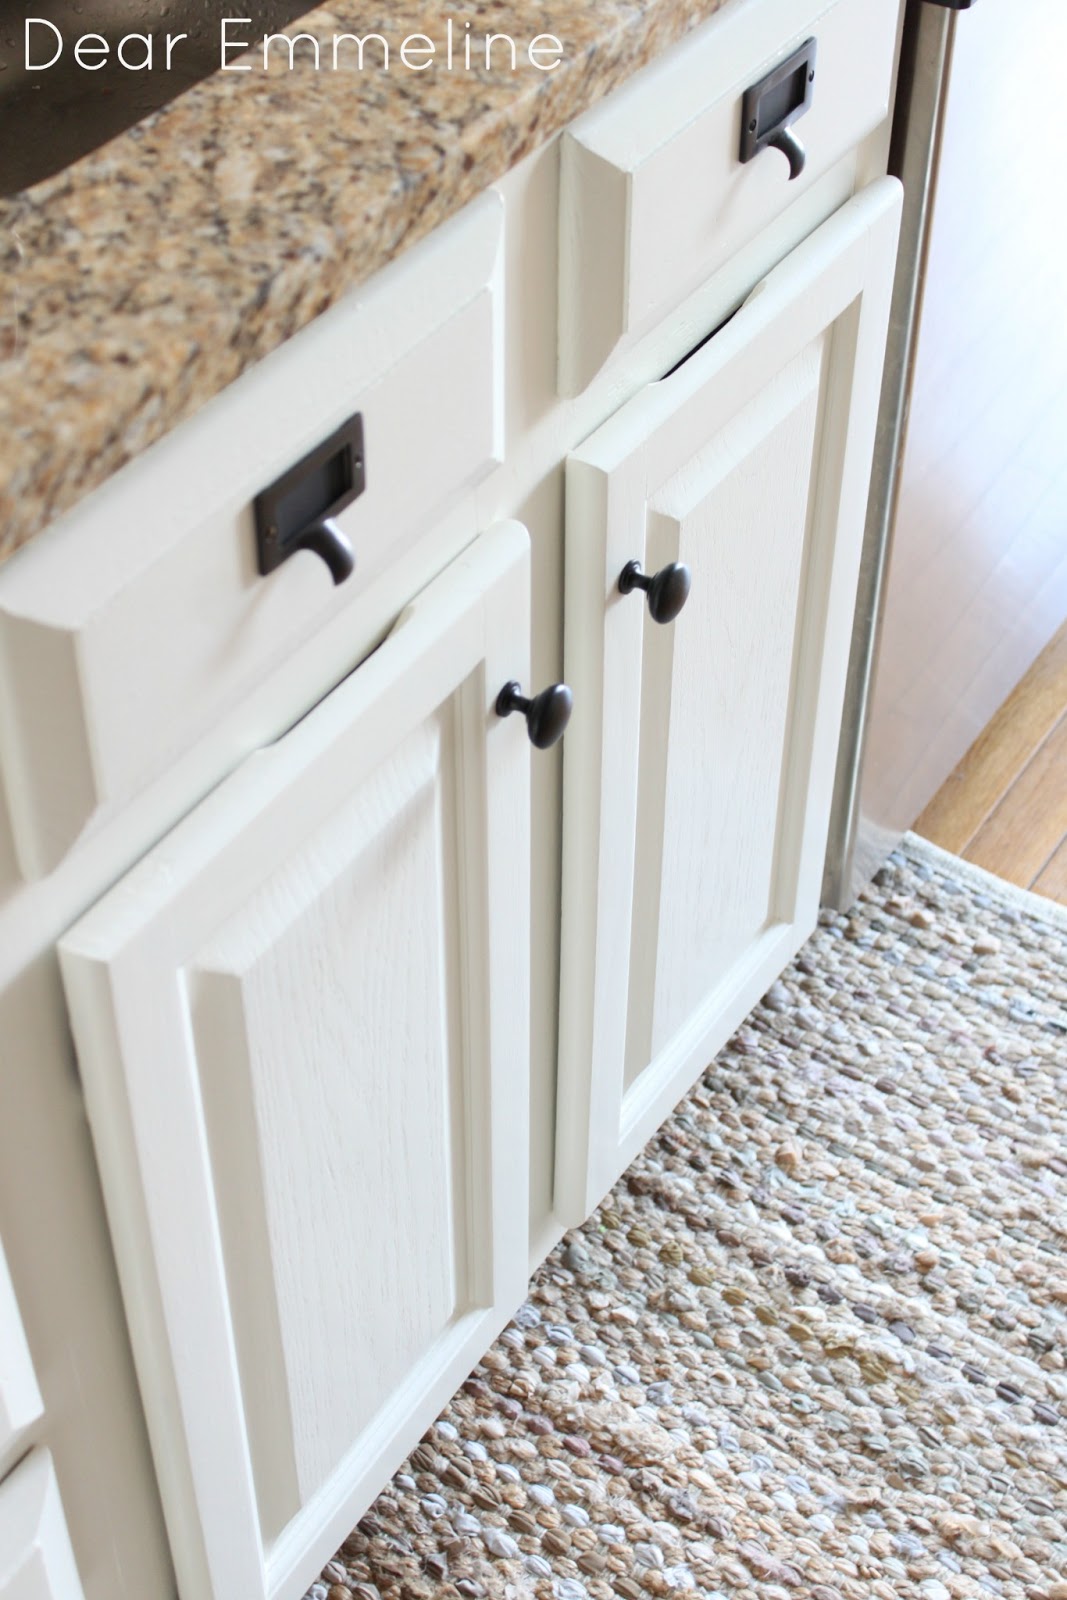
The top cabinets and large pantry cabinet are painted in Titanium Infusion: White and the lower cabinets are painted in Coconut Espresso: Creamy Soft White.
 |
| Titanium Infusion |
 |
| Coconut Espresso |
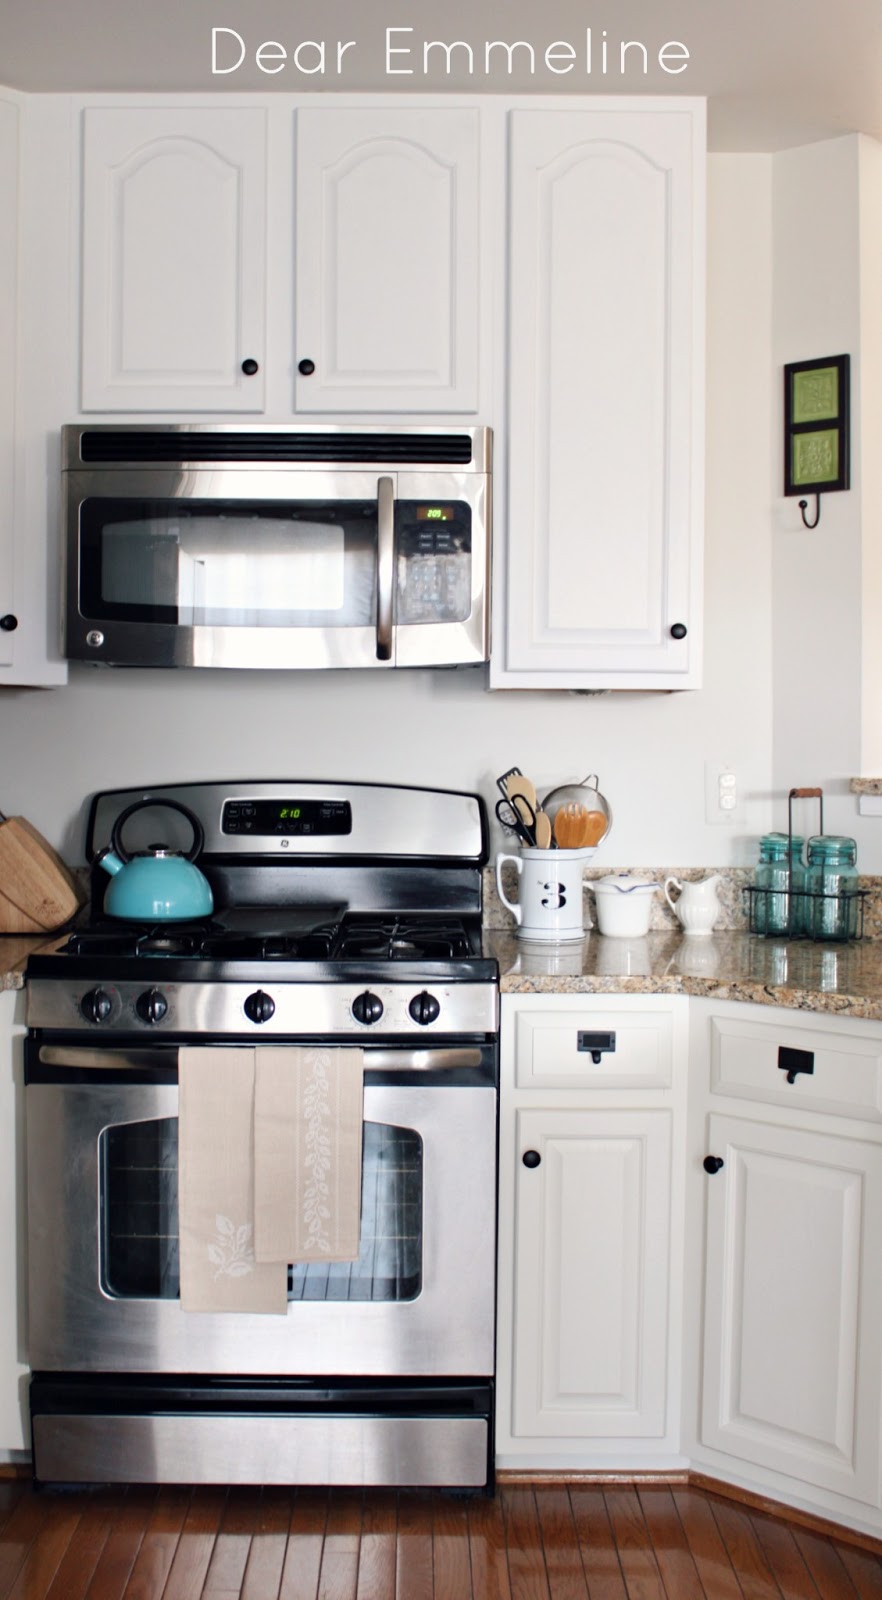
From the pictures you can see there isn’t a ton of difference in the two colors but Coconut Espresso definitely veers a tad more towards cream. We thought this would help tie the cabinets to our existing granite counter tops as well as camouflage tiny hand prints. It also helps tone down the bright bright white of the uppers and helps keep the kitchen from feeling too sterile.
Each Nuvo Cabinet Paint Kit comes with paper and video directions as well as 2 quarts of paint, a sanding pad, angled brush, a quart sized paint stirrer, and a small roller with handle. You can also order additional cans of the paint separately which is great if you have a larger than average kitchen! Nuvo Cabinet Paint is made to adhere to wood, metal, laminate, and melamine cabinets.
So here’s what we did.
First we scrubbed cabinets with Windex (recommended in directions). Let me just tell you that this is no easy task! We have killer tall cabinets and I don’t think they have had a good thorough scrubbing EVER. The details on the cabinets above the oven felt like they had a gummy coating (cooking oil I’m assuming) which was hard to remove even with the Windex and a ton of elbow grease. You may want to bring out a heavy duty cleaner for those cabinets. I would also recommend wiping down the cabinets with a Deglosser/Cleaner or Paint Deglosser
to help ensure proper paint adhesion. Giani does not recommend this in their instructions but if you want your freshly painted cabinets to last its an easy step to help.
Nuvo Cabinet Paint is quick drying water-based acrylic paint so the directions state you can simply tape off your cabinets and paint the doors without removing them. We have inside flush mount hinges so we decided to remove the doors to paint the frames.
We put the doors back on after the frames were fully painted and painted them while hanging. This allowed us to paint both sides of the door at one time making the total process quicker.
We used 3 coats of paint to get full coverage. 2 coats would most likely be sufficient for flat cabinet surfaces but our wood has a lot of grain.
 |
| 1 coat with roller |
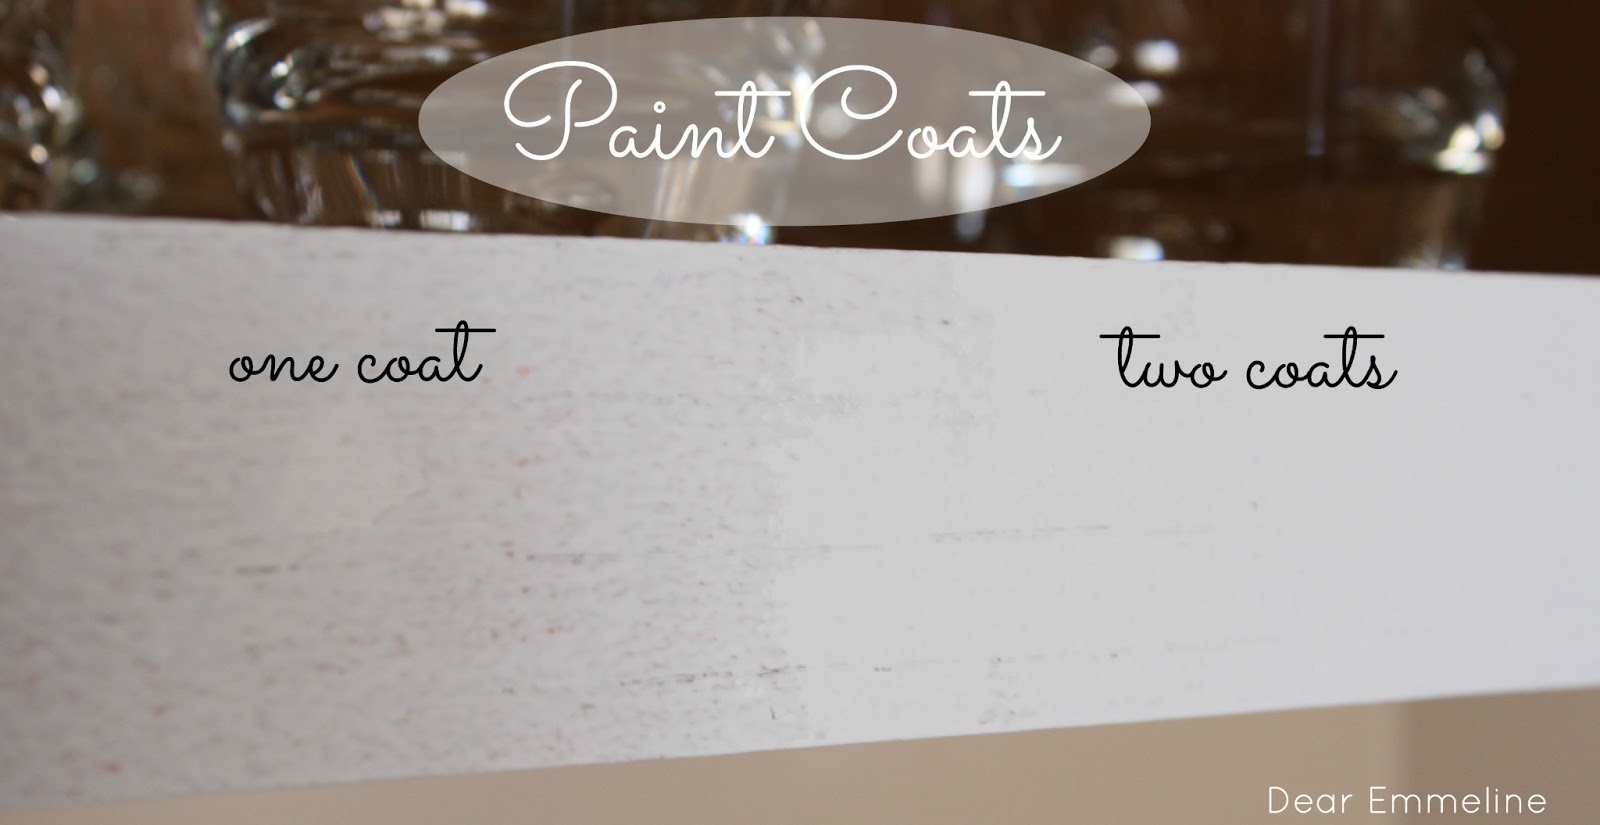 |
| first and second coats with brush |
The paint goes on smoothly and seemed to self level. Even when we used a brush there were minimal brush strokes visible after the paint dried.
We were told the cabinets did not need an additional top coat. In the few weeks we have had them painted and when we replaced the hardware we have noticed that not having a top coat seems like a bad idea. Just like any other paint, if it gets banged or scratched the paint is going to chip. After we touch up a little area that someone (undetermined who!) decided to gouge with a mechanical pencil we will be taking the time to give the cabinets a Satin Polyurethane Protective Finish. If you want your finish protected I would recommend doing the same.
Feel free to visit the other posts in our kitchen makeover series:
Painted Cabinet Reveal
Hardboard Plank Wall
Easy Conduit and Knob Curtain Rod DIY
Side Kitchen Reveal
great review! i am in the market for cabinet paint and will have to check it out!
Your kitchen looks FABULOUS…so light and bright! Love it!! Love the new hardware too!
I love it! I'm slowly coaxing my husband mind to say Yes, lets paint our cabinets white 🙂
It all looks wonderful. I'm in the process of changing my entire kitchen to white except one wall that I'm stoning. Kind of a Tuscan style but done with brown grocery bags. Yours looks so great makes me anixous to get done!
Aaah!! I want to pick up your kitchen and pop it into our house! Maybe I could live with ours if I painted our cabinets…
Such an amazing transformation. Your kitchen looks so bright and airy!
So pretty! Did you buy that #3 pitcher from me at the barn sale? 🙂
painting the cabinets made a HUGE difference! my husband wasn't sure about doing it at first and even he admitted he's so glad we did!
Sure did! I planned on putting a source list in one of the post and then they got so long so I didn't. I should probably add it to the reveal post or make a separate post for anyone who likes to know those kinds of details!
SO gorgeous!!! I love white cabinets! We are just getting the ball rolling on our kitchen redo. Excited 🙂
This looks so light, clean, and spacious! I love white kitchens. That painting kit sounds great!
Great transformation! Very light and bright!~~Angela
This looks FANTASTIC!!! The before and after is amazing!!! I love the idea of an actual paint for cabinets.. Genius!! I also Love the cabinet hardware 😉
xo
Angelina
Oh my this is gorgeous!!! Just posted it on my fb page. Thanks for linking up.
XO
Kristin
Your kitchen looks beautiful! Love love love the white! 🙂
WOW!!!! Your Cabinets are gorgeous, you did such a great job. Hard work paid off. It looks so bright and new. I'm currently on coat 2 with mind and I'm happy to see that my paint is looking the same as yours at that stage. I keep debating on the sealer as well. I can see where the paint may chip when hit too hard, but I've heard Poly can leave a yellow stain on white cabinets. I'll be anxious to hear how yours turns out. I love that you are just a few steps a head of me 🙂
Such a huge improvement! I've been wanting white cabinets, but being in an apartment makes that a little difficult 🙂
Thanks for the info on the paint. I am actually looking for a paint right now. Can u put the paint in a sprayer ?
Wonderful transformation!!…from orange to Gorgeous!!…I never heard of that paint before. We painted our cabinets a year and a half ago…pls come over and check it out…let me know what you think…enjoy your lovely space!!
Have a happy day, Mariaelena
Thanks for the info. I've been wanting to get my kitchen cabinets painted but was undecided about the paint. I'm going to take a look at the Giani.
BTW, your kitchen looks fabulous. Great job! 🙂
Kelly
Looks so fresh and light, Jessica! I love a white kitchen. I ended up using General Finishes Polycrylic (Satin) on my cabs too…my little ones are hard on painted surfaces. I'm sure you'll feel much better when you get a clear coat on there…if anything for piece of mind.
Wow! Looks amazing. I'm getting ready to renovate a kitchen and I'm thinking we could save a lot of money by redoing (painting) the cabinets ourselves. How did you decide to go with the Nuvo paint? Where did you first hear about it? Did you end up buying more paint for your cabinets or was the kit enough? Did you get a sample of the colors, or just go with what you saw on the website? And lastly, did you use a roller or brush? Thanks!
Thanks Chessa! I believe I first saw Nuvo over at the blog Mom4Real. When I went to check them out I saw that the paint was supposed to dry fast and they call their paint a one day cabinet makeover. It definitely took us more than one day but we worked in stages. We went by the colors on the screen but they also have pictures of made over kitchens on their site and facebook page. We got two cans of the white (uppers) and one of the creamy white (lowers). The kit comes with 2 cans. If you were painting with only one color one kit might be enough. We had some of both colors left. We used a combo of brush and roller. The kit comes with both ad intructions for how to paint with each.
Does this work on laminate cabinets?
According to the Nuvo Cabinet Paint website; "What surfaces can I paint? –
NUVO™ one-day cabinet makeover paints are designed to adhere to all wood, metal,
laminate and melamine cabinets and frames."
http://nuvocabinetpaint.com/index.html
Emmeline-
It looks wonderful, I went ahead and did the same thing for our cabinets. Seems like it does chip a bit easy — did you end up using the Miniwax finish? I'm worried it might yellow the cabinets a little bit so I wanted your advice.
Thanks!
We bought a new home and moved before we got a chance to seal them. The water-based formula is supposed to be non-yellowing so I think you'd be safe on a light color as long as you use water-based and not oil-based.
Love your kitchen makeover, it looks stunning!! And thank you so much for your detailed instructions, I just purchased the Cocoa Couture kit for my bathroom and wondered if I should, or could, do a Polycrylic coating. I can't wait to get started!!
Thanks so much! I would definitely suggest a top coat and allowing proper dry times. That might be hard if you are using the cabinets. Removing the doors and keeping them off a few days would give them more time to cure.
Thanks so much for the reply. I just painted my bathroom cabinet Wed, do you have a recommendation on how many days paint should cure before adding polycrylic?
Luckily it's a guest bath so it will not be in use until I'm finished. Thanks so much!
Usually each paint has it's own instructions for dry time between re-coats and top coats. I would say you could top coat as soon as the base coat is completely dry.
Great. I love the white color, it makes your kitchen becomes really bright and clean. And thank you for the useful information.