• About
  • Contact
  • E

Petal + Ply

formerly Dear Emmeline

  • Make + DIY
  • Home + Decor
  • Life + Style

Dollhouse Shelf Redo with Plaid Crafts

April 16, 2013 ·

 photo disclosure-banner_zpsfb181980.jpg


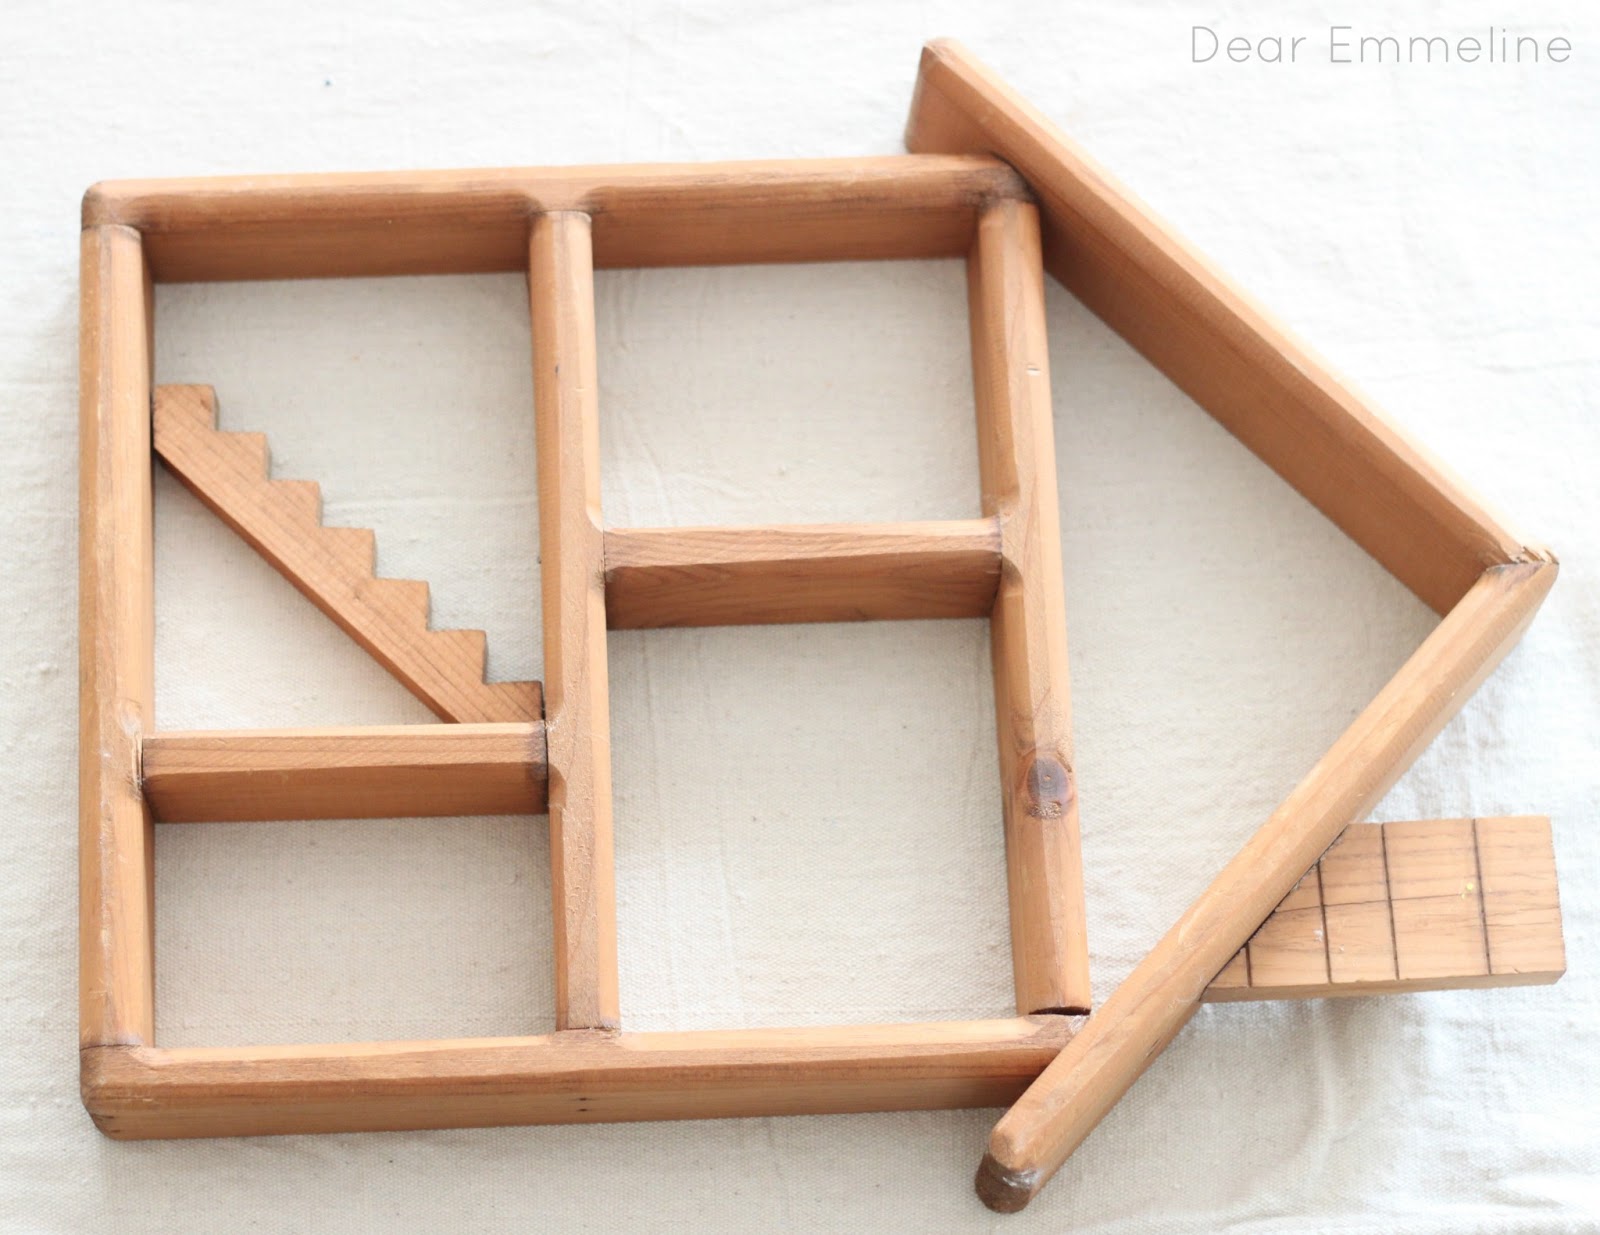
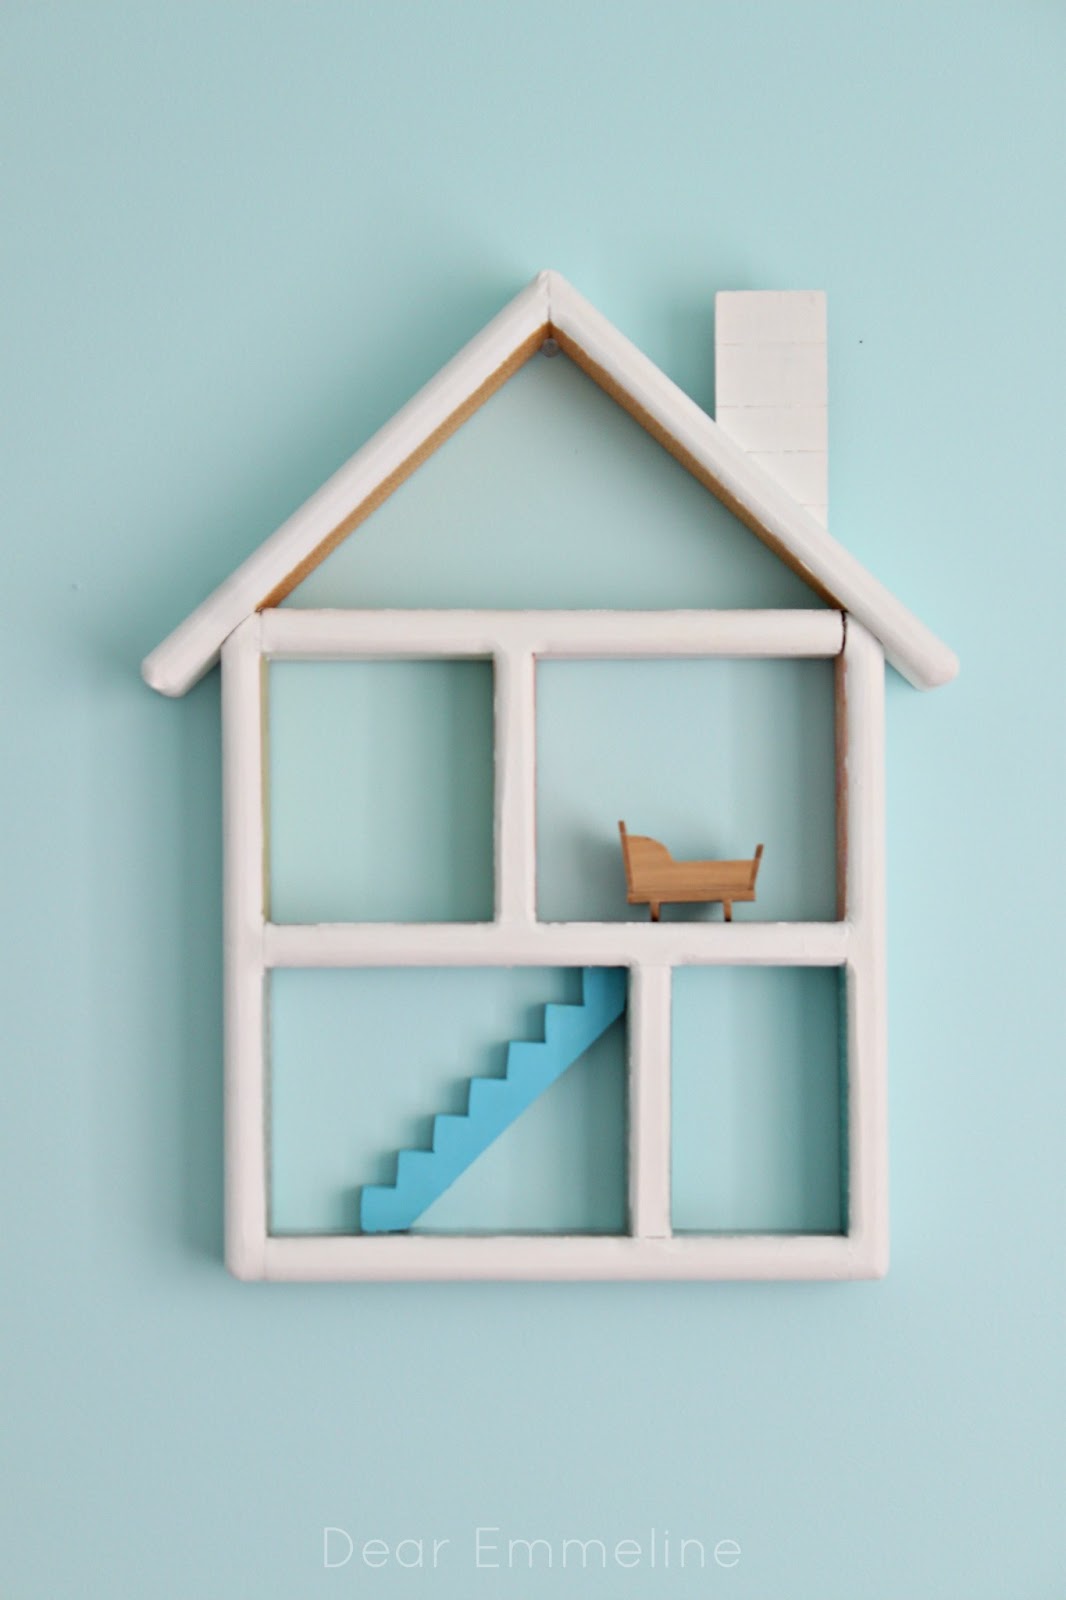
Can you tell how excited my daughter was to get to help makeover this little dollhouse shelf I found at a local thrift store!  We received a box of crafting goodies from Plaid Crafts that were perfect for this little makeover.


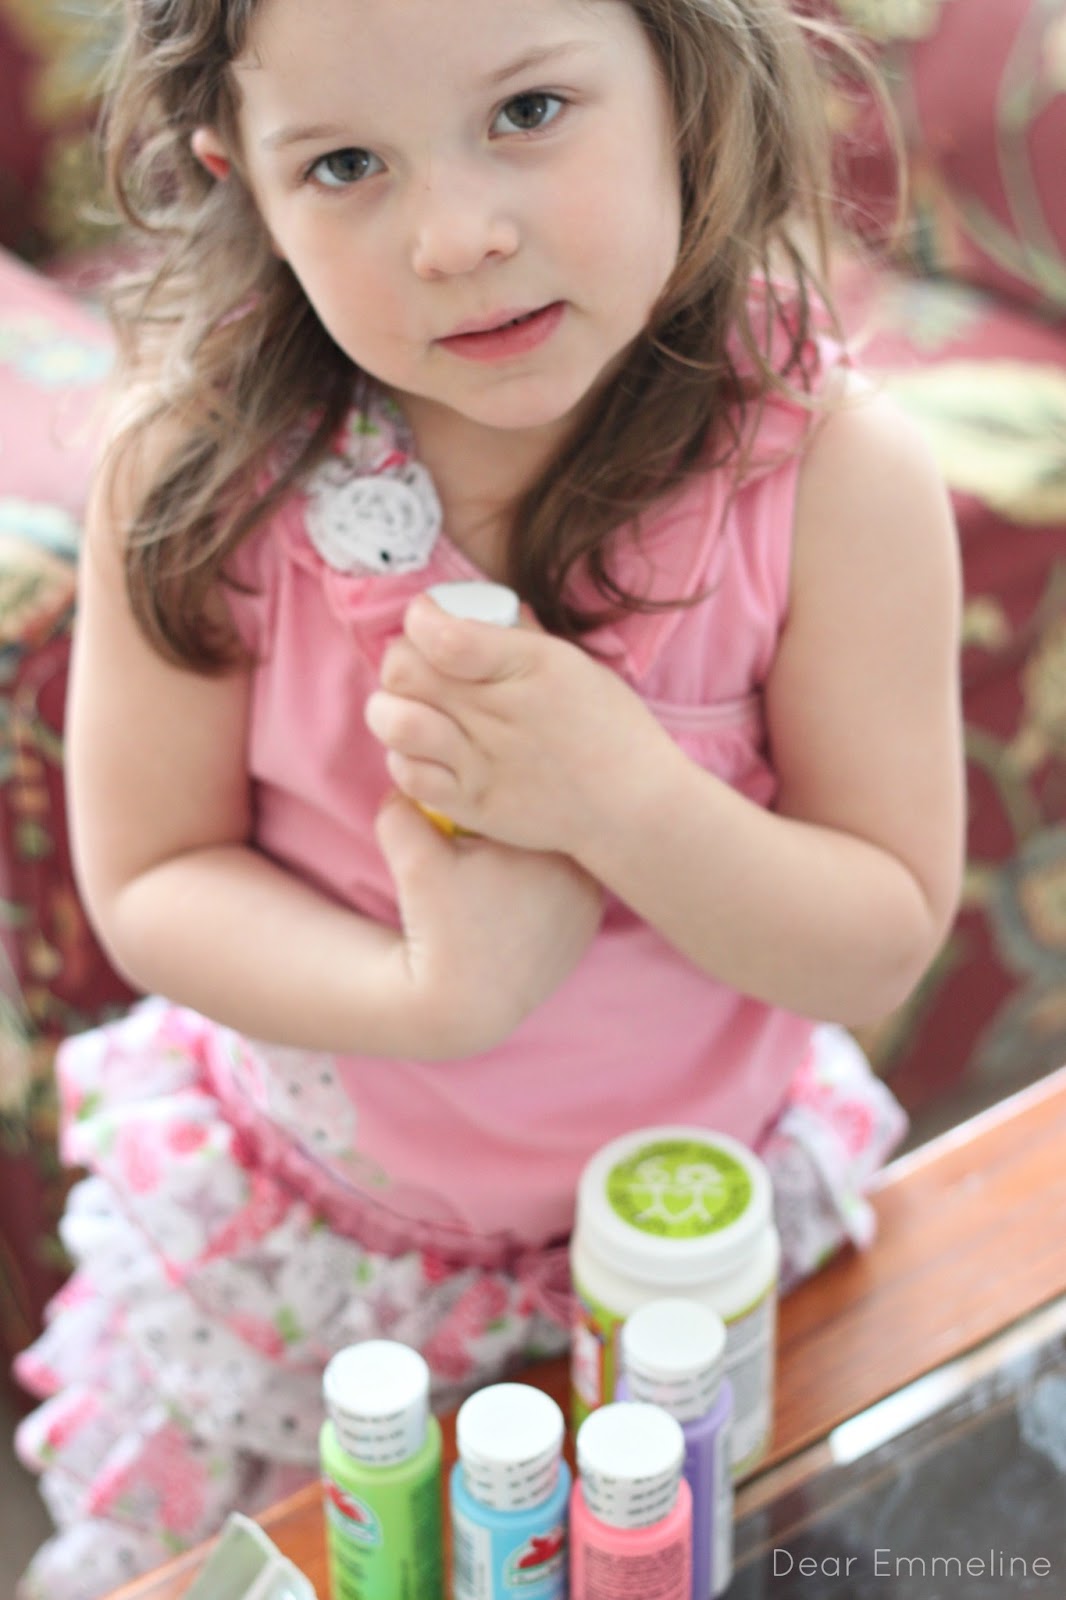
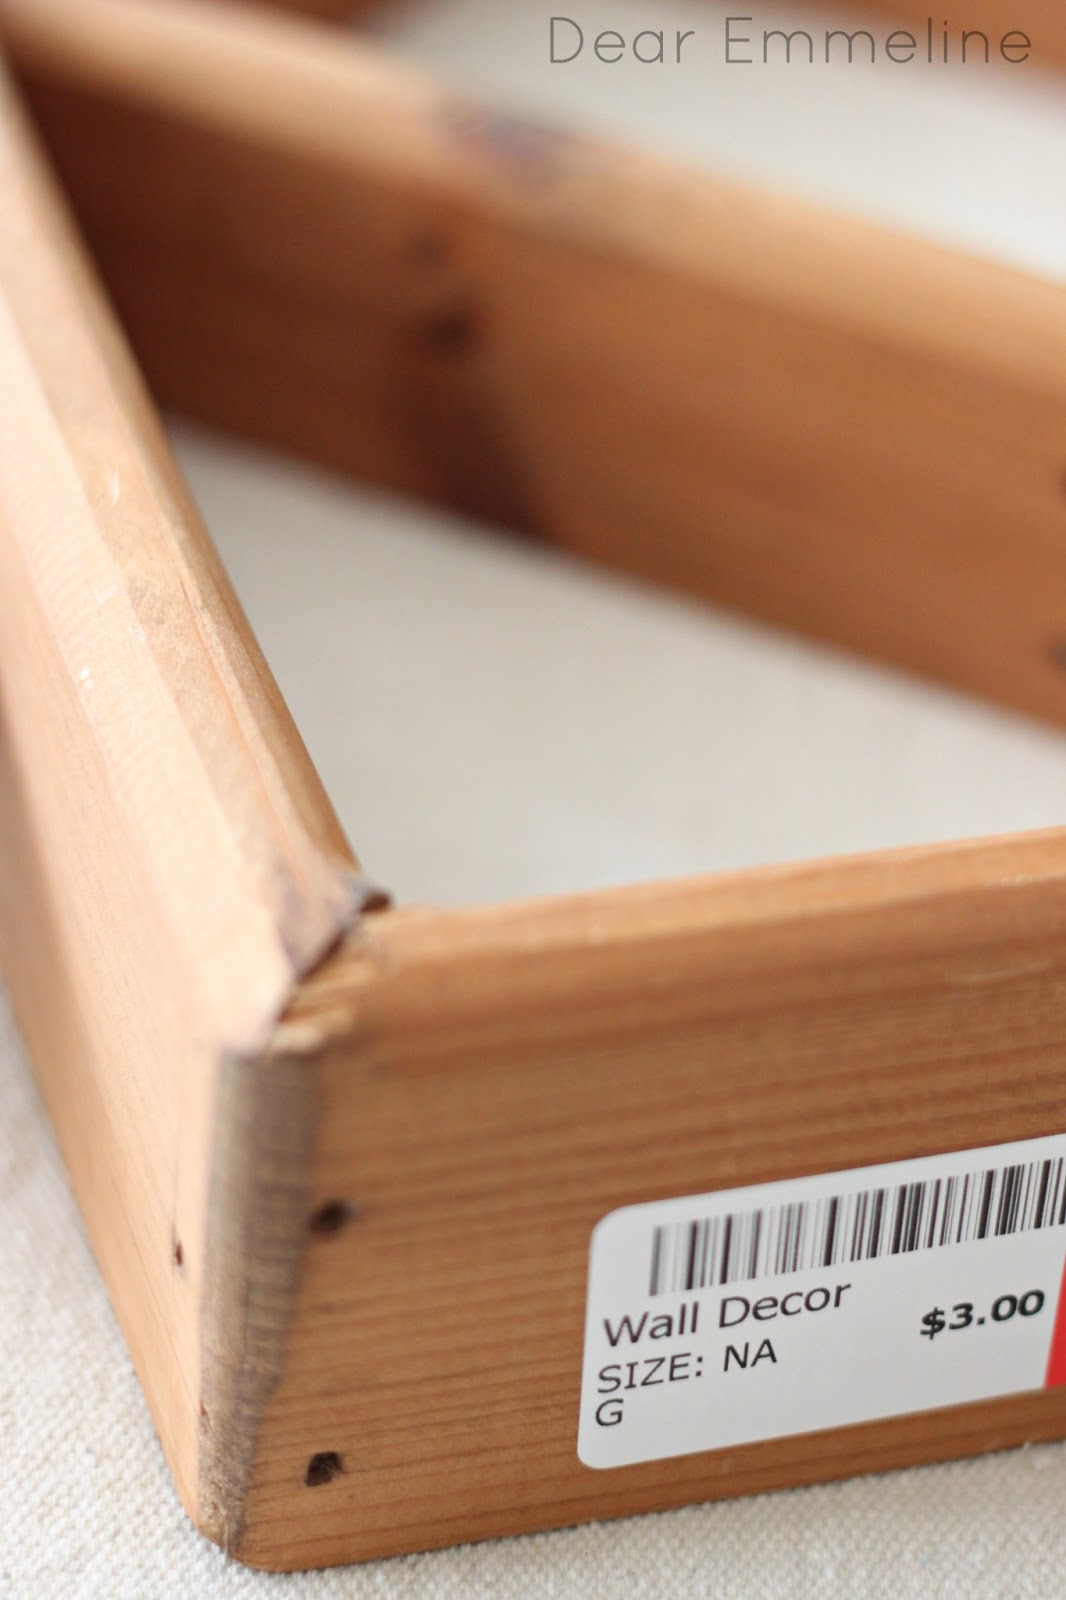
The shelf was priced at $3.00 and it was 50% off so we walked out with it for a whopping $1.50!!  Steal!

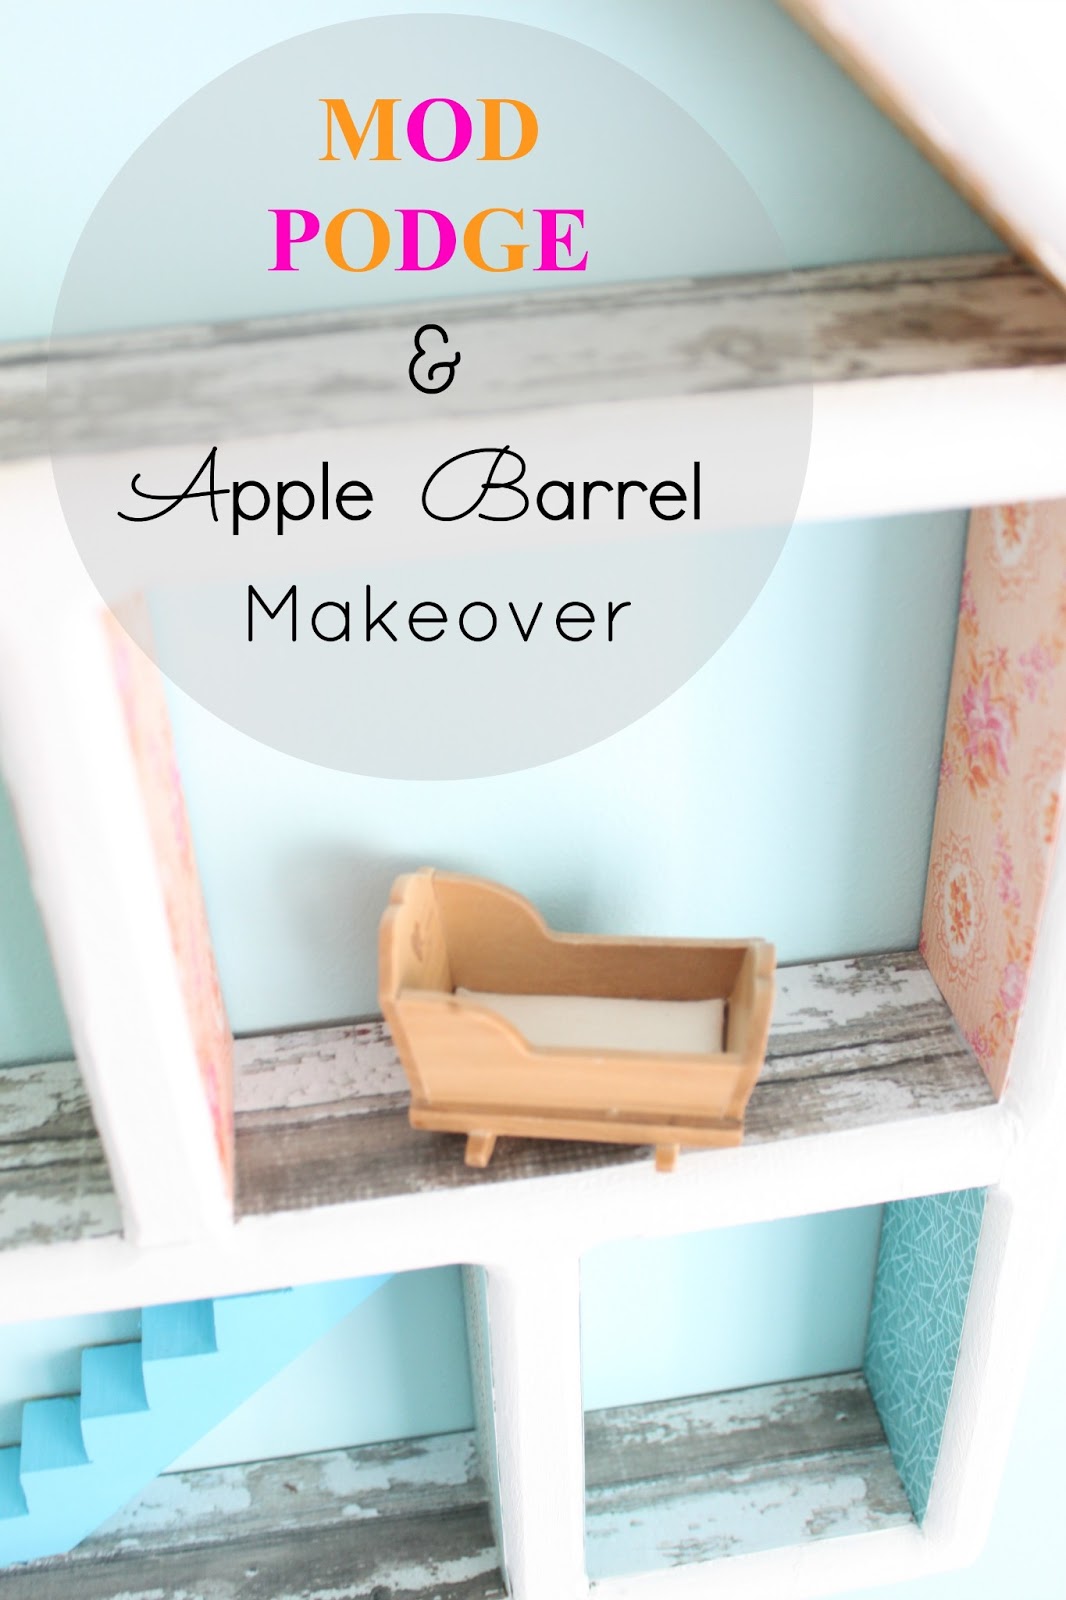
It wasn’t much to look at but I knew with a little makeover it would be perfect to hang in her room.

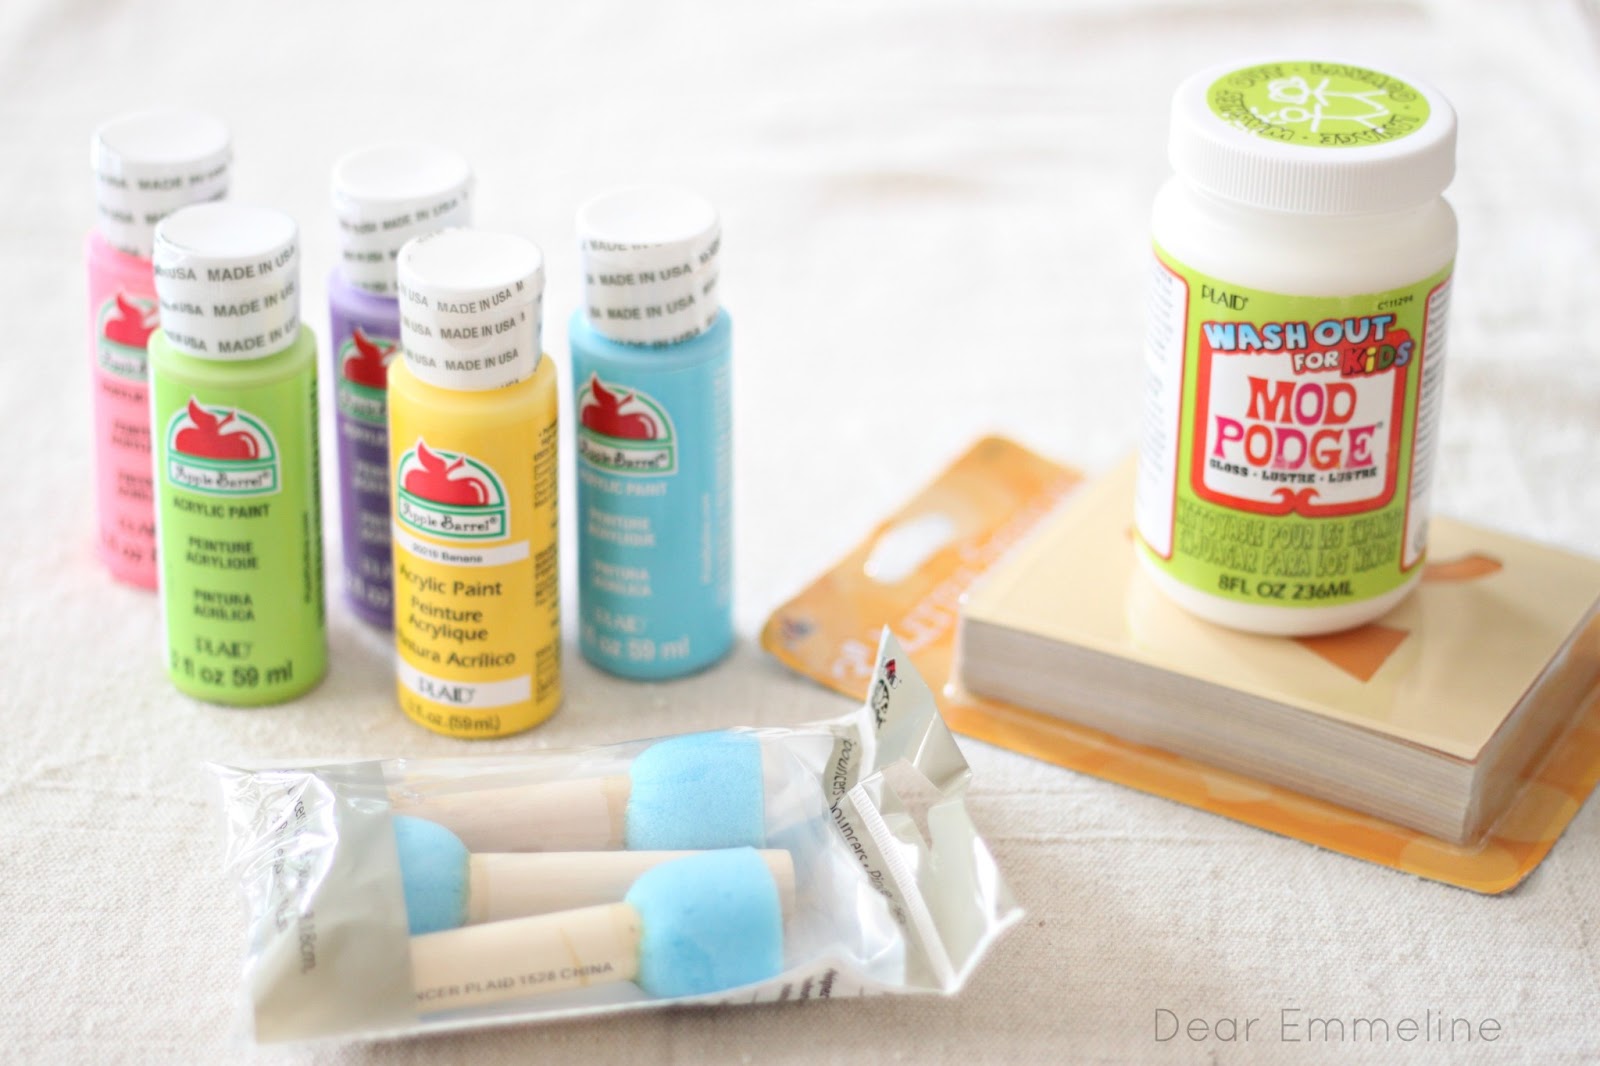
Here’s what you’ll need:
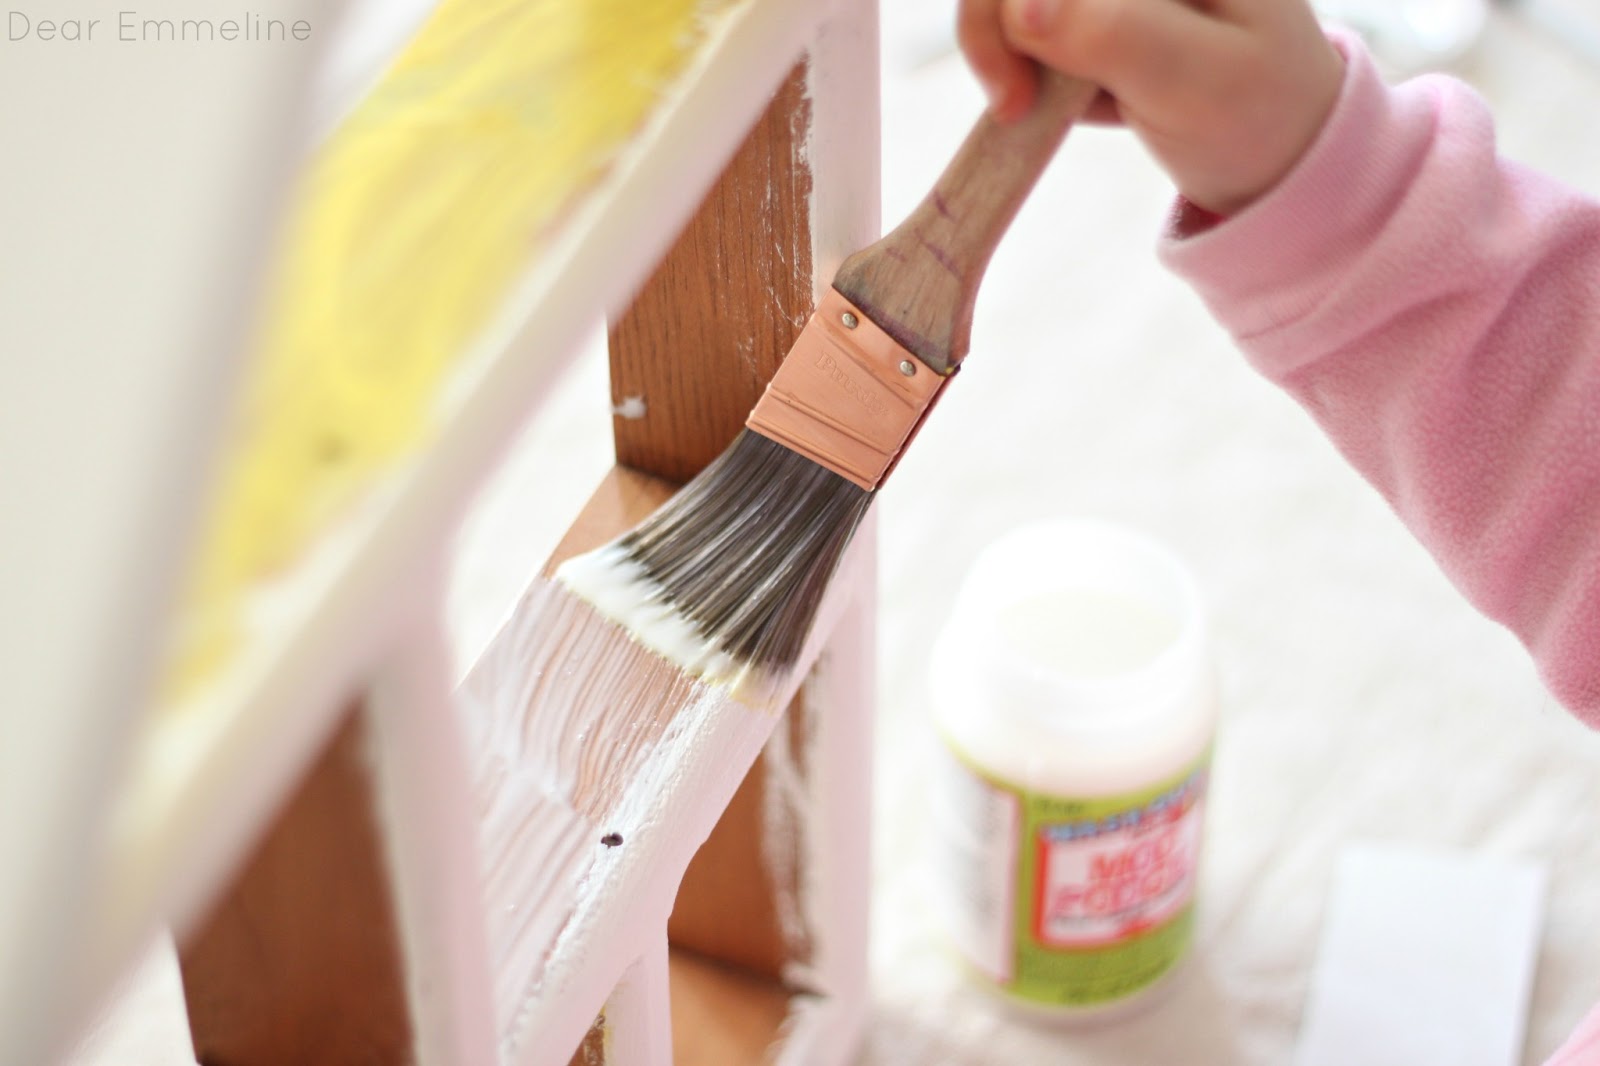
  • Mod Podge Washout
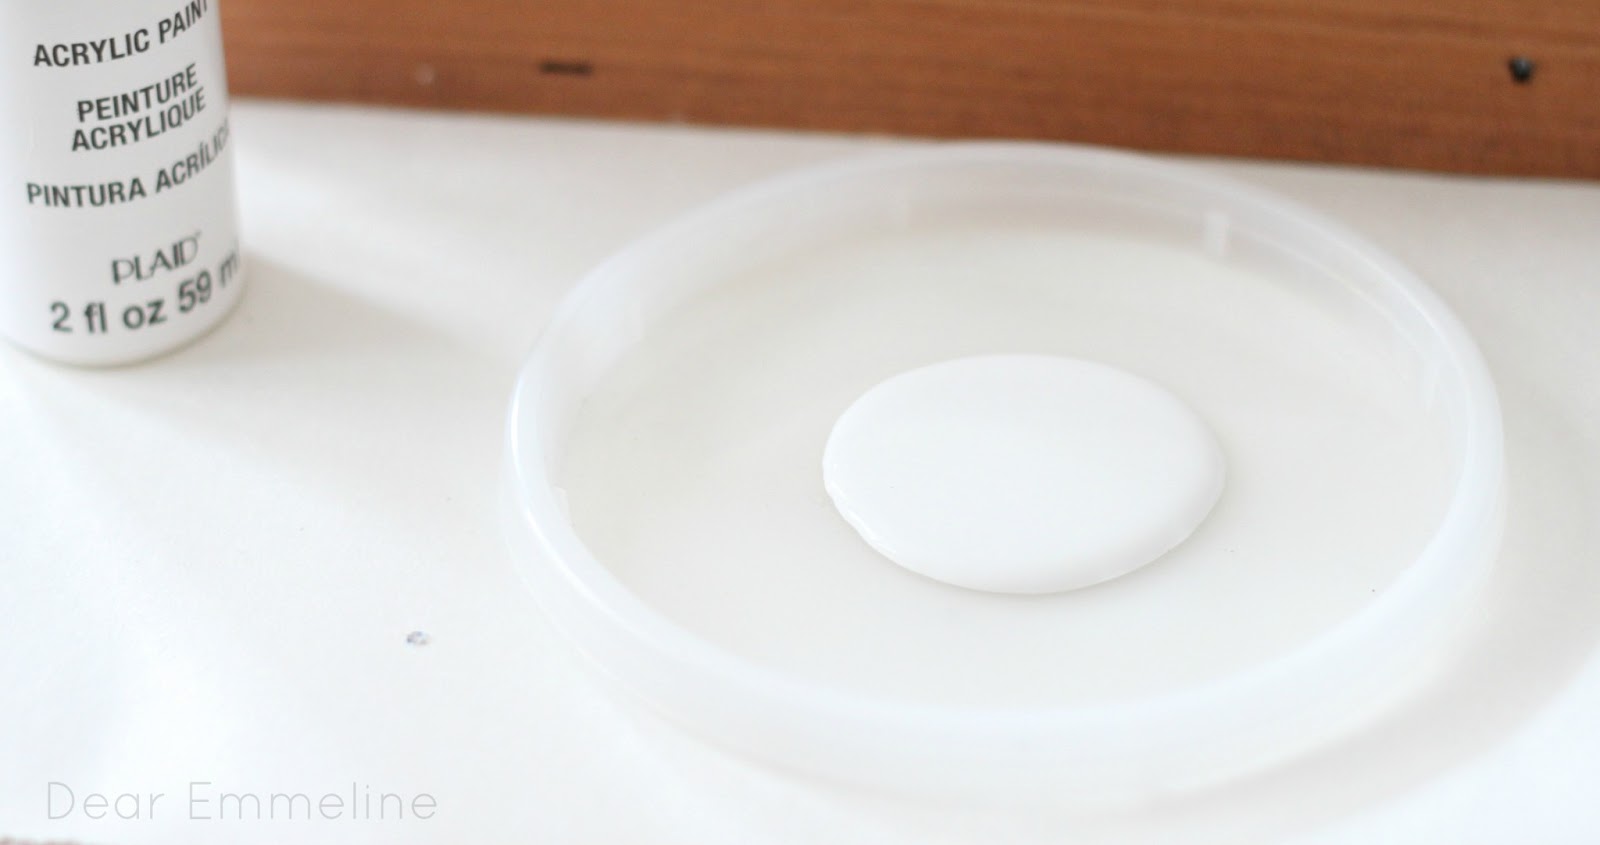
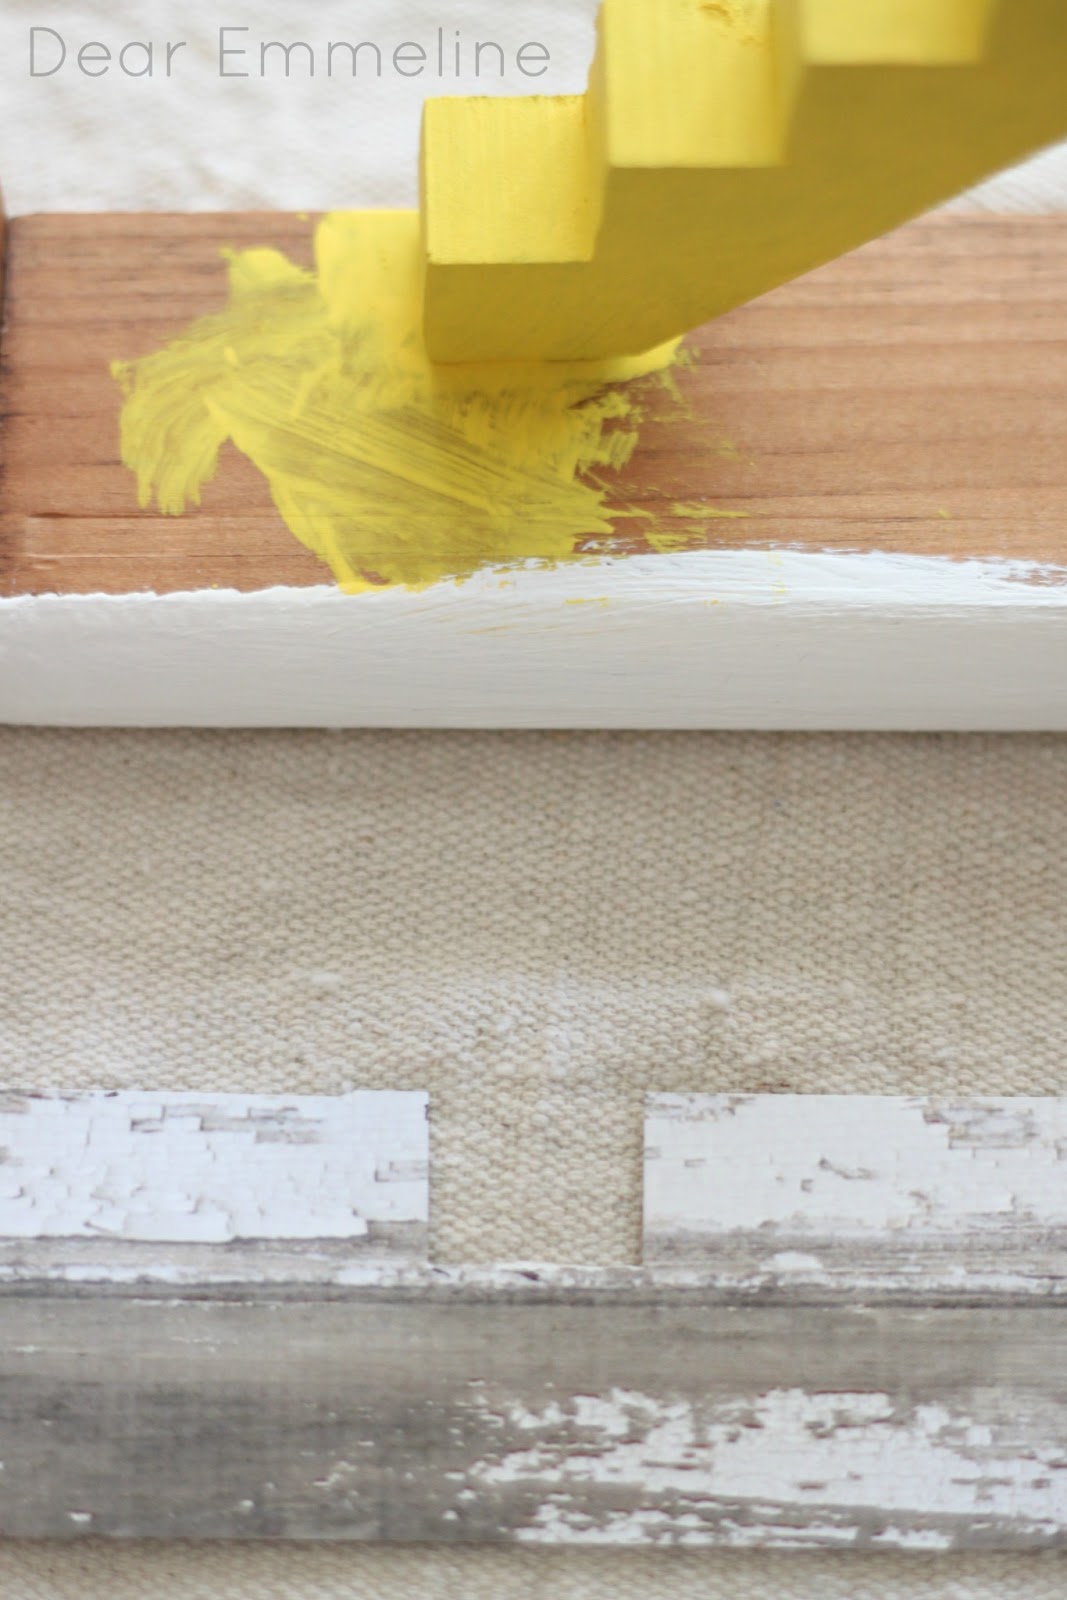
  • Apple Barrel paint in your color(s) of choice
  • paintbrush
  • wood item to paint (Dollhouse Wall Shelf)
  • drop cloth or butcher paper to protect surface
  • palette to hold paint
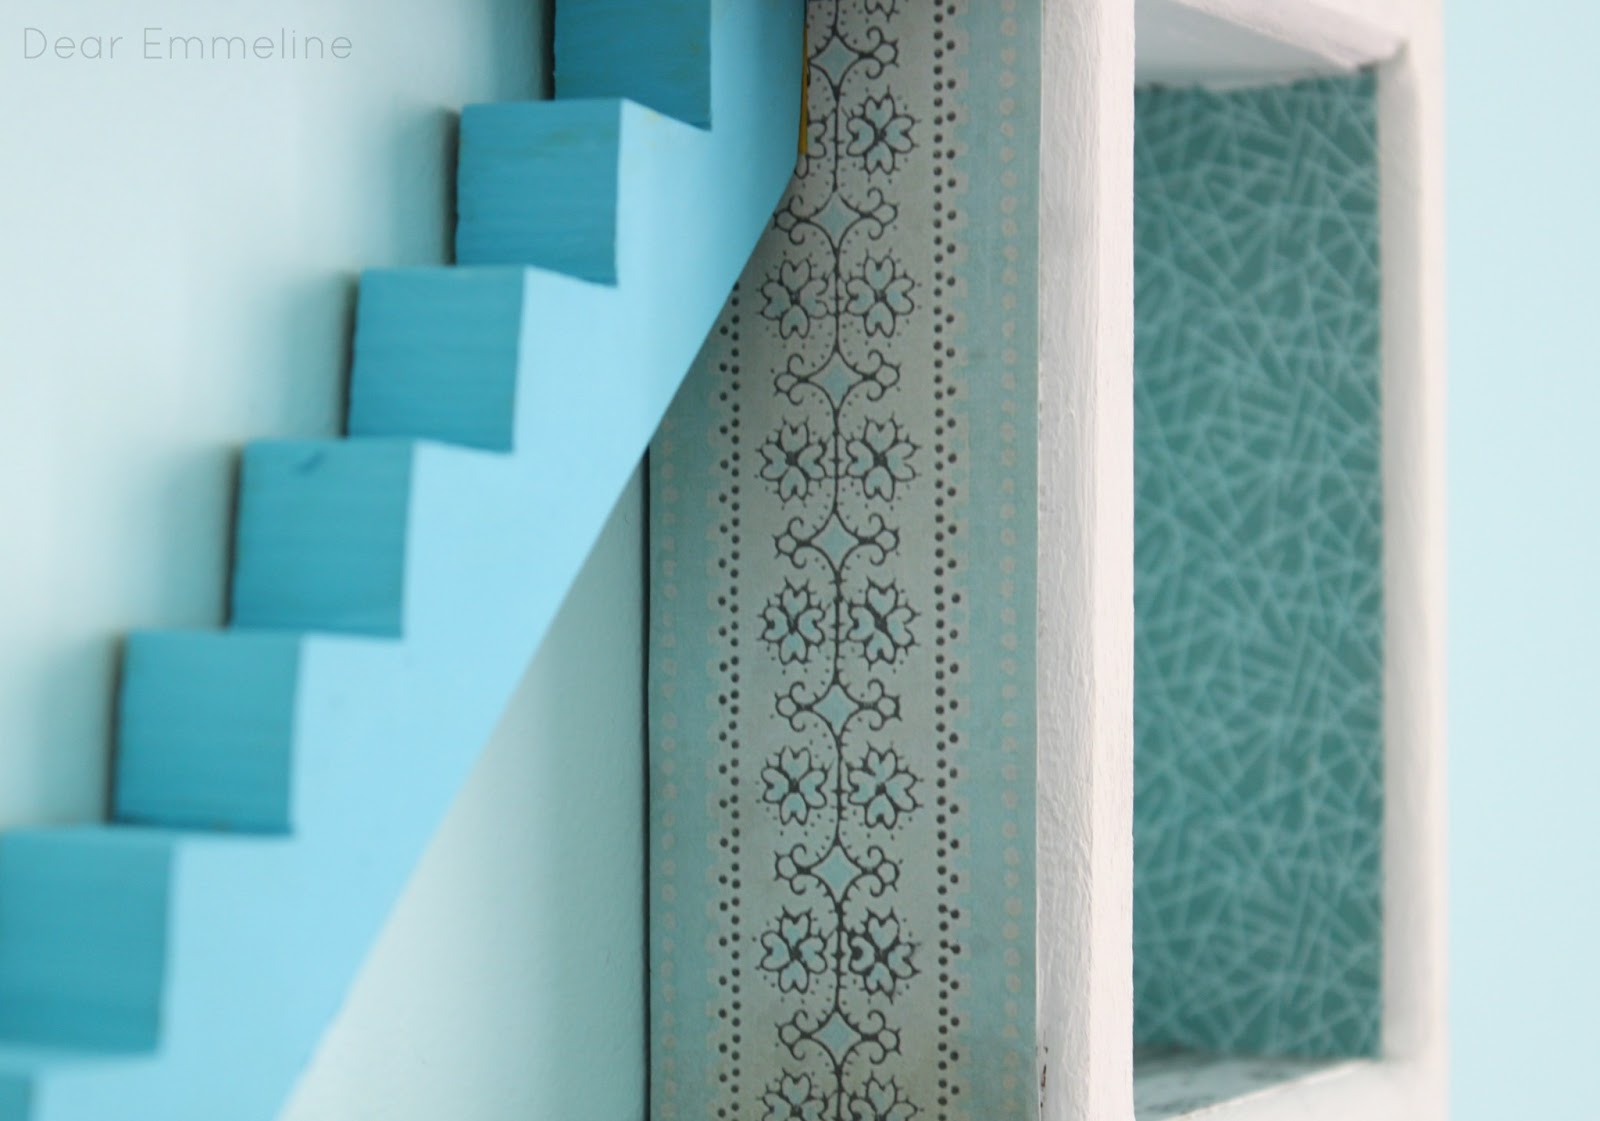
  • scrapbook paper
  • scissors
If you haven’t heard of Mod Podge Wash Out for Kids you’ll be excited to know that it offers the same great benefits as the Mod Podge Gloss formula but whether dry or wet it is completely washable (with soap and water) making it the perfect crafting formula for kids.  Yay!!  My daughter wanted to wear a new outfit from her Grammy the day we decided to complete this project.  Since I knew the Mod Podge would wash right out I went ahead and let her wear it!  In case you are wondering Apple Barrel paints wash out with soap and water too as long as they’re still wet!  Apple Barrel acrylic paints work on many craft surfaces so I knew they would adhere perfectly to this wood dollhouse shelf.
Here’s how it’s done:
1. Pour out a little paint at a time onto a palette for easy access.  We used a plastic container lid.  Paint  the wood surface in a base color of your choice.  Since we covered the floors and walls with paper we simply painted the outside, front edges, ceilings, and staircase.
2. Measure each floor and cut wood plank scrapbook paper to fit each space.  For the floor space in the staircase room we cut a notch for the base of the staircase.

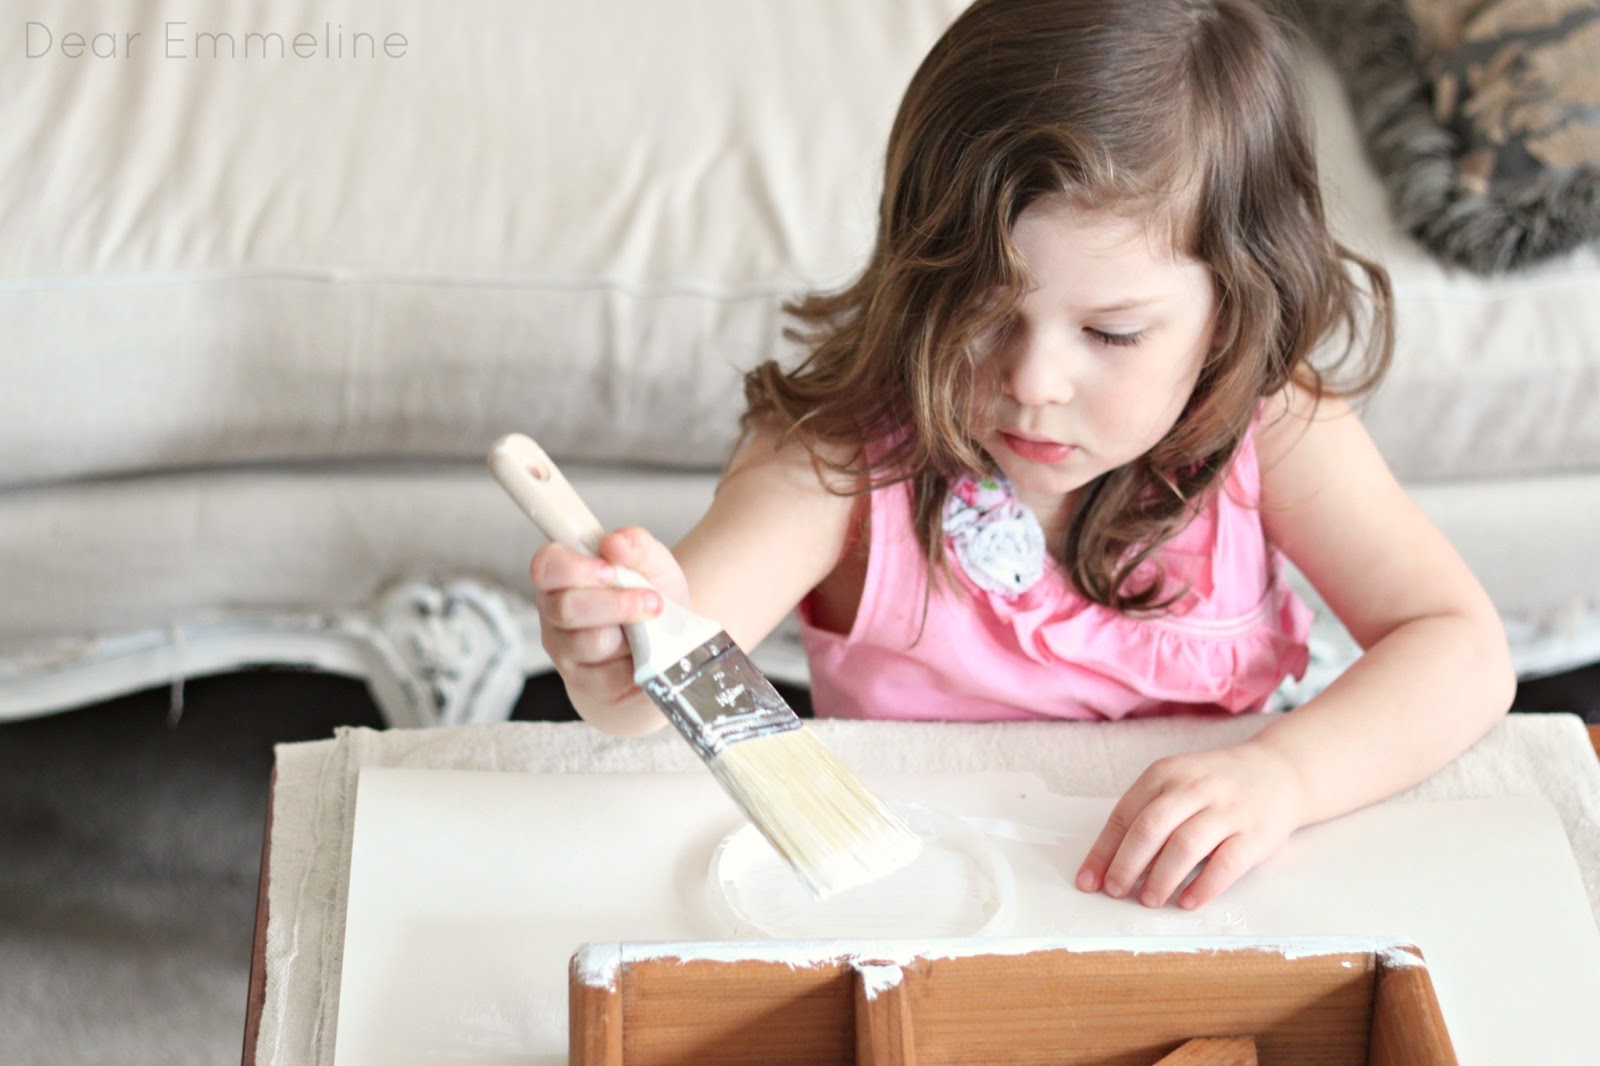
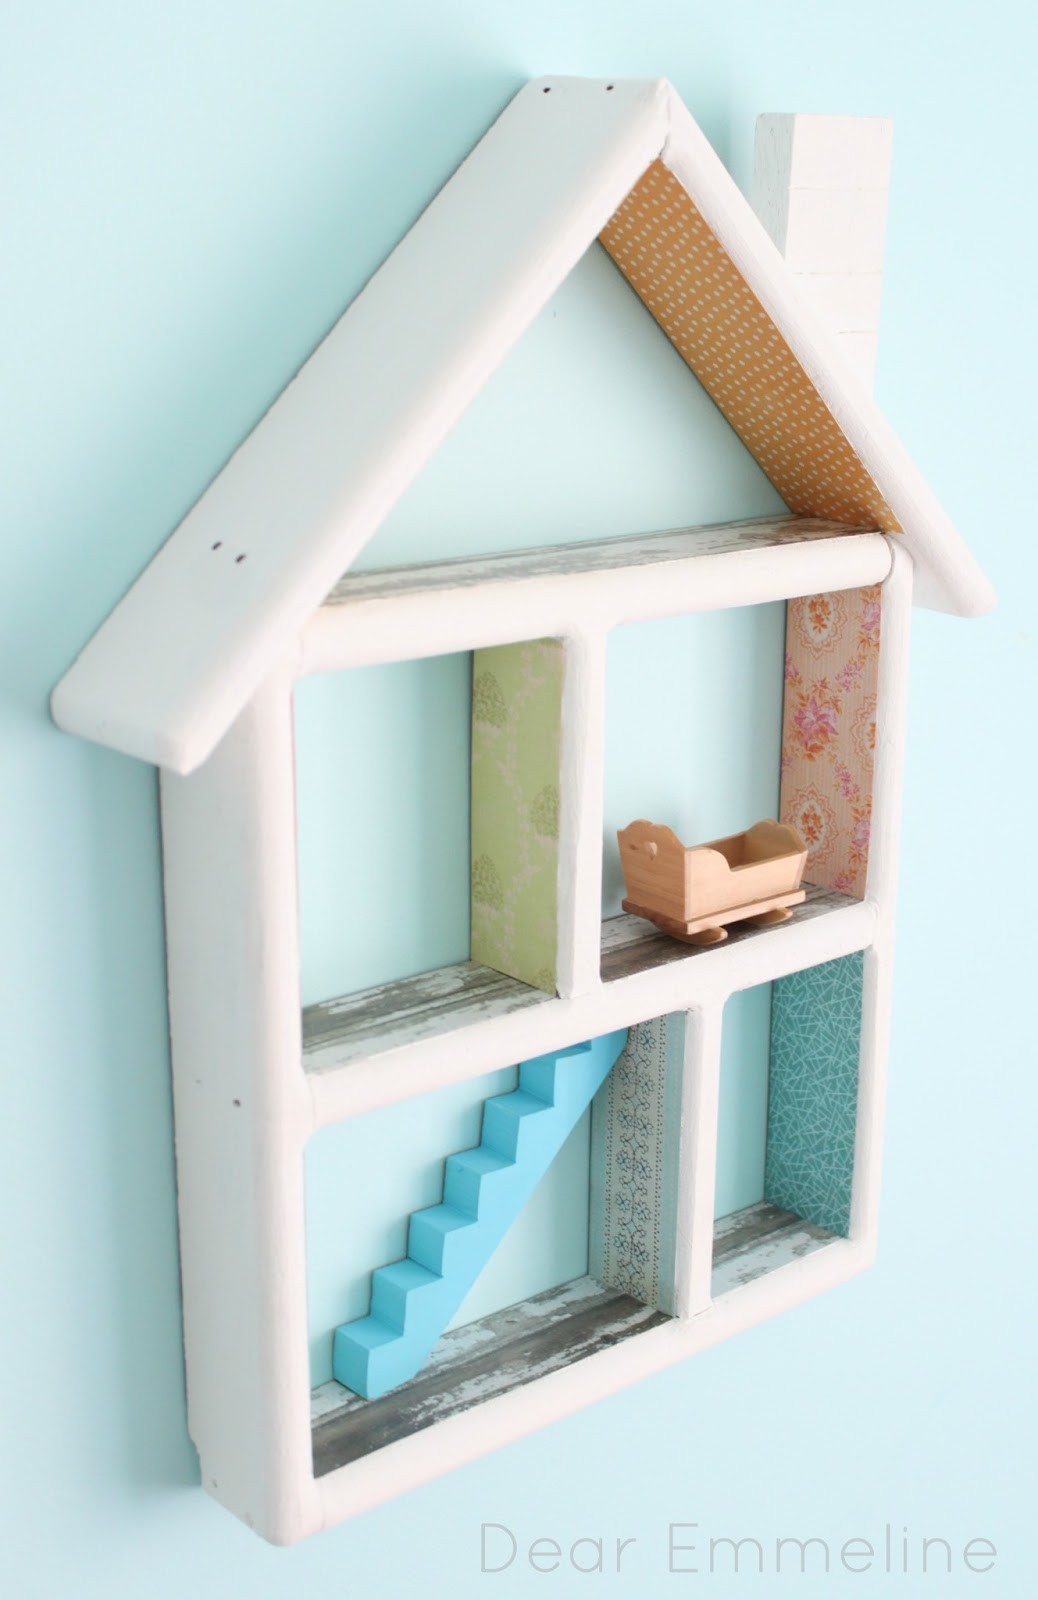
3. Paint a thin coat of Mod Podge Wash Out onto the wood surface.  Place in the paper, press down, and allow to dry for a minute.  After the glue has had a minute to firm up press all over the paper surface to make sure there is good adhesion.

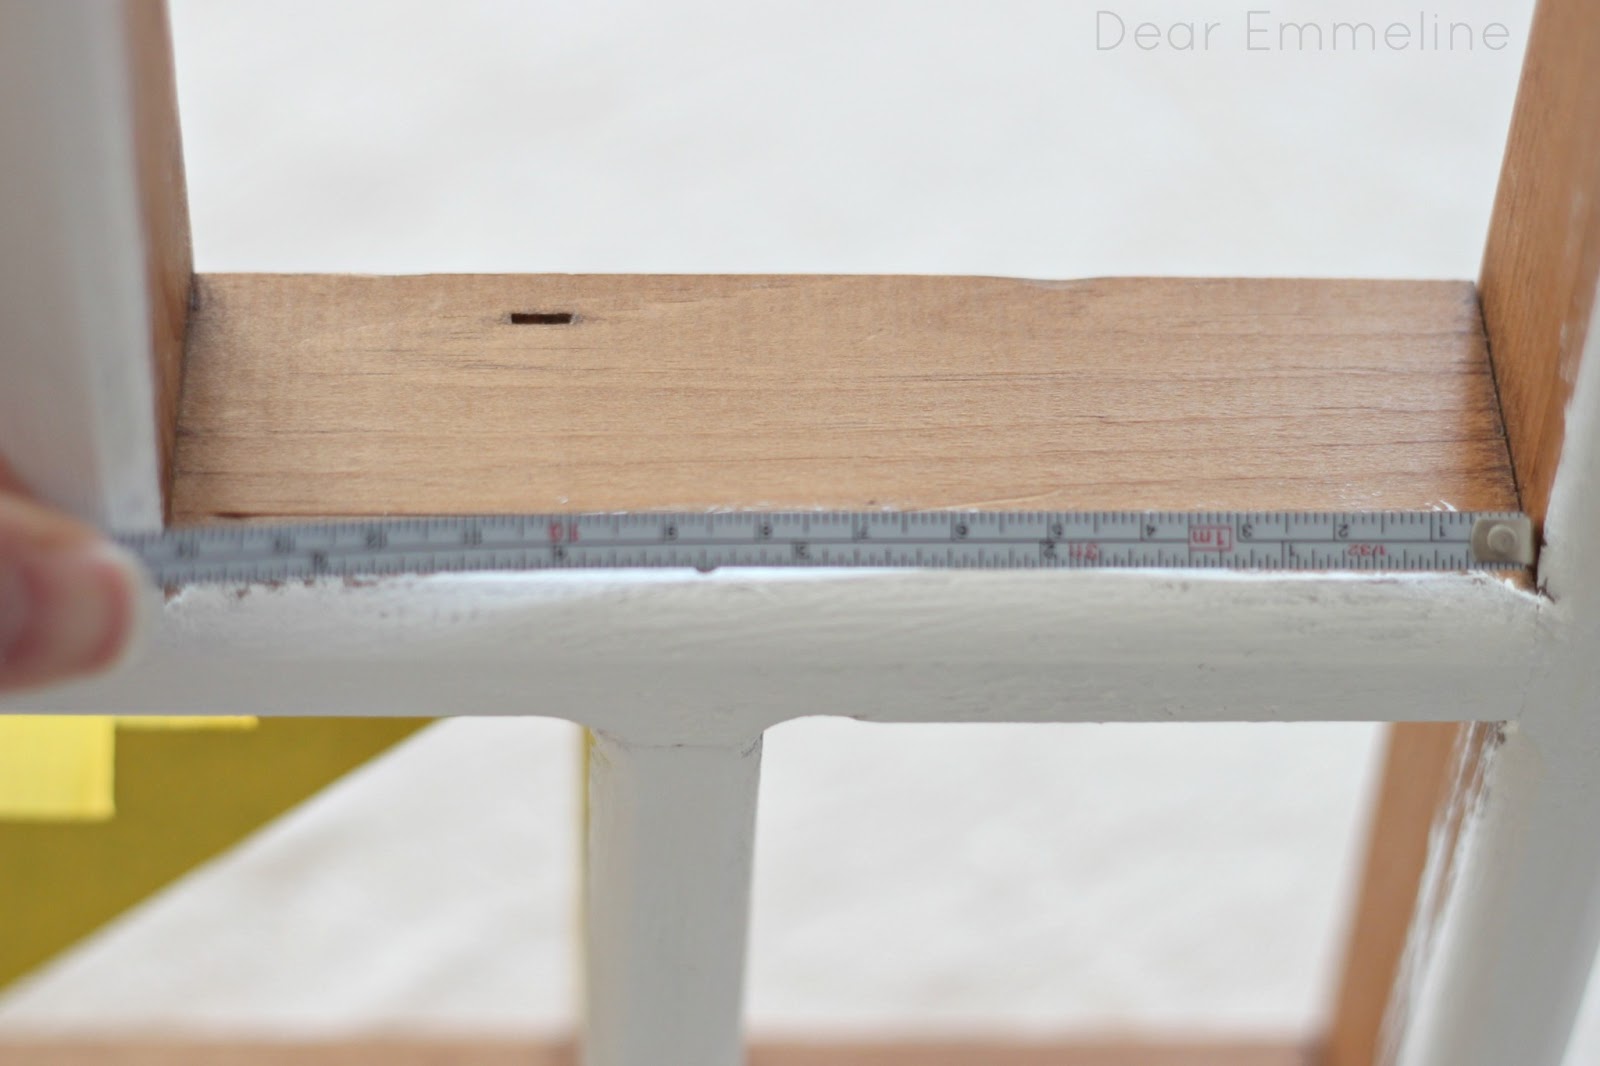
4. Repeat the measure, cut, and glue process for each wall.

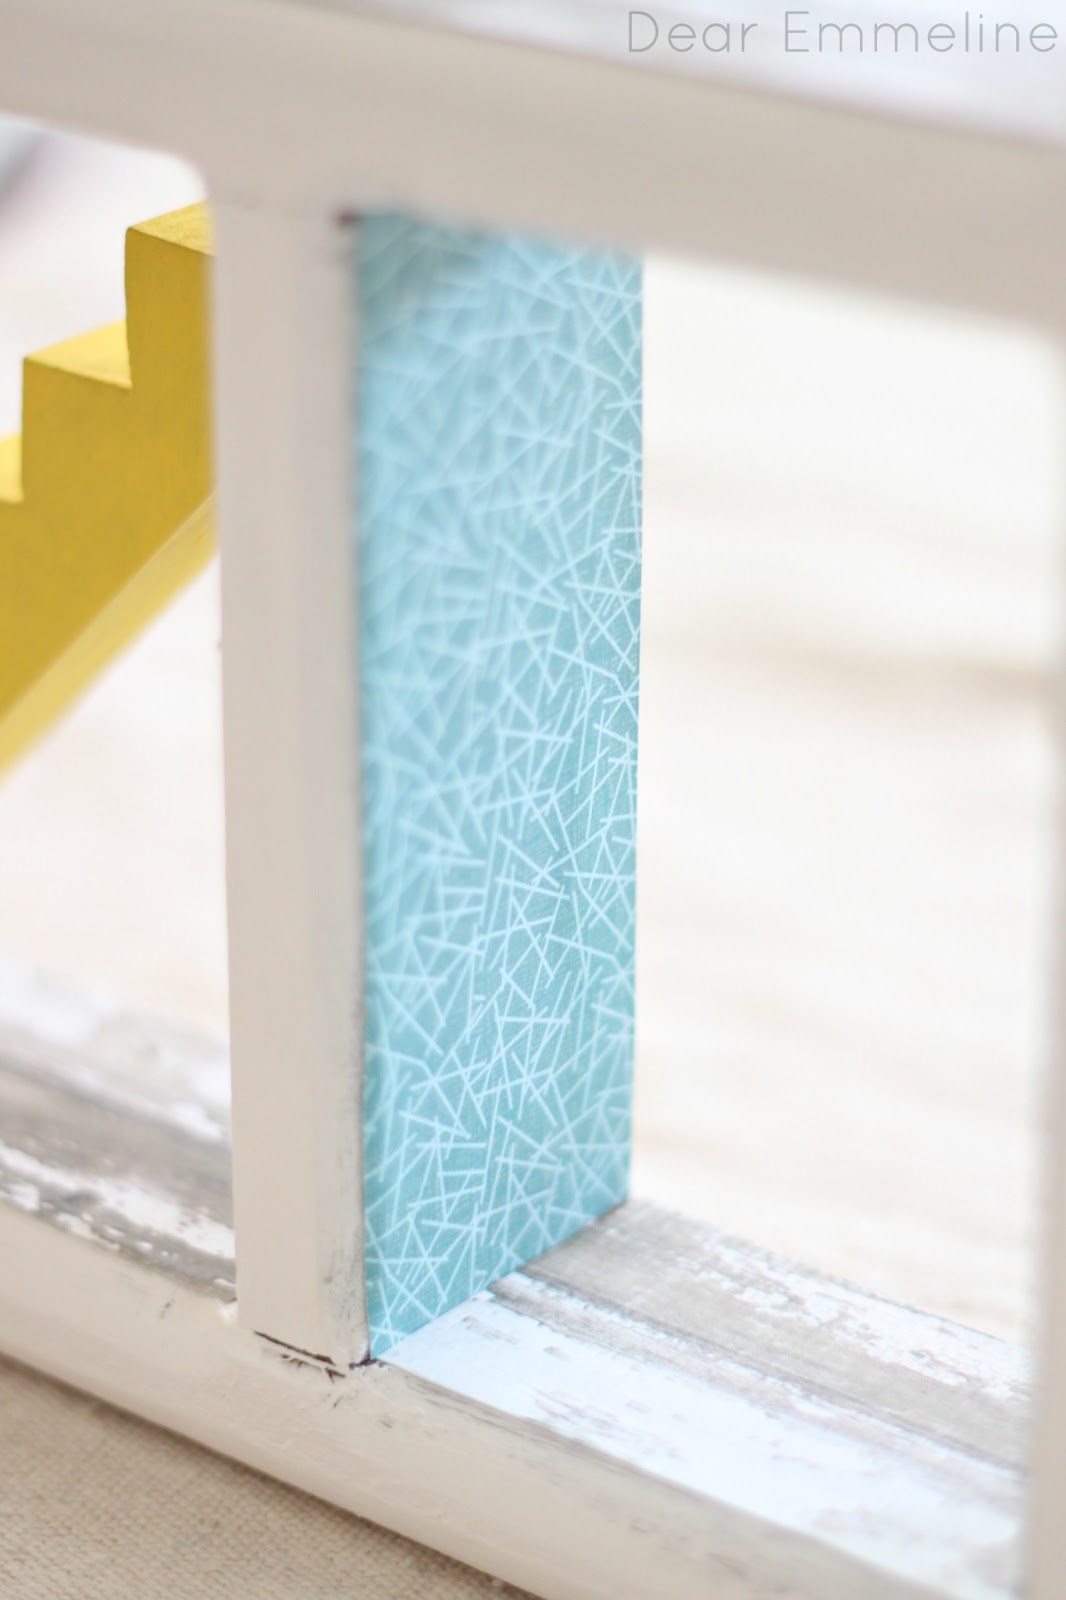
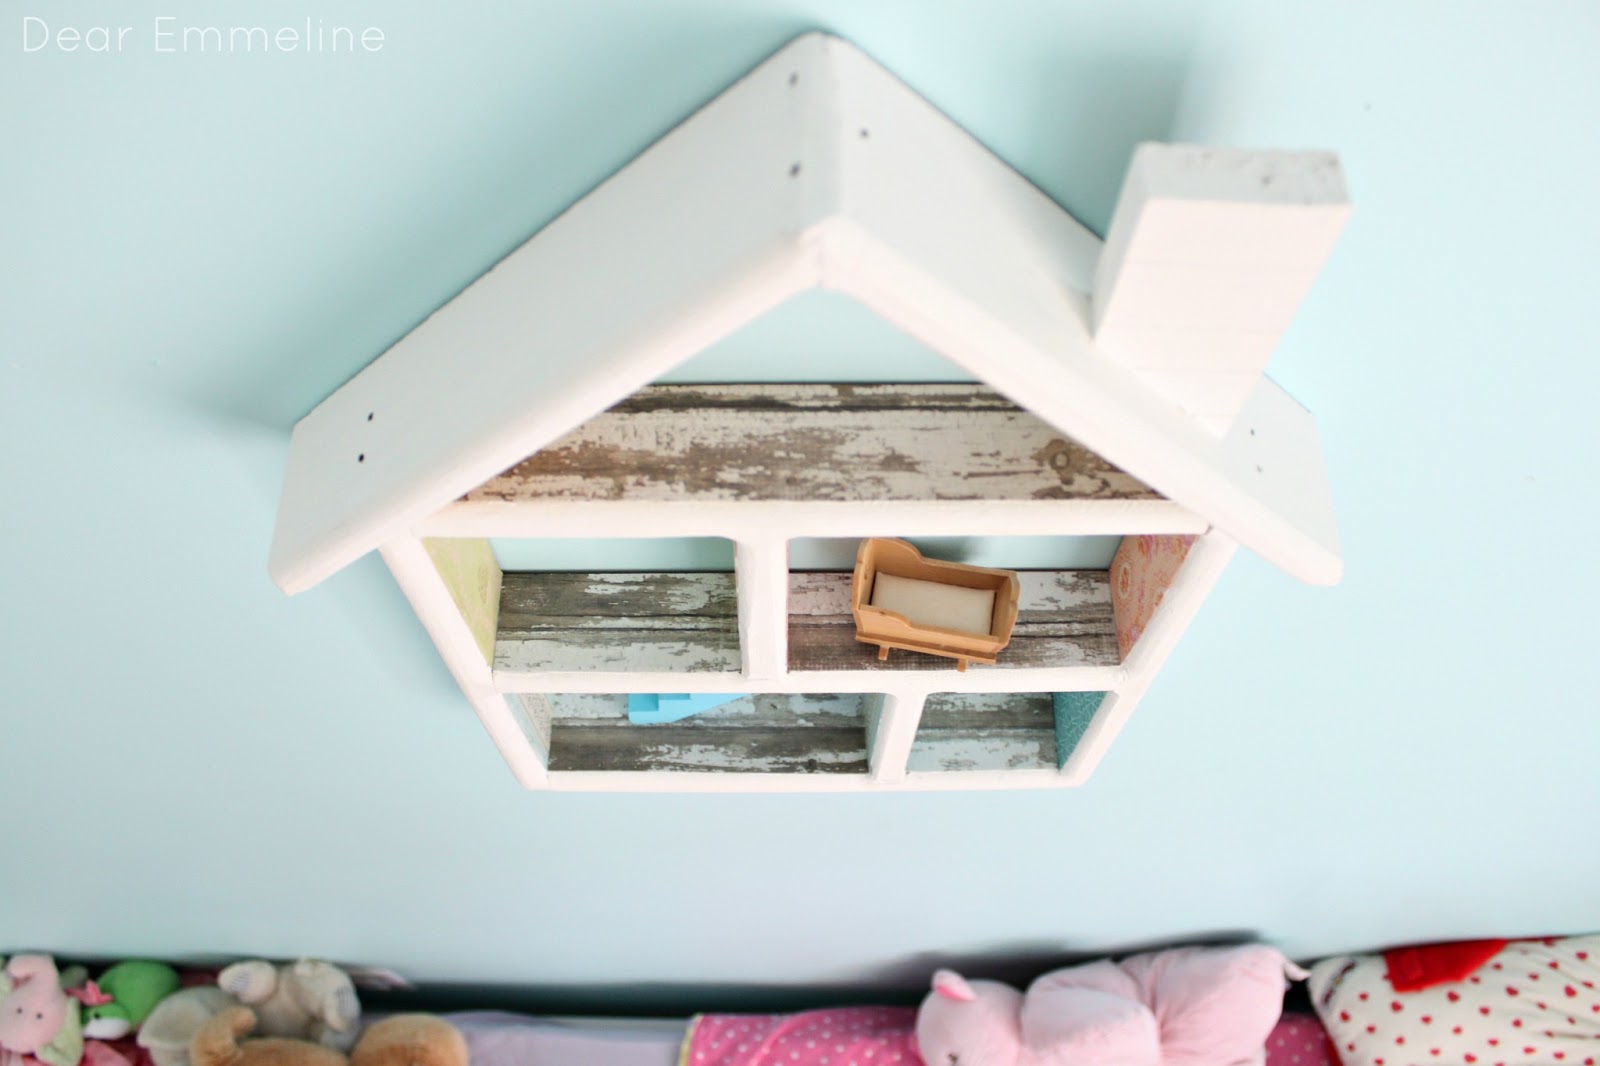
5. To finish we sealed the floors with another coat of Mod Podge Wash Out.  It gave them a nice glossy coat and will protect the paper from anything my daughter decides to stick in the dollhouse.  We left the walls unsealed so they would have more of a wallpaper look and texture.


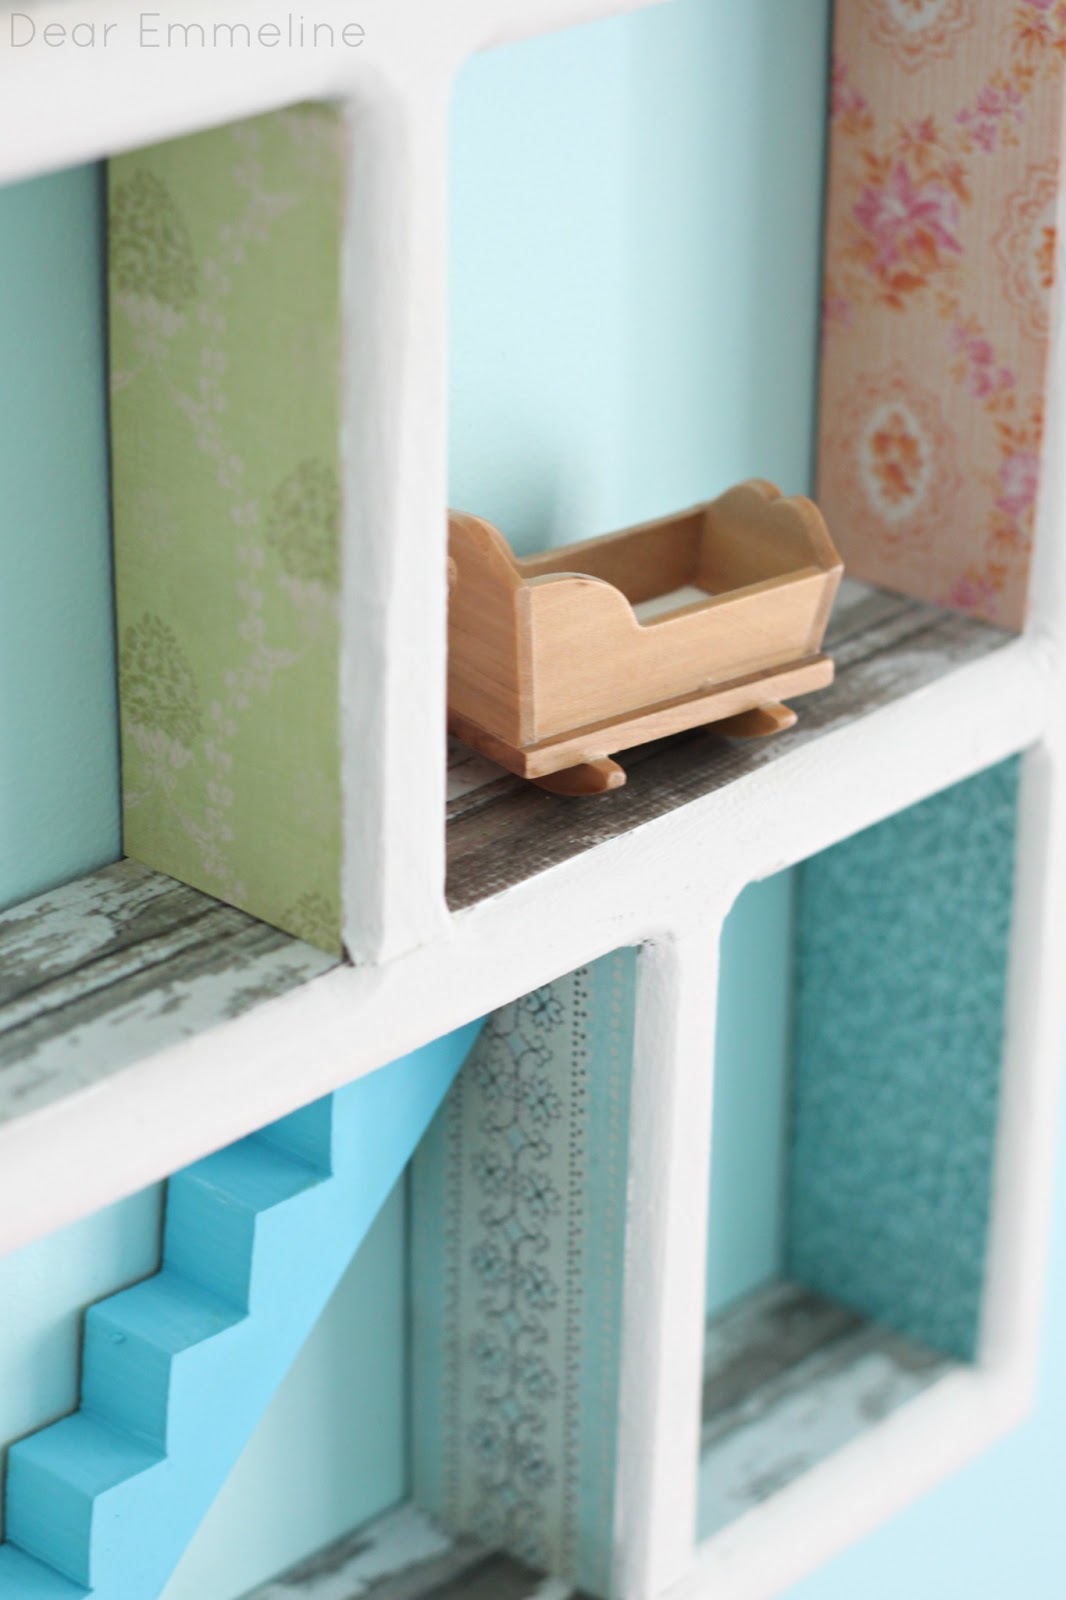
We both love how it turned out!  Can’t wait to buy a little set of furniture to set up inside.


Follow Plaid Crafts on Pinterest    Follow Plaid Crafts on Twitter    Like Plaid Crafts on Facebook
This post was written as part of a campaign with The Blueprint Social. All opinions are my own.

To see other projects made using Mod Podge Wash Out and Apple Barrel Paints click on the links below.
   

Filed In: Make + DIY / Tagged: Apple Barrel Paint, DIY, Mod Podge, Plaid Crafts, products, sponsored, Wash Out

Comments

  1. Cassie @ Primitive & Proper says

    April 16, 2013 at 10:14 am

    super cute! love the floor!

  2. Cynthia says

    April 16, 2013 at 12:15 pm

    So adorable! You guys must have had lots of fun with that!

  3. Lindsay @Artsy-Fartsy Mama says

    April 16, 2013 at 12:45 pm

    So cute!!

  4. Jill says

    April 16, 2013 at 1:51 pm

    LOVE what you did with the products we were sent!! Simply Fabulous!!! SMiles, Jill

  5. Dear Emmeline says

    April 16, 2013 at 5:28 pm

    Thanks Jill 🙂

  6. Meeha Meeha says

    April 16, 2013 at 7:12 pm

    So cute, Jessica, I loooove the wallpaper!

  7. Ali Richardson says

    April 17, 2013 at 2:48 am

    Adorable!!! I loooove this!

  8. Christina says

    April 17, 2013 at 2:58 am

    this is adorable!! I love all the extra details of wallpaper and flooring! you definitely got creative with all the fun stuff we were sent! 🙂

  9. Desiree Young says

    April 17, 2013 at 4:09 pm

    Just adorable!

  10. Dear Emmeline says

    April 17, 2013 at 4:14 pm

    Thanks Desiree 🙂

  11. Jocie@TheBetterHalf says

    April 17, 2013 at 10:52 pm

    I am so sad you found this at a thrift store bc I love it!!!!

  12. Dear Emmeline says

    April 18, 2013 at 2:13 am

    I'm sure your hubby could whip one or two up 😉

  13. Carolina Moore says

    April 18, 2013 at 8:27 am

    I love everything about this. That it was a great find. That she helped. That it turned out so adorable!!
    What a fun project!!

  14. Christa @ Controlling Craziness says

    April 18, 2013 at 3:49 pm

    So cute and I love that your daughter helped out too. Reminds me of the Littlest Pet Shop House/Shelf my daughter and I made/painted. You can check it out on my blog here: http://controllingcraziness.blogspot.com/2012/07/diy-littlest-pet-shop-house.html
    I'm your newest FB follower too.

  15. Dear Emmeline says

    April 19, 2013 at 1:07 am

    Thanks Carolina!

  16. Kim @ The Celebration Shoppe says

    April 19, 2013 at 3:23 pm

    This is an adorable idea! It makes me wish I had a little girl to make one for! 🙂

  17. Dear Emmeline says

    April 19, 2013 at 3:47 pm

    Thanks Kim!

Welcome to Petal + Ply

Join the List

Join our mailing list to receive updates from our blog.

as seen in

Popular Posts

Olive You! {Baking Soda Paint Recipe}

DIY Easy Embroidery Hoop Pendant

Eclectic Farmhouse Foyer | One Room Challenge Reveal

Cross Stitch Dresser

Archives

Categories

  • Home + Decor
  • Life + Style
  • Make + DIY
  • Uncategorized

Browse

  • Journal
  • Portfolio
  • Press
  • Sponsorship
  • Privacy Policy

Join the List

Join our mailing list to receive updates and more from our website.

About Us

Welcome to Petal + Ply.

Formerly the DIY, craft, & decor blog Dear Emmeline. We decided it was time for a new site and new name!

More >

Theme by 17th Avenue · Powered by WordPress & Genesis