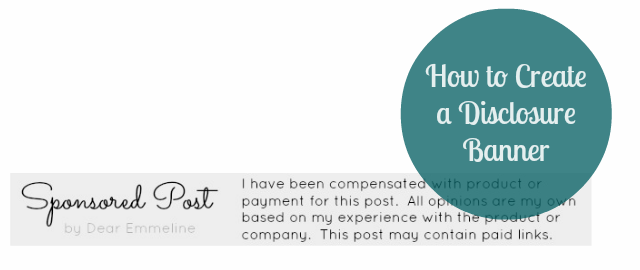
If you are a blogger who writes sponsored content you may be hearing a lot of buzz about how to correctly disclose sponsored posts. In the interest of fully disclosing sponsored posts BEFORE my readers check out my post I took a cue from 30 Minute Crafts and created a disclosure banner to place at the top of sponsored posts.
Stick around if you want to learn how to easily create your own!
Step 1:
Find out the width of the horizontal images on your blog
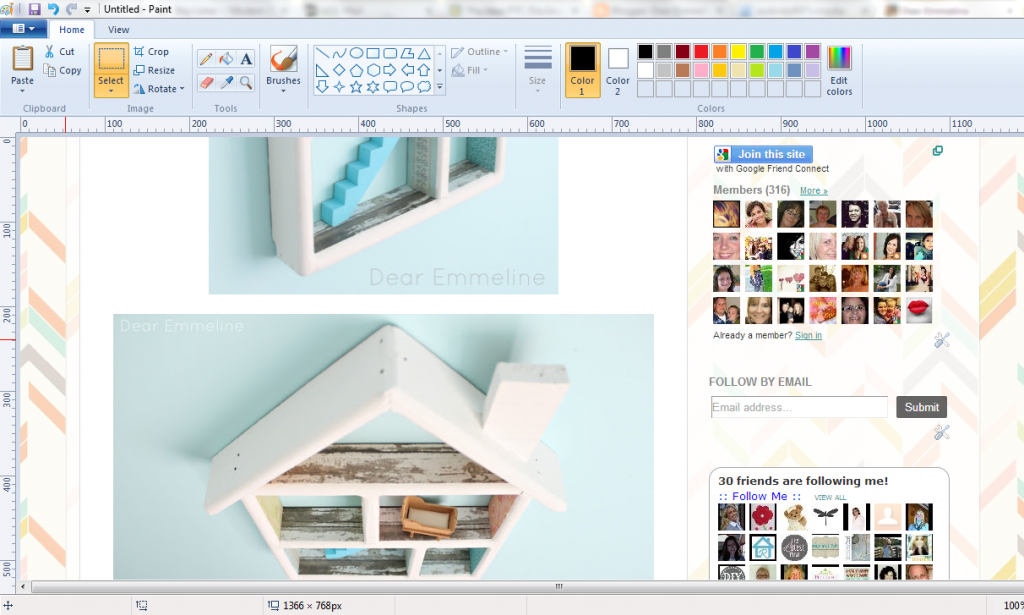
I’m sure you can go somewhere in you blog platform to find this information but the method I found the simplest was bring up a horizontal image from my blog on the screen and pressing the PrntScrn key on my keyboard. I then opened Paint and pasted it in.
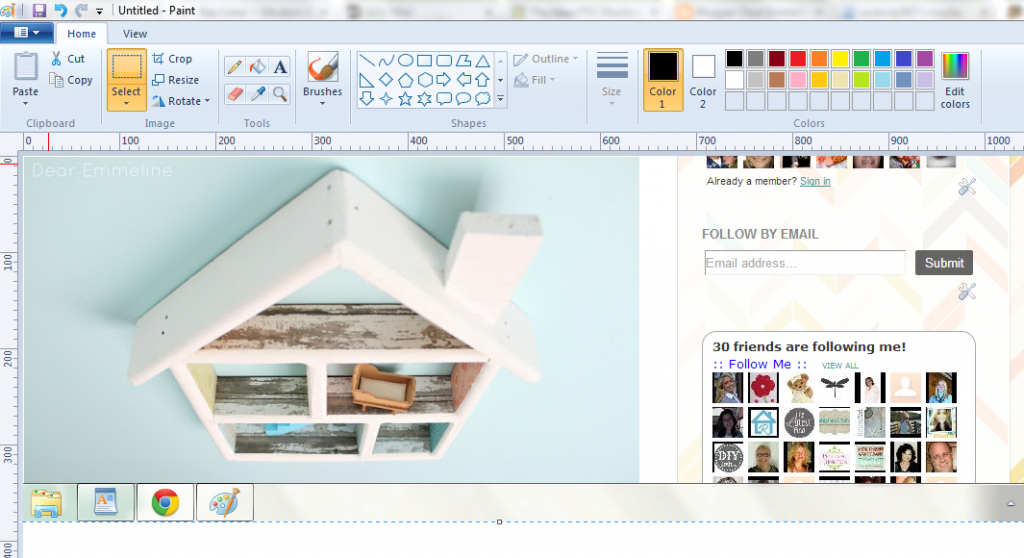
Scoot the screen shot over into the corner and use the pixel ruler at the top to determine your width.
As you can see my horizontal images are 640 pixels wide.
Step 2:
Create banner background
Stay in Paint and open a new project. 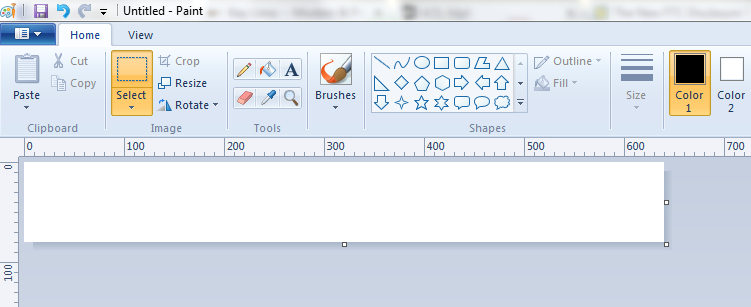
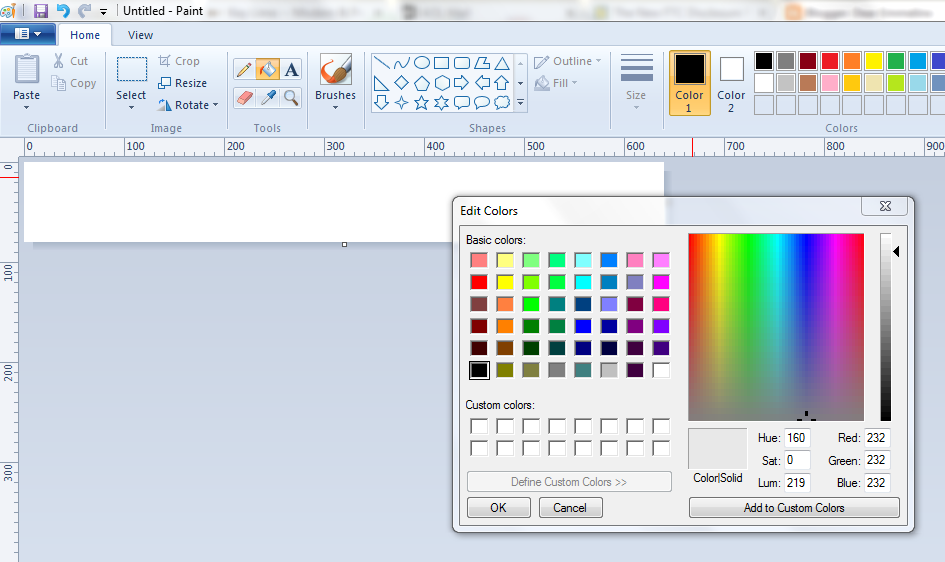
Drag the corners of the project to the correct dimensions. Remember I determined I wanted 640 pixels wide and I made it 80 pixels tall. You can make your banner as tall as you want but I thought 80 pixels looked like a good height to width ratio.
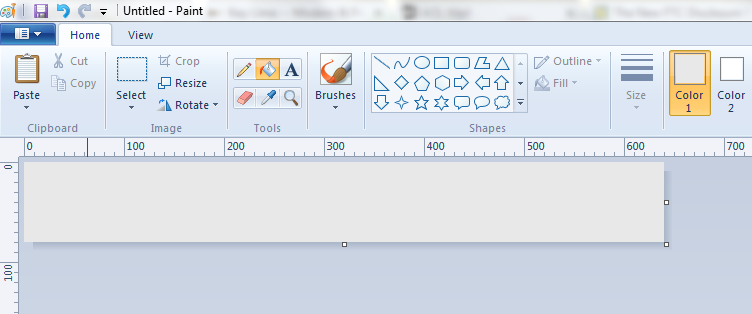
If you want your banner background to be a specific color use the paint bucket tool to fill it in now.
Now it’s time to “save as” and move on to the next step!
Step 3:
Create Banner in PicMonkey
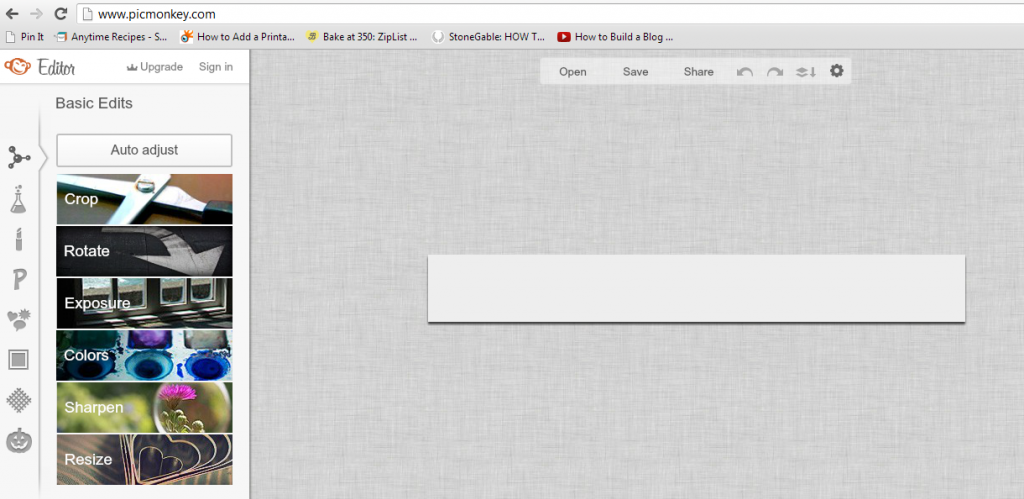
Open PicMonkey. I used the FREE version! No need to download or upgrade anything! Click on Edit a Photo and upload the banner background image you saved in Paint.
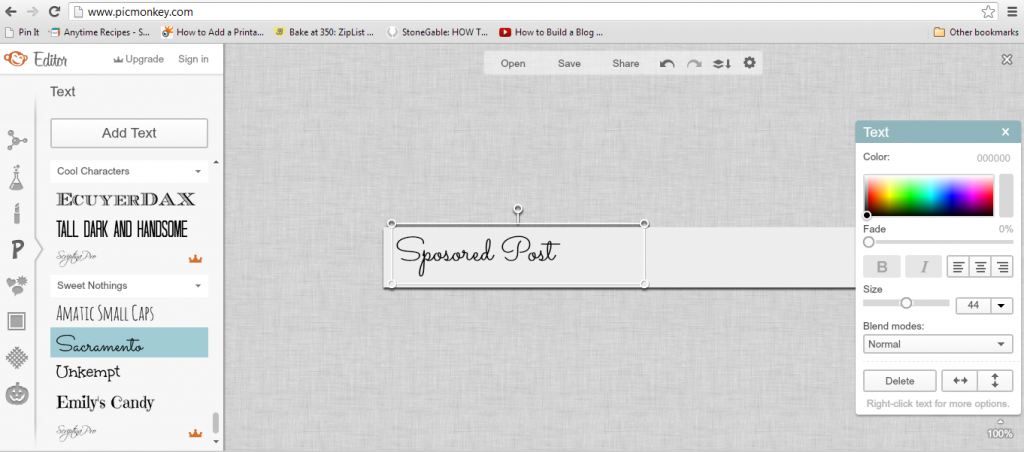
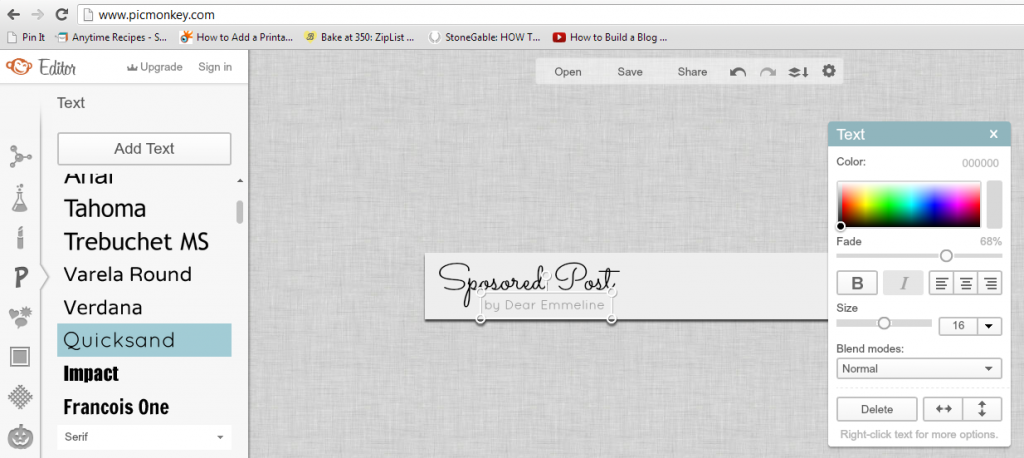
Click on the text icon (P) in the Editor sidebar.
Choose a font, click Add Text, type in Sponsored Post, and resize the text as desired.
Choose another font, click Add Text, type in by [your blog name], and resize as desired.
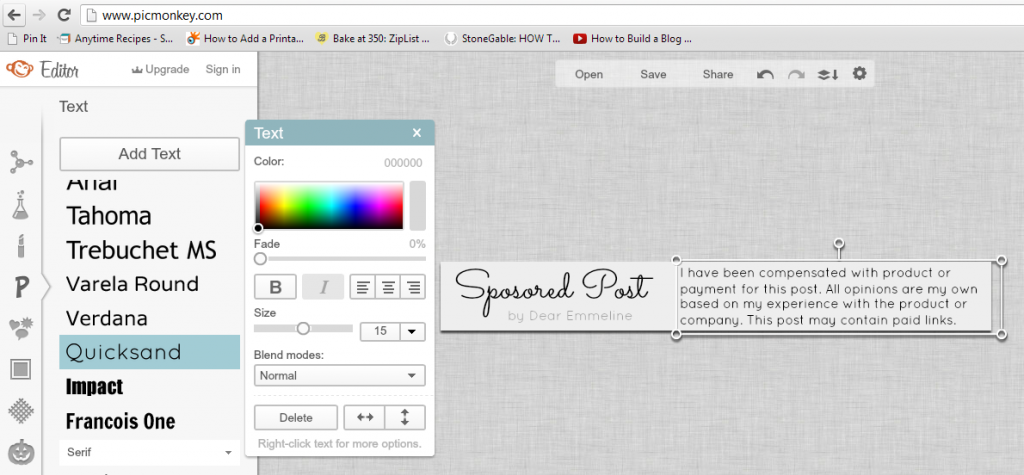
Keep the 2nd font highlight and click Add Text. Type in your disclosure information and resize the text as desired. My disclosure text reads; I have been compensated with product or payment for this post. All opinions are my own based on my experience with the product or company. This post may contain paid links.
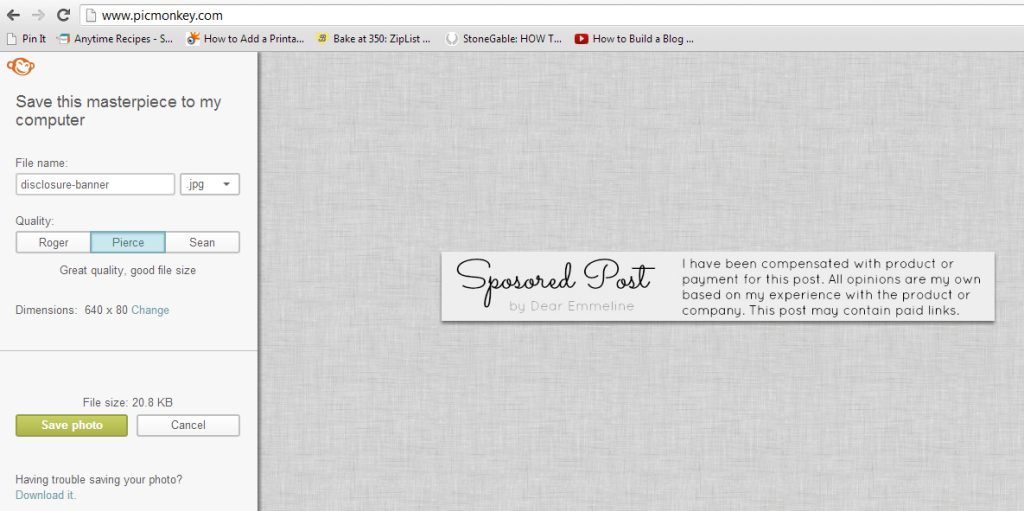
Save your banner and you are ready to upload it in the top of your sponsored posts!
Hope this tutorial helps!! I’d love if you could let me know in the comments if you plan to make your own disclosure banner using this tutorial.
Have a great day!
Thanks for this tip, Jessica. I haven't done a sponsored post before but I am going to pin this for future reference.
Great idea! I just made one…you can see it here:
http://www.oneartsymama.com/2013/04/origami-owl-living-locket-giveaway.html
Brilliant idea! One, and done! Thanks for sharing – I'm off to create one! 🙂
Awesome! Pinned for future reference! Thanks Jessica!
Thanks so much!
What a great idea! Thanks so much for this post! I'm your newest follower!
Kim
Great idea! I'm going to make one of these as soon as possible. Thanks for the idea!
I too am going to pin for the future. I have not done a sponsor before but will safe this for the big day!! Thanks so much for sharing and making it simple to do.
Kelly
That's a great idea, Jessica. I will have to make one next week! Thank you for sharing.
This is such a great idea! Pinned it and will be working on one later!
Thanks for the great idea! I'll be working on my own post soon. Here is my first sponsored post with a banner. Cool!
http://pearmama.blogspot.com/2013/05/ya-probaste-esto-pg-everyday-have-you-tried-this-yet.html
What an amazing post! This is on my to do list!
Jamie
Thank you! This was easy to follow and I got one more thing off my list!
Thank you! This was easy to follow and I got one more thing off my list!
Thank you! Just made mine 😀
Your most welcome Olivia!