• About
  • Contact
  • E

Petal + Ply

formerly Dear Emmeline

  • Make + DIY
  • Home + Decor
  • Life + Style

Simple Stenciled Sweet Mint Cabinet

April 23, 2013 ·

 photo disclosure-banner_zpsfb181980.jpg
 photo mint-craft-cabinet_zps0041cd9e.jpg

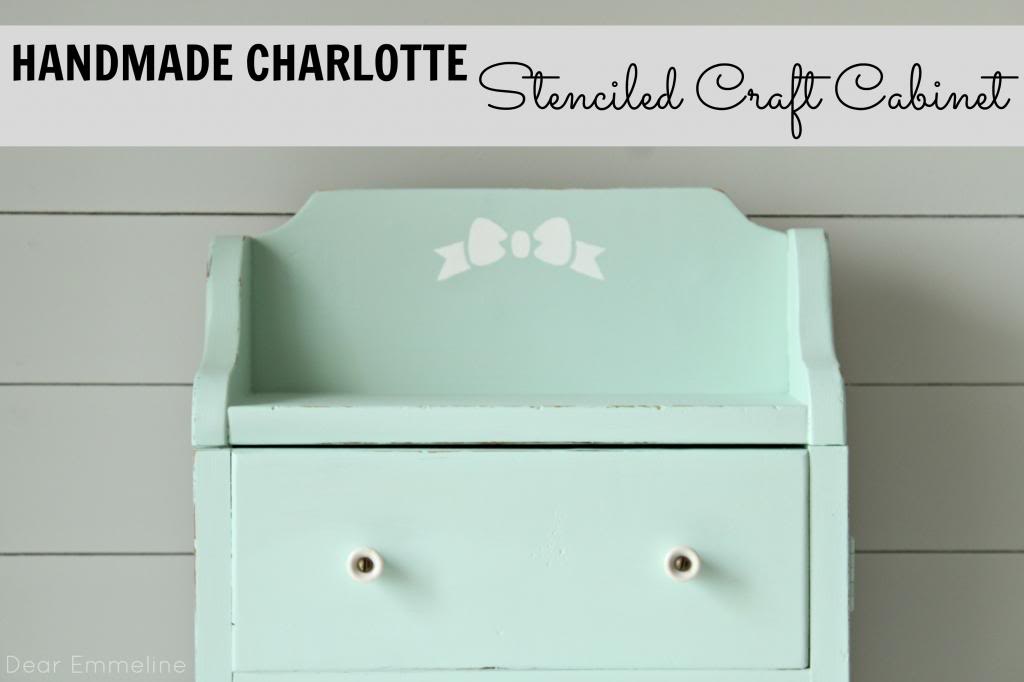
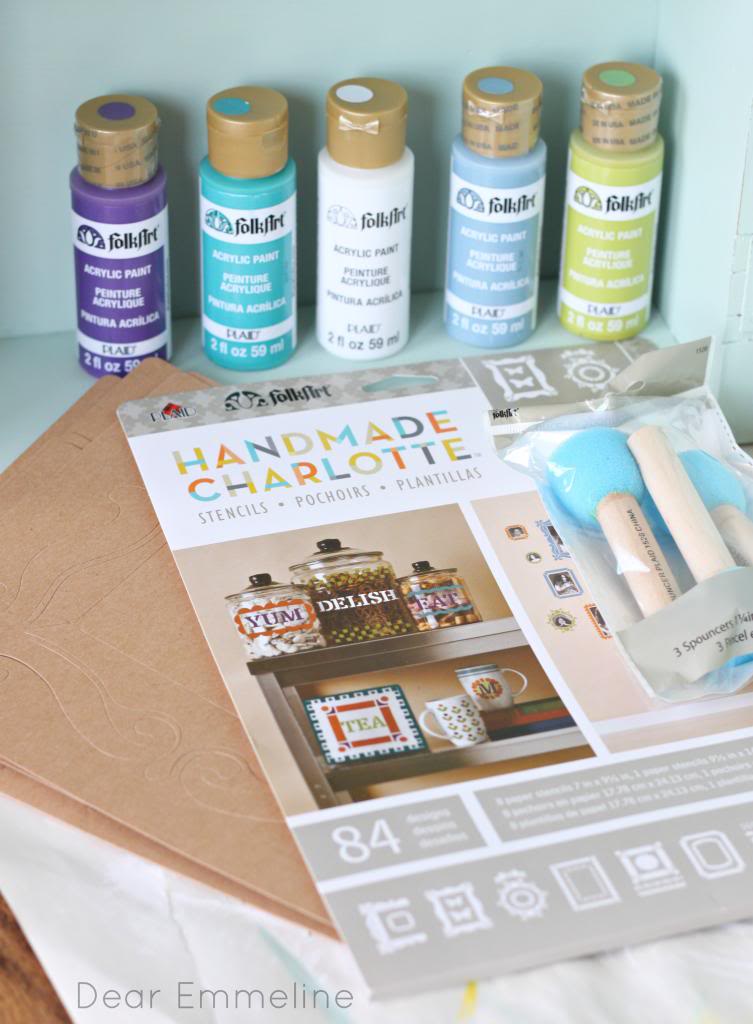
We’ve been working on turning our master loft into my dedicated craft/work space.  When a box full of paint and a set of Handmade Charlotte stencils came in the mail I knew exactly the project I was going to use them for.

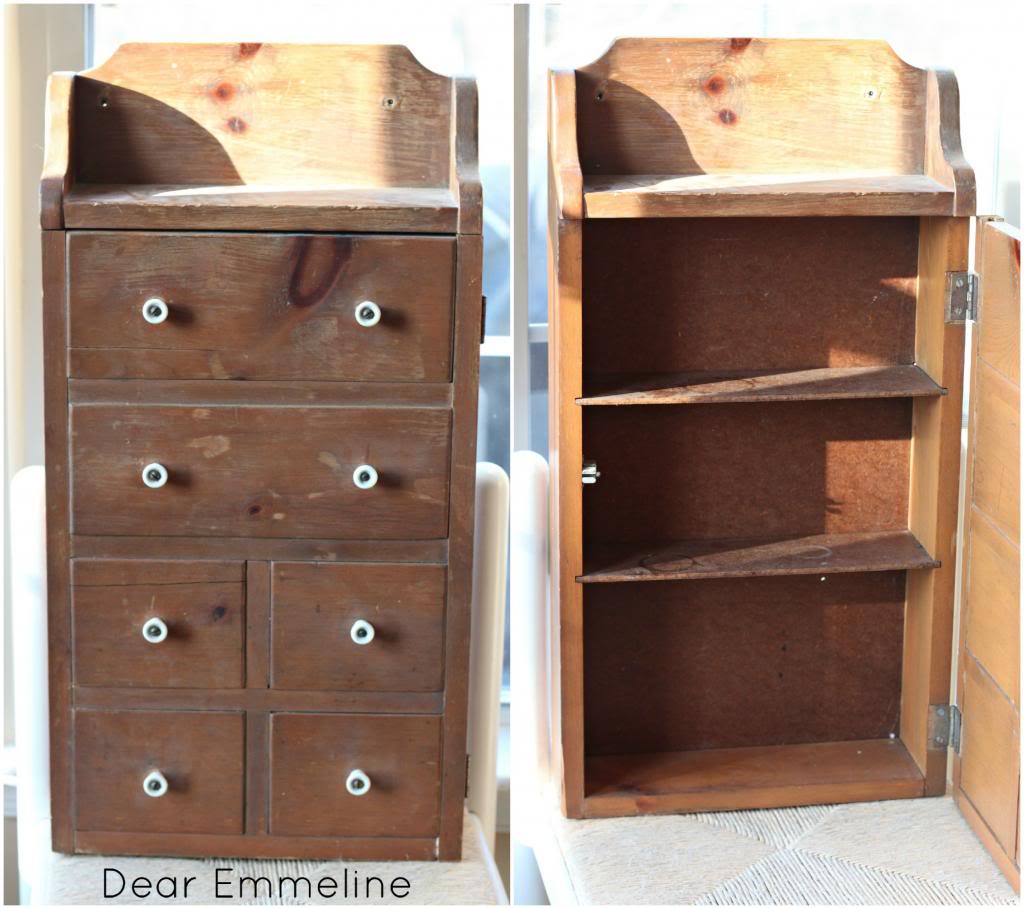
This old cabinet had definitely seen better days and with a little effort I knew it could be beautiful again!

 photo cabinet-before-collage_zps7f248bfd.jpg


 photo stenciled-craft-cabinet_zpsaeeae7ec.jpg


 photo mint-craft-cabinet_zps14a10cb7.jpg

Supplies:

-old wood cabinet
-sample/tester size mint colored paint
-paint brush
-white FolkArt acrylic paint
–Handmade Charlotte stencils Frames set
-sponge spouncer brushes
-scrapbook paper/pretty wallpaper (if desired)

 photo handmade-charlotte-materials_zps29ce700c.jpg

Lets get crafting:

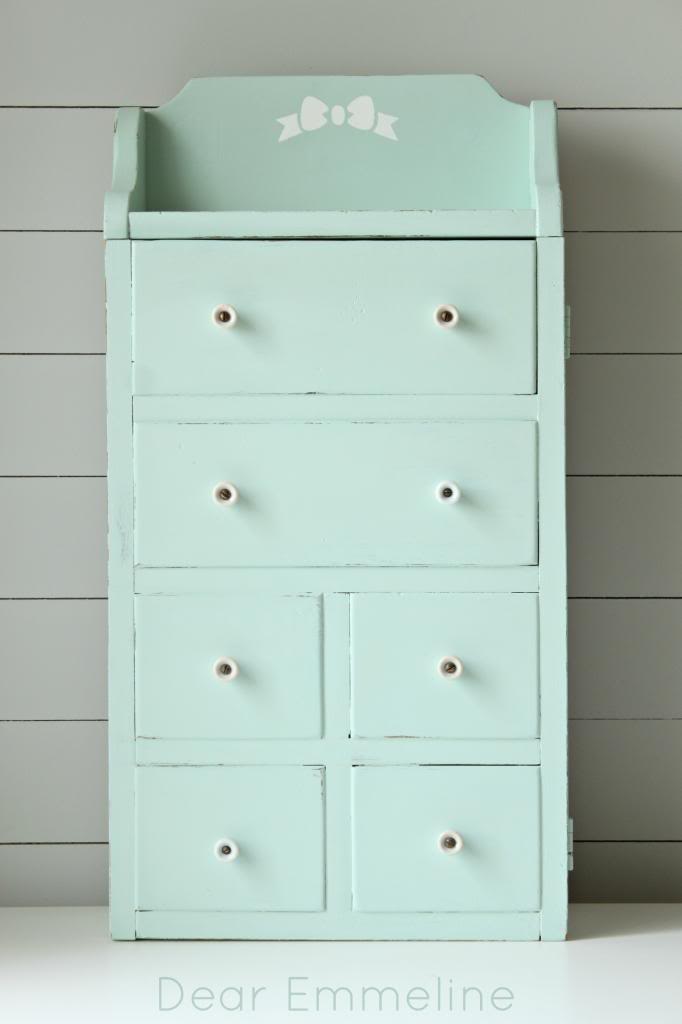
1. Paint your cabinet.  I used 2 coats of mint paint to cover the cabinet completely, inside and out.

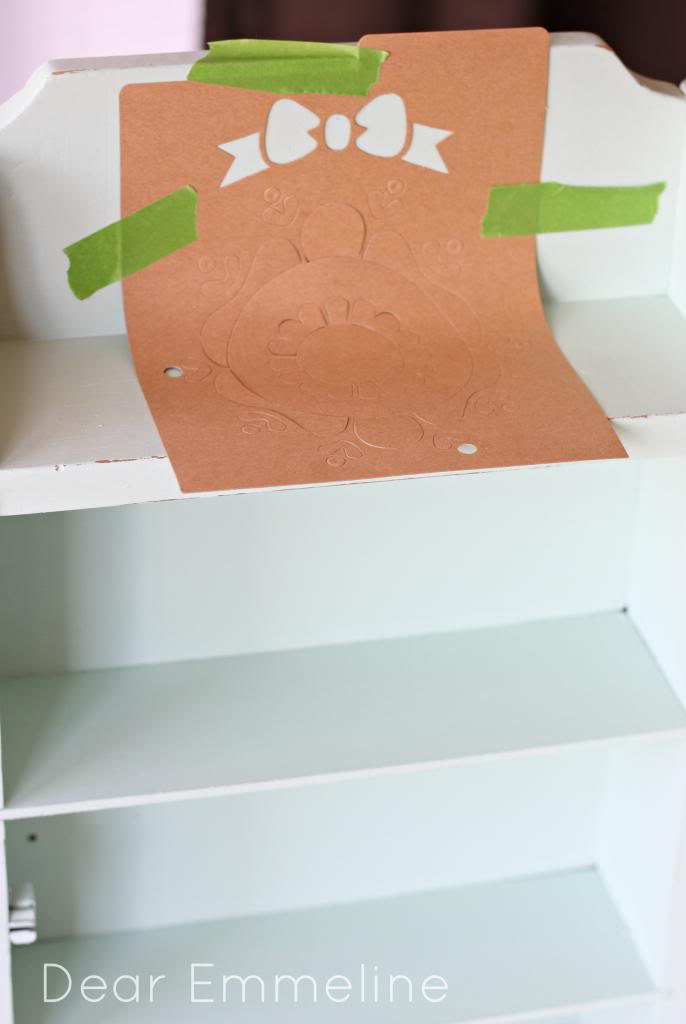
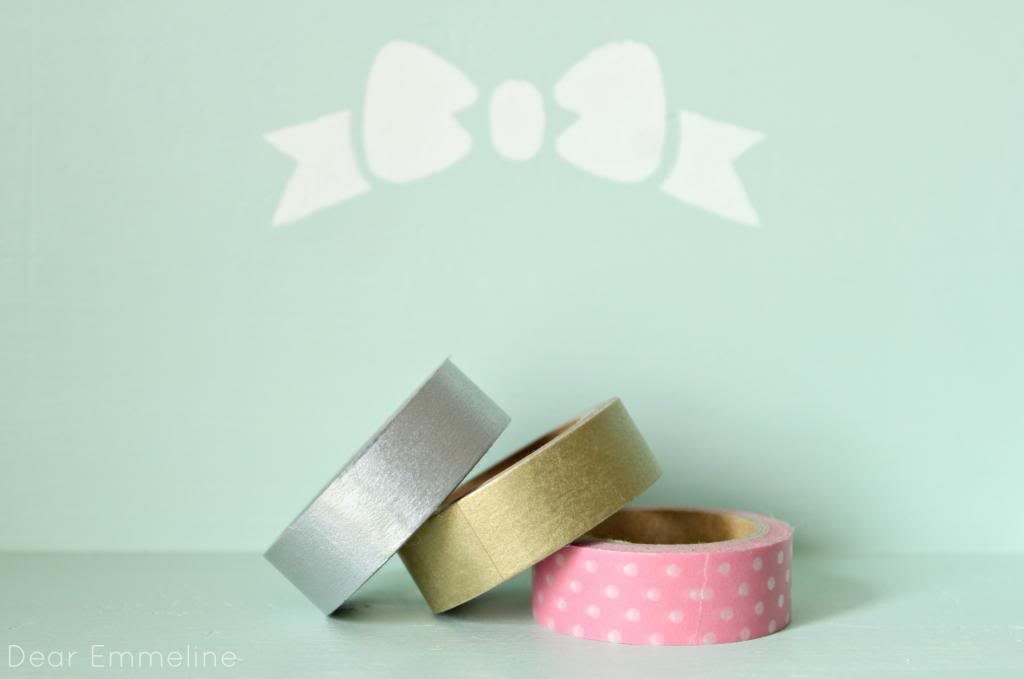
2. Choose your stencil(s).  I chose to go very simple with the stenciling.  I picked out just one stencil which I thought would be perfect to complement a craft room.  I thought about using more of the stencil set but decided to let the bow stand alone.  Sometimes when we have a whole set of stencils the tendency is to go crazy and use as many as possible.  In this case I decided sweet and simple was the way to go!  I can always add more!  Less can be more and in this case featuring the bow alone seemed to be the way to go.  Once you’ve decided on a stencil/stencils remove the inner pieces and use painters tape to adhere the stencil onto your project.

 photo bow-stencil-handmade-charlotte_zps0329ff00.jpg
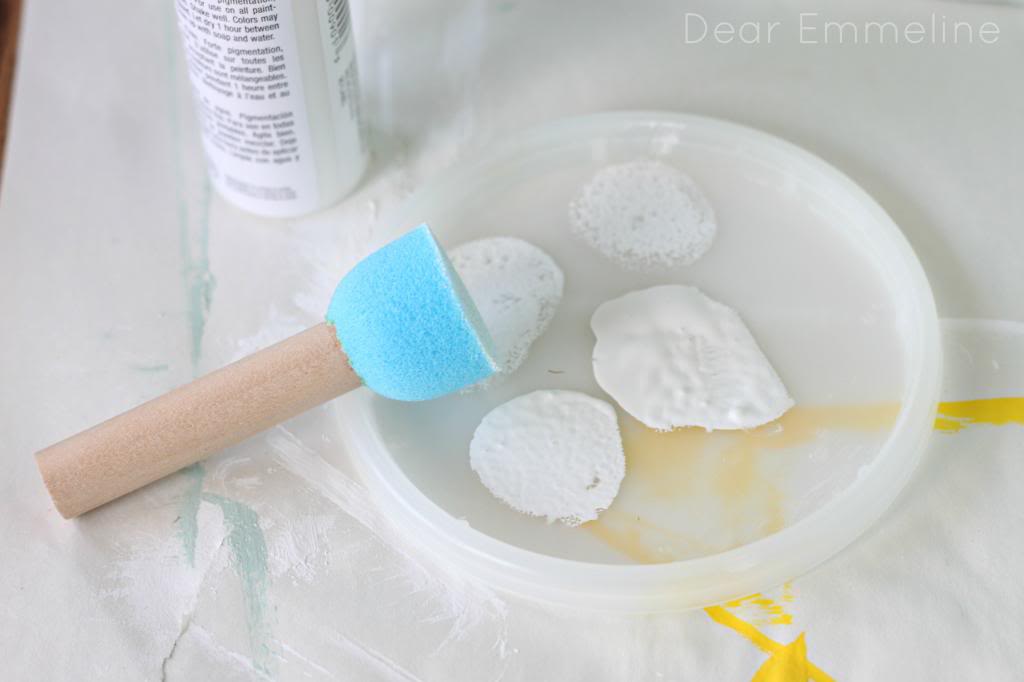
3. Dip a spouncer stencil brush into your acrylic craft paint and remove excess by pouncing your brush a few times.  This will help keep any paint from seeping under the stencil.
 photo stencil-pouncer-brush_zpsafc32293.jpg
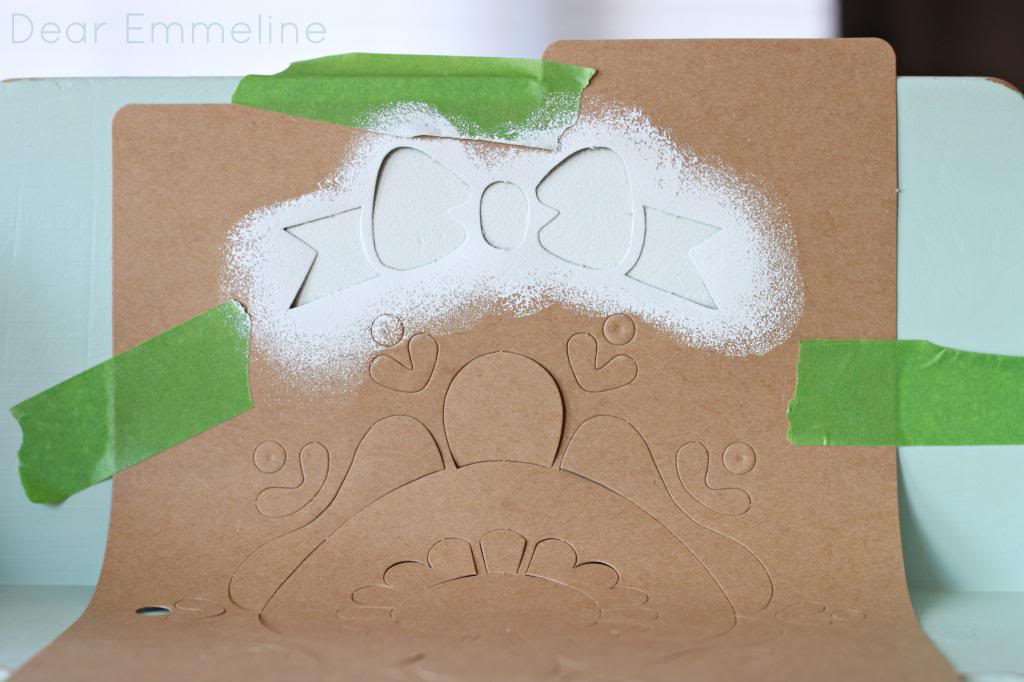
4. Pounce the brush all over the stencil’s open area.  Reload your spouncer if necessary.  Repeat with additional coats if necessary.

 photo handmade-charlotte-bow-stencil_zps94916aa1.jpg
5. Remove the stencil and allow the paint to fully dry.
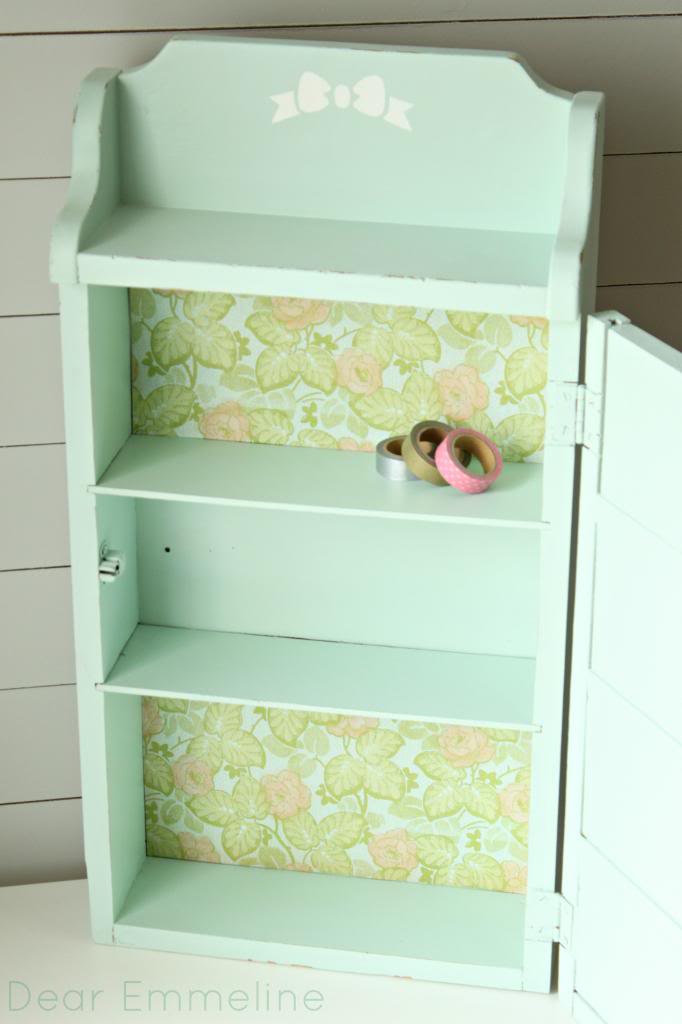
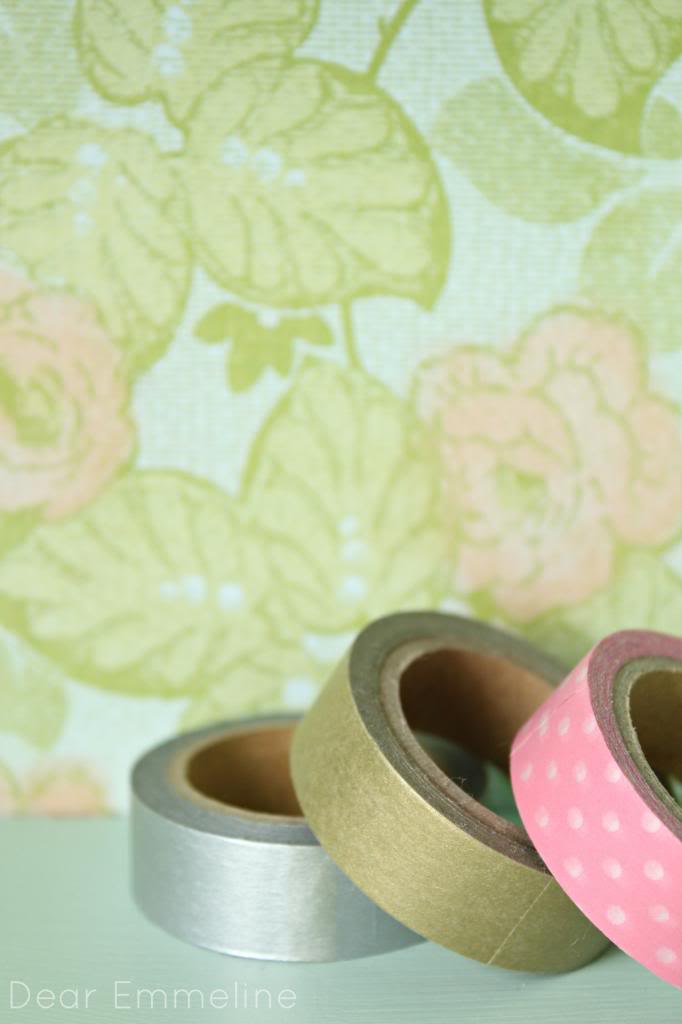
6. If desired use a coordinating scrapbook paper or wallpaper to line the shelves/cabinet back.  I began to play around with this as you can see in one of the pictures at the top of this post.  I’d love your feedback!  Line the backs with the floral scrapbook paper or keep them unlined?  I would do all 3 shelf backs if I decide to go for it but I need to pick up more paper which is why only 2 shelves have the paper above.
I can’t wait to add this piece to my craft room and fill it up with all sorts of goodies!
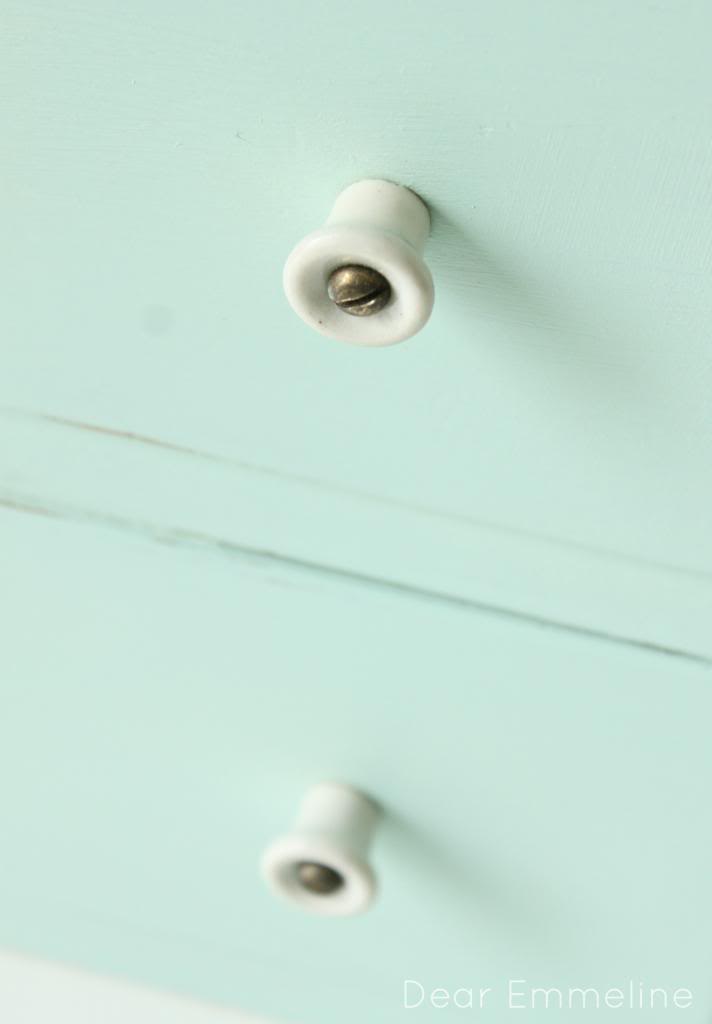
 photo porcelain-cabinet-knobs_zps6e8e6114.jpg
 photo paper-backed-cabinet_zps3664fbca.jpg
 photo handmade-charlotte-stenciled-cabinet-redo_zps5e766149.jpg
Like Plaid Crafts on Facebook   Follow Plaid Crafts on Twitter   Follow Plaid Crafts on Pinterest
I wrote this post as part of a sponsored campaign with Plaid and The Blueprint Social. All opinions in this post are my own.

Check out some other great projects made with Handmade Charlotte Stencils!


Filed In: Make + DIY / Tagged: cabinet, craft room, FolkArt Paint, Handmade Charlotte, mint, Plaid Crafts, stencils

Comments

  1. Cassie @ Primitive & Proper says

    April 23, 2013 at 12:12 pm

    love the paper in it- so sweet! and you know i love mint!

  2. Danielle says

    April 23, 2013 at 8:52 pm

    Adorable! I also love the paper inside too. x

  3. MissMOE says

    April 23, 2013 at 9:22 pm

    Yes, to the paper.

  4. MissMOE says

    April 23, 2013 at 9:22 pm

    Yes, to the paper.

  5. MissMOE says

    April 23, 2013 at 9:22 pm

    Yes, to the paper.

  6. Kristin says

    April 26, 2013 at 6:21 pm

    How stinkin cute! LOVE the paper! =)

  7. Jamie Alanna says

    April 27, 2013 at 3:54 am

    So cute! Love the paper 😉 You did a great job!
    Jamie @ somuchbetterwithage.com

  8. Amy Anderson says

    May 1, 2013 at 6:26 pm

    This is gorgeous! I love it!

  9. Dear Emmeline says

    May 1, 2013 at 7:47 pm

    Thanks Amy!

Welcome to Petal + Ply

Join the List

Join our mailing list to receive updates from our blog.

as seen in

Popular Posts

Olive You! {Baking Soda Paint Recipe}

DIY Easy Embroidery Hoop Pendant

Eclectic Farmhouse Foyer | One Room Challenge Reveal

Cross Stitch Dresser

Archives

Categories

  • Home + Decor
  • Life + Style
  • Make + DIY
  • Uncategorized

Browse

  • Journal
  • Portfolio
  • Press
  • Sponsorship
  • Privacy Policy

Join the List

Join our mailing list to receive updates and more from our website.

About Us

Welcome to Petal + Ply.

Formerly the DIY, craft, & decor blog Dear Emmeline. We decided it was time for a new site and new name!

More >

Theme by 17th Avenue · Powered by WordPress & Genesis