• About
  • Contact
  • E

Petal + Ply

formerly Dear Emmeline

  • Make + DIY
  • Home + Decor
  • Life + Style

DIY Fruit Crate Bookshelves.

October 28, 2014 ·

Five weeks ago, I signed up to participate in the One Room Challenge linkup at Calling it Home. Since then I’ve been busy pulling the boys’ room design together.

In the midst of all things boy room we decided to have a yard sale to get rid of some of the extra junk that’s been lying in the way, making it hard to get work done on several other rooms of the house. Mainly, we had to clear out a chunk of the attic for the central air and heat ducts that were installed over the last two weeks.

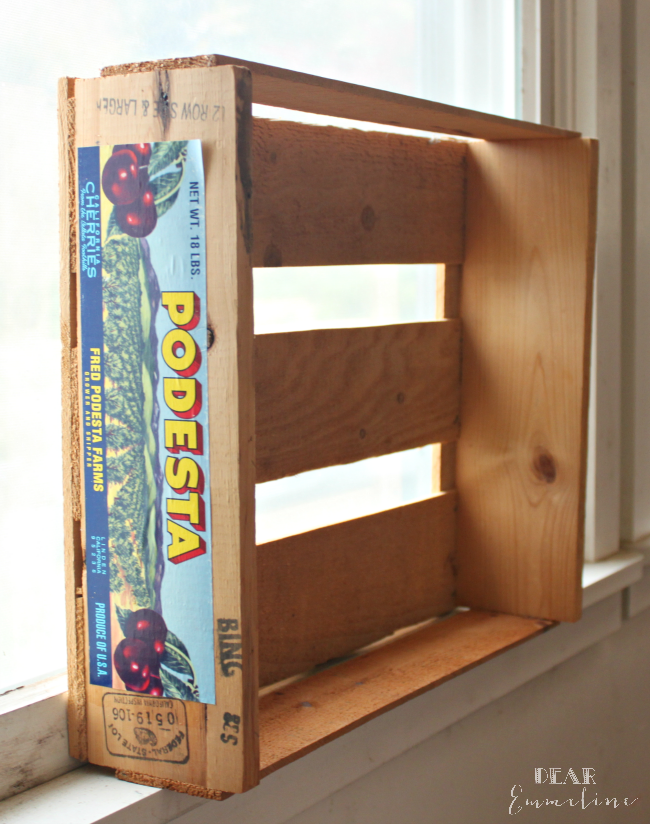
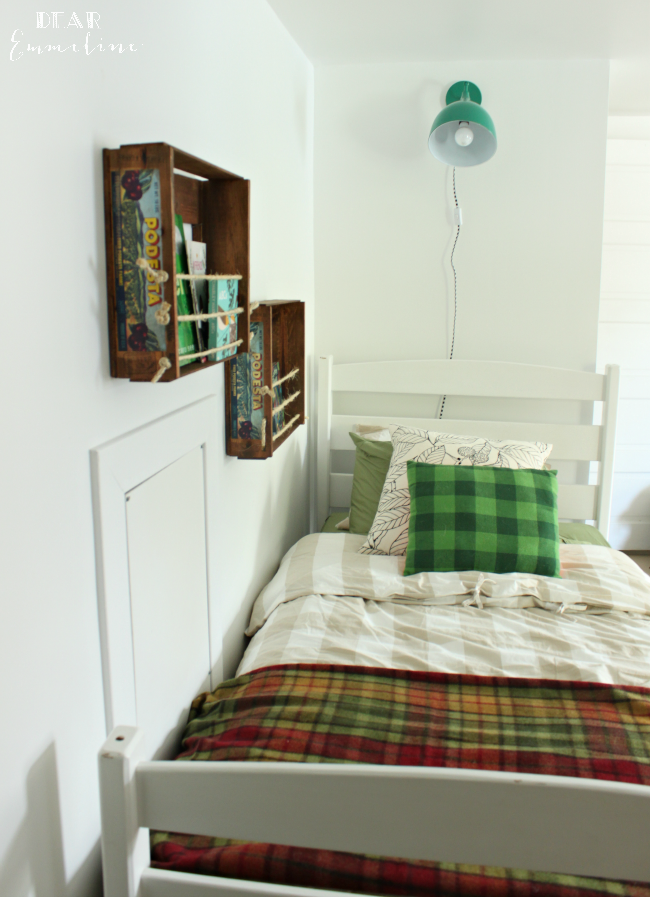
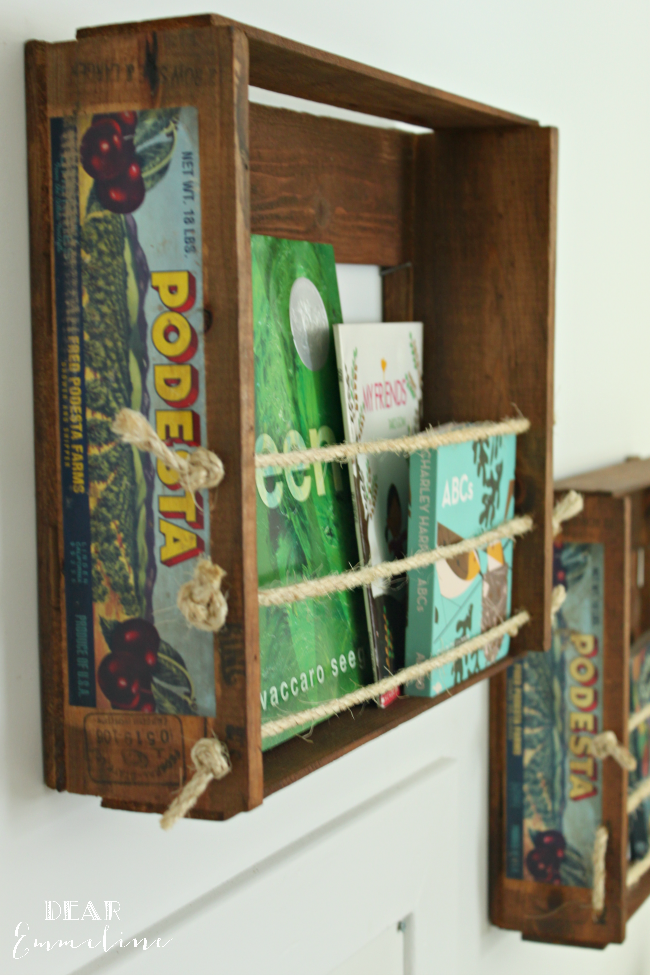
As we were pulling down items from the attic, we found two fruit crates leftover from hubs grandmother’s estate sale.  Originally, I put them in the yard sale pile but I’m glad I decided to keep them.  The boys needed some storage so I came up with a plan to use the crates for storing books.

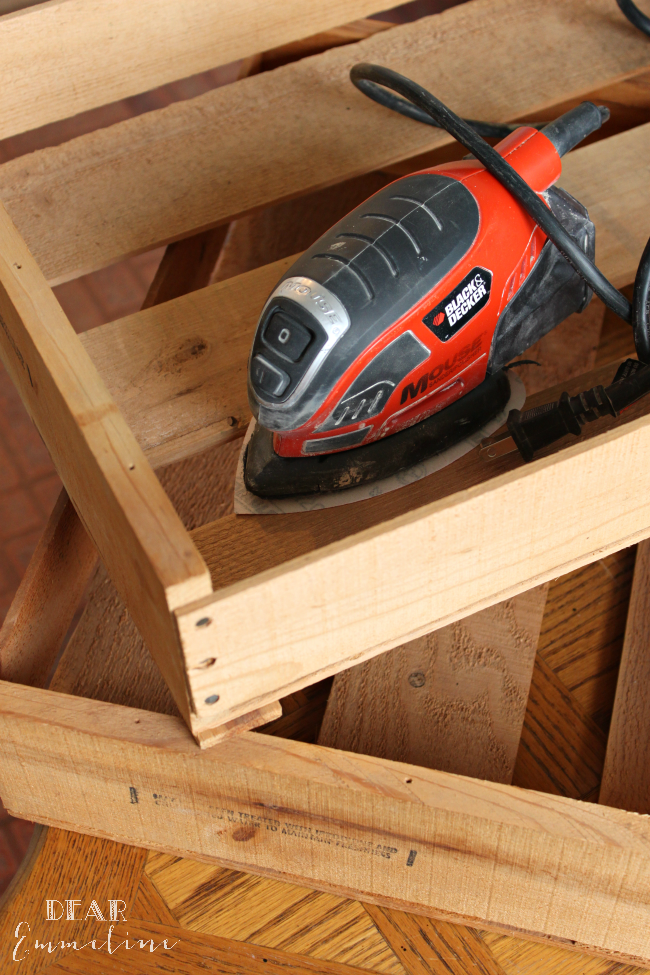
The crates were rather rough to start so I used a palm sander to clean them up and smooth out the finish.  Now they’re mostly splinter free!

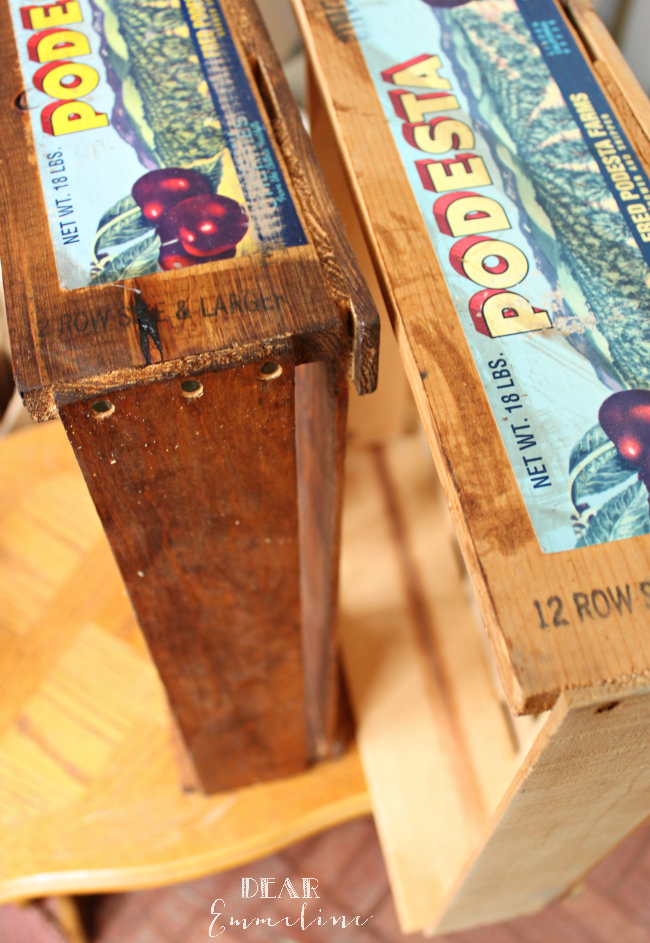
Next I gave the raw wood a coat of Minwax Early American Stain.  Now they’re fresh and clean with a nice antique look.
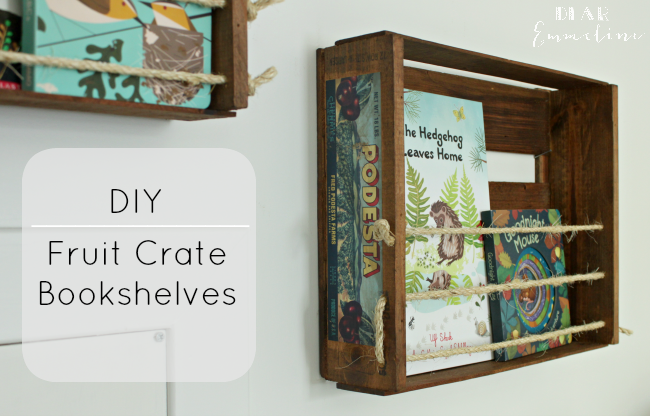
To make them into usable book storage I decided to pull out a coil of rope I had from a project last summer.
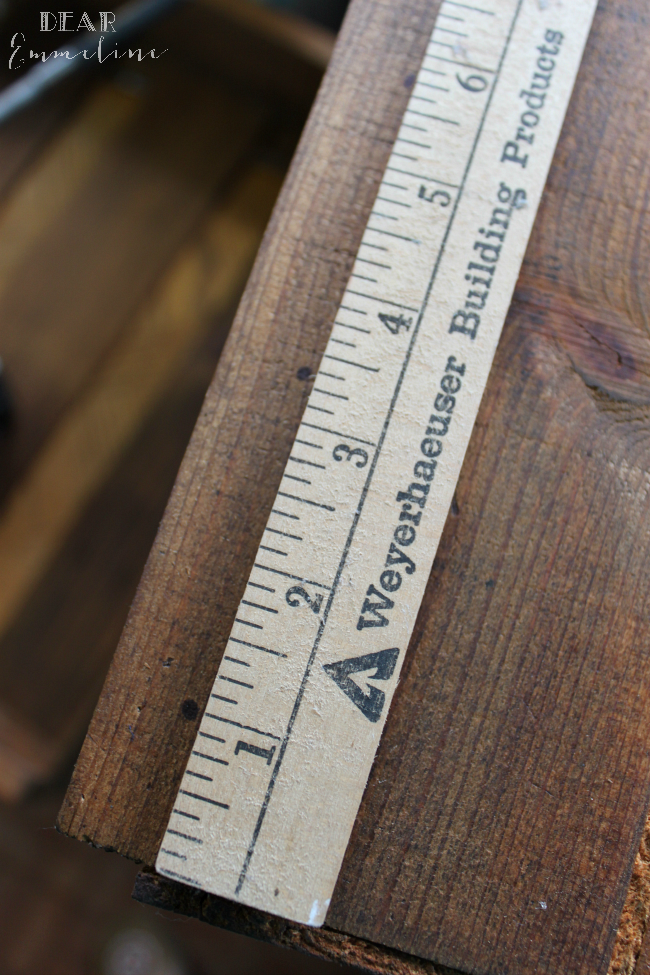
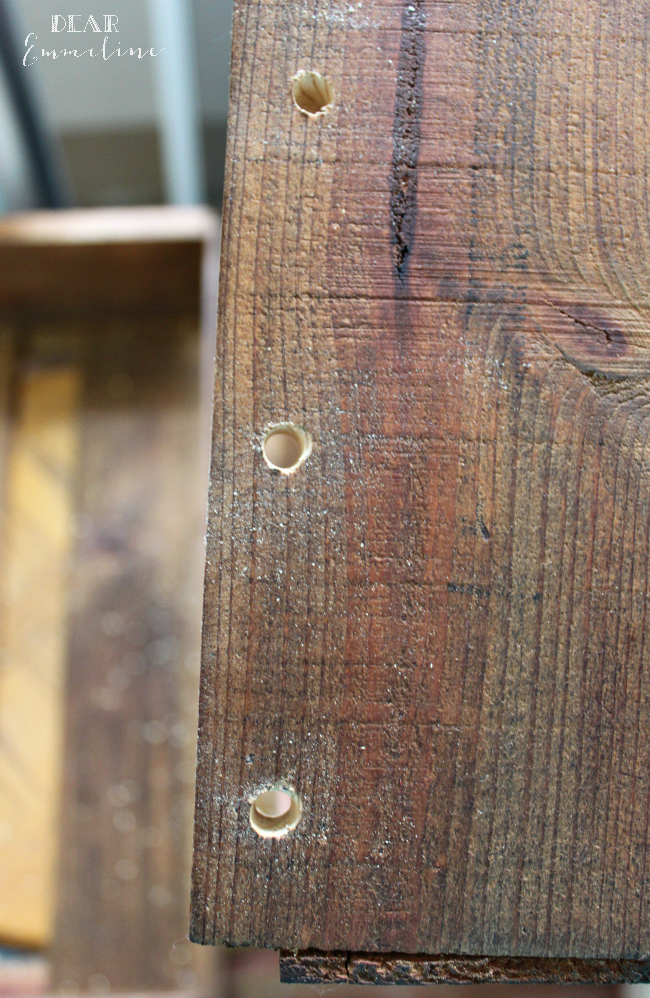
First, I measured and marked 1 inch, 3.5 inches, and 6 inches up from the base (With the crate standing up on end.) on both sides.
Next, I used a drill bit slightly larger than the rope to drill holes at each mark.


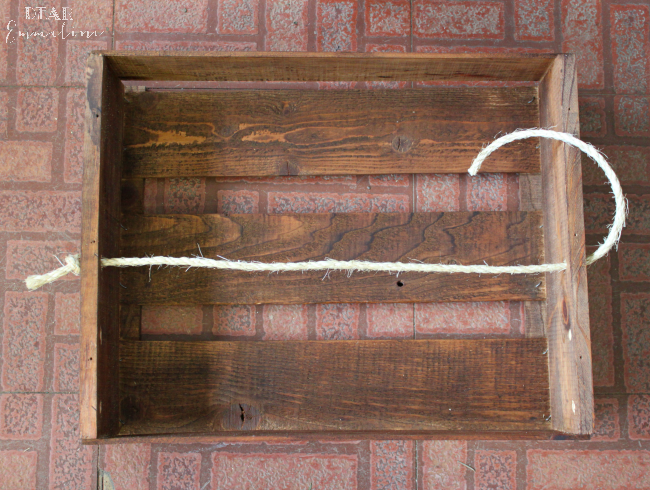
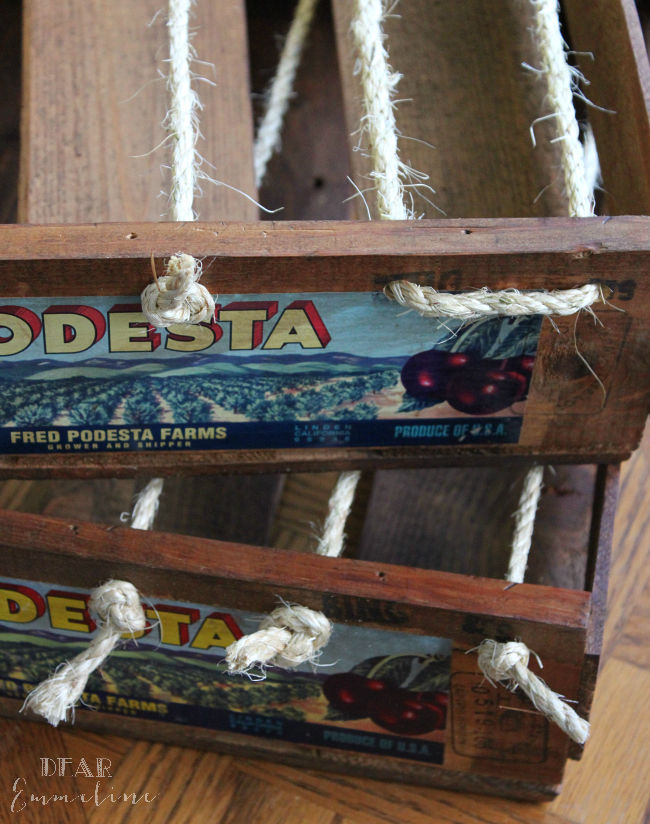
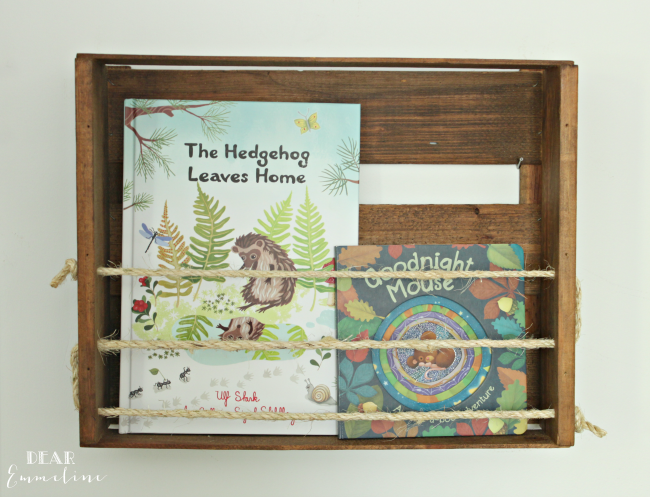
On the first crate I used 3 lengths of rope strung between each set of drill holes.  Knots on the ends of each rope hold them taught.


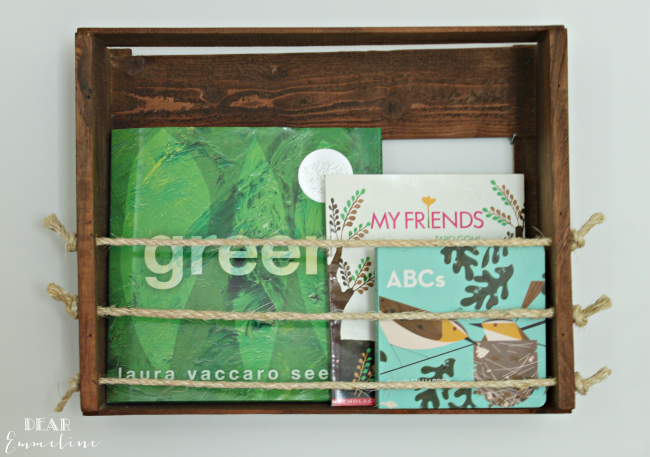
For the second crate I used 1 length of rope wound through all 6 holes.  I started the rope at the top left hole and took it across and through the top right hole.  Next, down through the right middle hole and across through the left middle hole.  Then, down to the left bottom hole and across through the right bottom hole.  I knotted the rope at each end to secure.


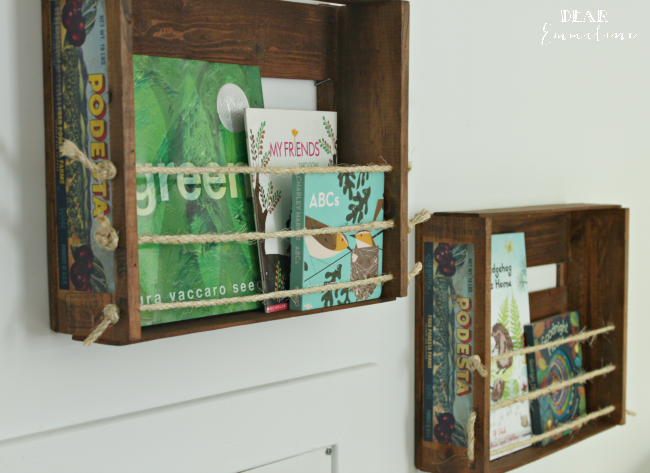
Using two different tying methods gives the crates some interest and individuality!


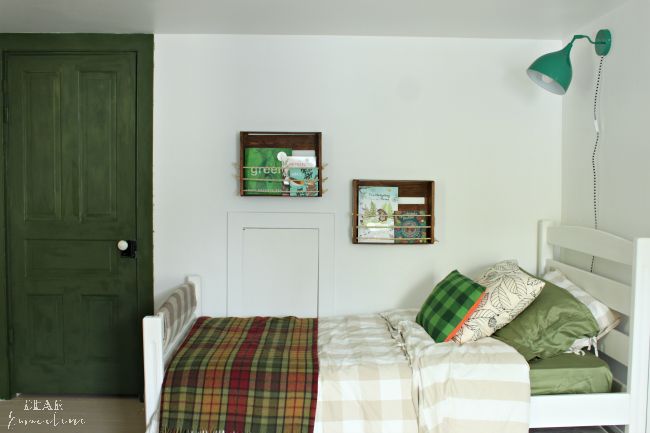
We placed the crates next to my son’s bed, within reaching distance, so he can pick out (and return) the books he wants to read on his own.  He really enjoys having a special place for his books.
I have a few more DIY projects in the works for the boys’ room.  Here’s hoping I have time to finish them up In the One Room Challenge six week timeline!
Stop back in on Thursday for another room update.
 
 
This post contains an Amazon affiliate link.
   

Filed In: Home + Decor, Make + DIY / Tagged: 1910 home renovation, bookshelf, bookshelves, boy bedroom, boys, camp, DIY, fruit crate, rope

Comments

  1. Cassie @ Primitive & Proper says

    October 28, 2014 at 2:07 pm

    love the new finish and love the rope detail! great idea!

  2. Lisa @ Fern Creek Cottage says

    October 29, 2014 at 11:38 pm

    So clever and super cute!!

  3. Jillian Iamahomemaker says

    October 30, 2014 at 11:05 am

    Jessica, I love using crates for things. I made an entire shelving system out of the big wooden crates you get at a craft store. This looks great! Using the rope was an awesome touch. Great job.

  4. Dear Emmeline says

    October 30, 2014 at 7:22 pm

    Thank you Jillian. 🙂 I have some other crates and drawers lying around. I guess I should dig them out and start thinking of how I can repurpose them too!

Welcome to Petal + Ply

Join the List

Join our mailing list to receive updates from our blog.

as seen in

Popular Posts

Olive You! {Baking Soda Paint Recipe}

DIY Easy Embroidery Hoop Pendant

Eclectic Farmhouse Foyer | One Room Challenge Reveal

Cross Stitch Dresser

Archives

Categories

  • Home + Decor
  • Life + Style
  • Make + DIY
  • Uncategorized

Browse

  • Journal
  • Portfolio
  • Press
  • Sponsorship
  • Privacy Policy

Join the List

Join our mailing list to receive updates and more from our website.

About Us

Welcome to Petal + Ply.

Formerly the DIY, craft, & decor blog Dear Emmeline. We decided it was time for a new site and new name!

More >

Theme by 17th Avenue · Powered by WordPress & Genesis