• About
  • Contact
  • E

Petal + Ply

formerly Dear Emmeline

  • Make + DIY
  • Home + Decor
  • Life + Style

Ikea Cubby Hack

March 16, 2015 ·

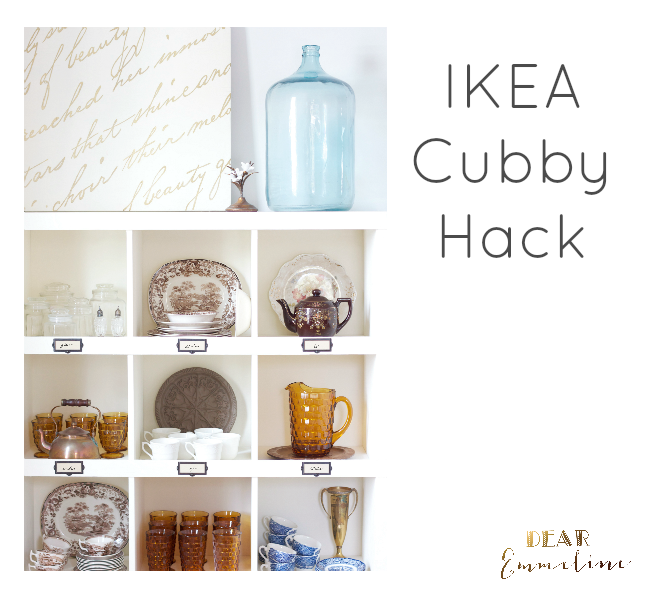
You know the Ikea cubbies you see everywhere?
I believe they used to be called Expedit but now are named Kallax.

When some of our old neighbors left their rental they left a set behind.  In passing, the cleanup crew offered them to my husband and of course (since we love freebies) he said yes.

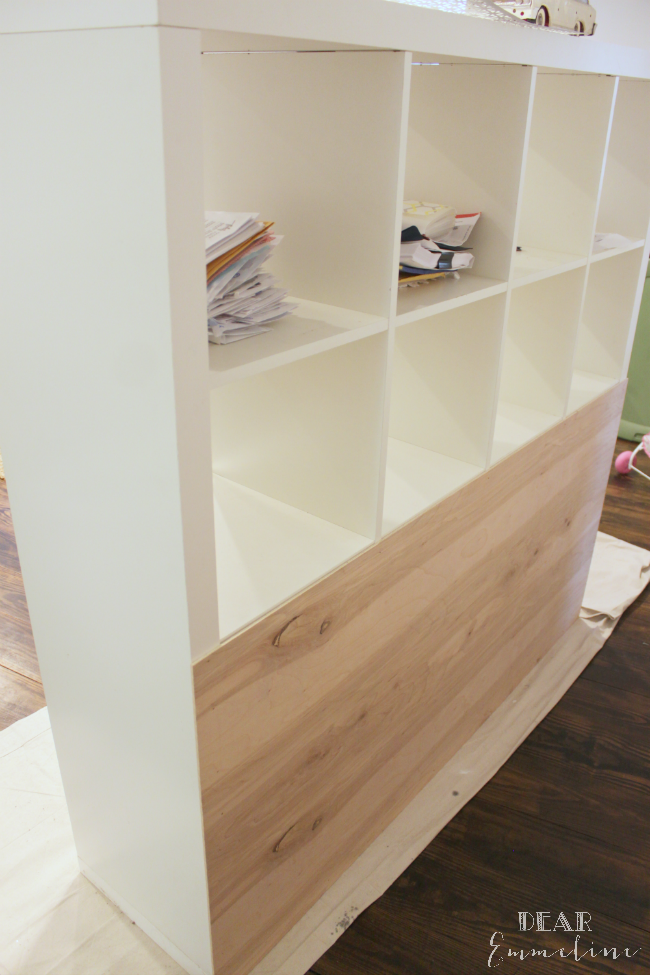
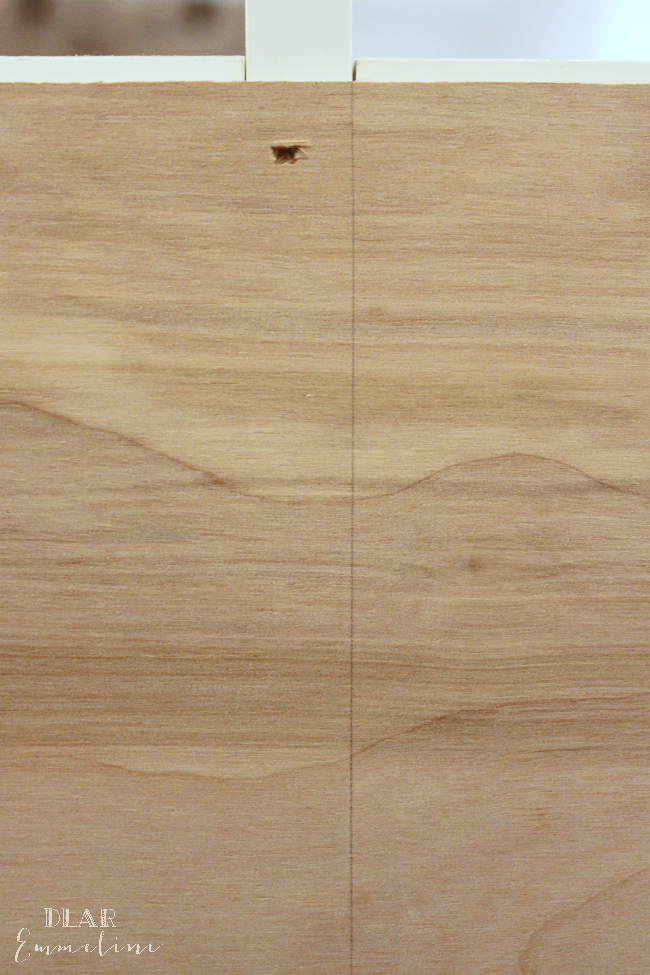
We were using them to store the kids’ toys but decided they needed a makeover.  Our littles were always knocking toys out the back and the cubbies were already a bit, dinged, dented, stained and falling apart.  It was time.

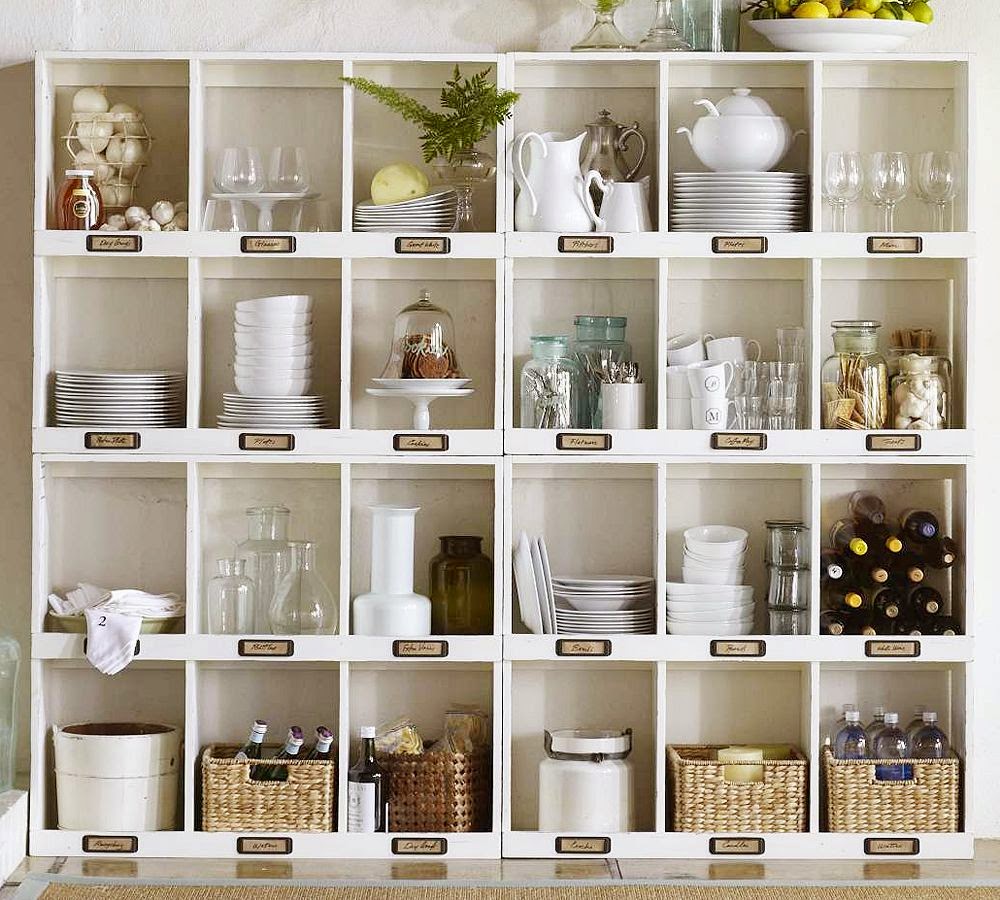
A particular set of cubbies floating around Pinterest caught my eye, so a plan was made to redo the Ikea cubbies to give them the same look.  Turns out my inspiration is the retired Mitchell Cubby Storage (x4) from Pottery Barn.

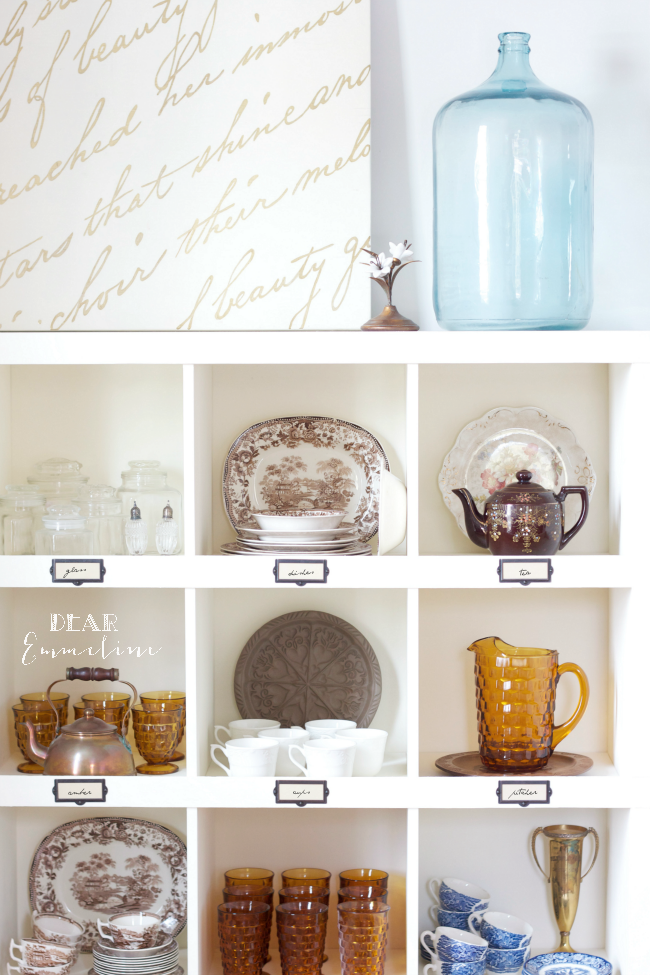
As inspired by the original, for now we are using our cubbies as dining room storage.  This may be short lived though since we have two other storage pieces in this space (a matching buffet and hutch) and to me it feels too out of place.  We will most likely be putting them up for sale in the near future or might save them for our workshop renovation.

I throw around workshop renovation as if it might happen soon.  Probably not.  We still have some house projects to finish first.  Not to mention my idea of workshop renovation is gut and redo whereas my husband wants to cover and go.  I’ve informed him cover = bandaid = not good enough for my future plans for the space.  He’s informed me bandaid = affordable AND gut job = out of the budget. Blast.

So here they sit until we make up our minds.

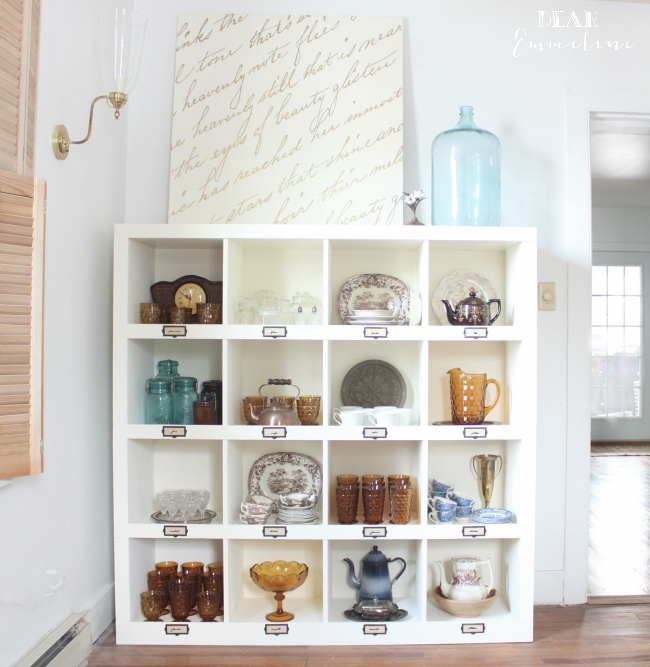
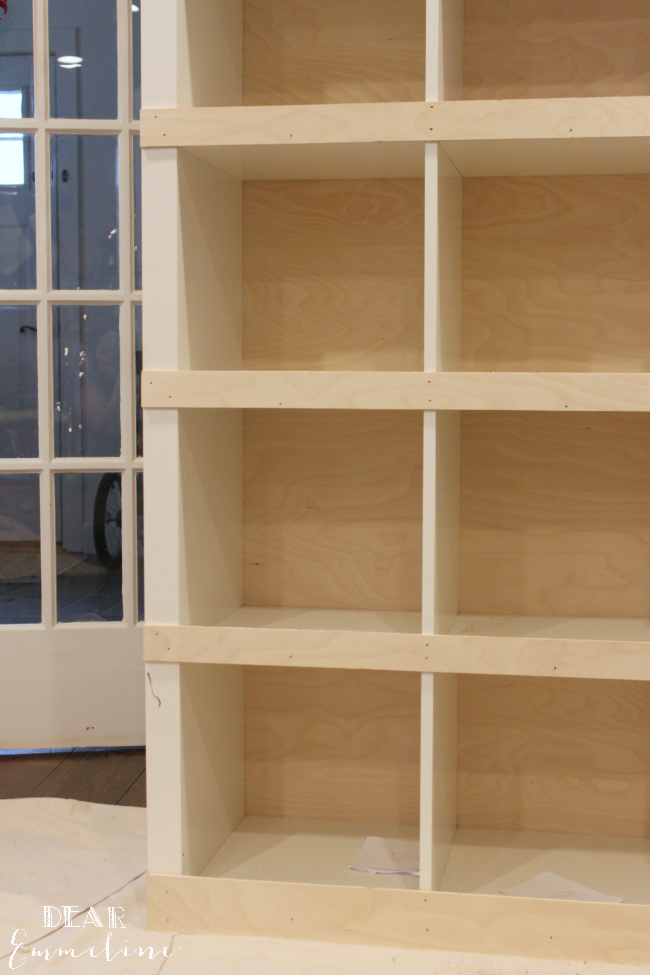
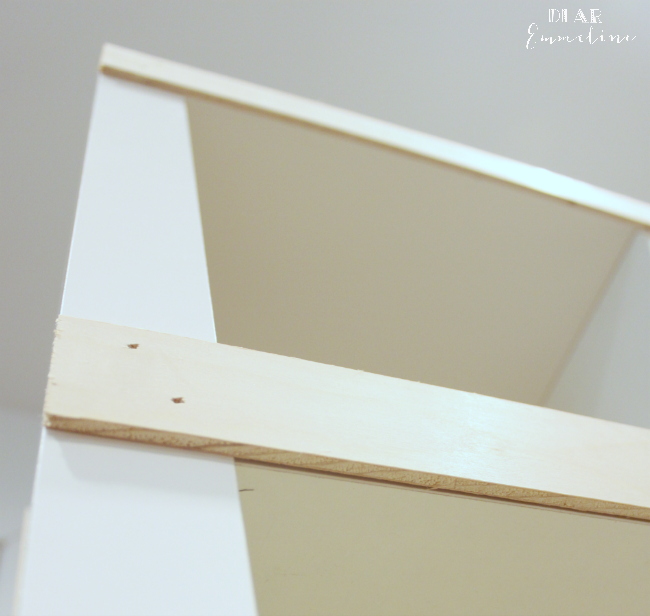
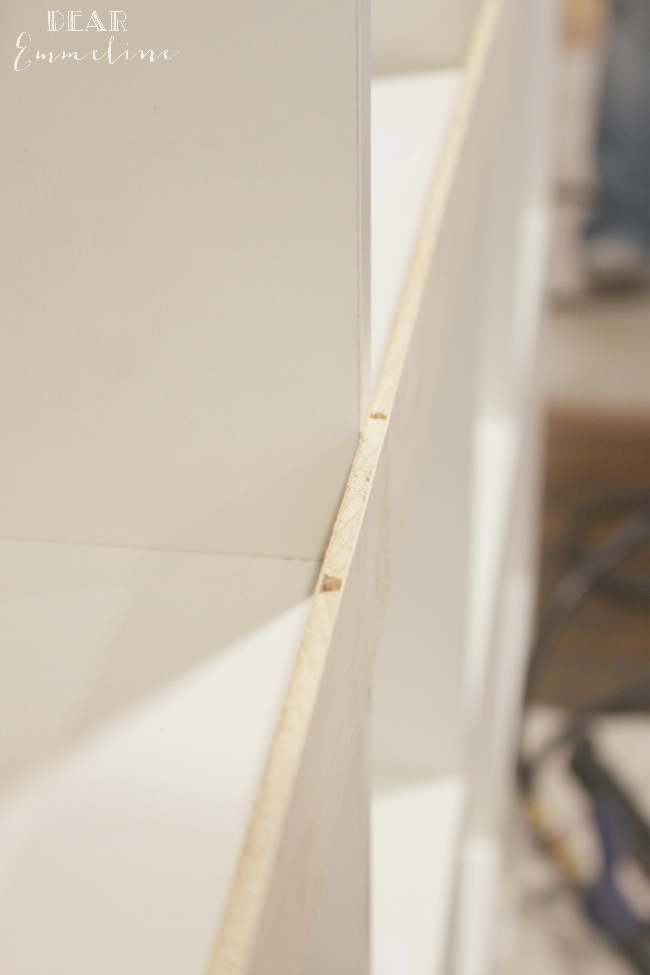
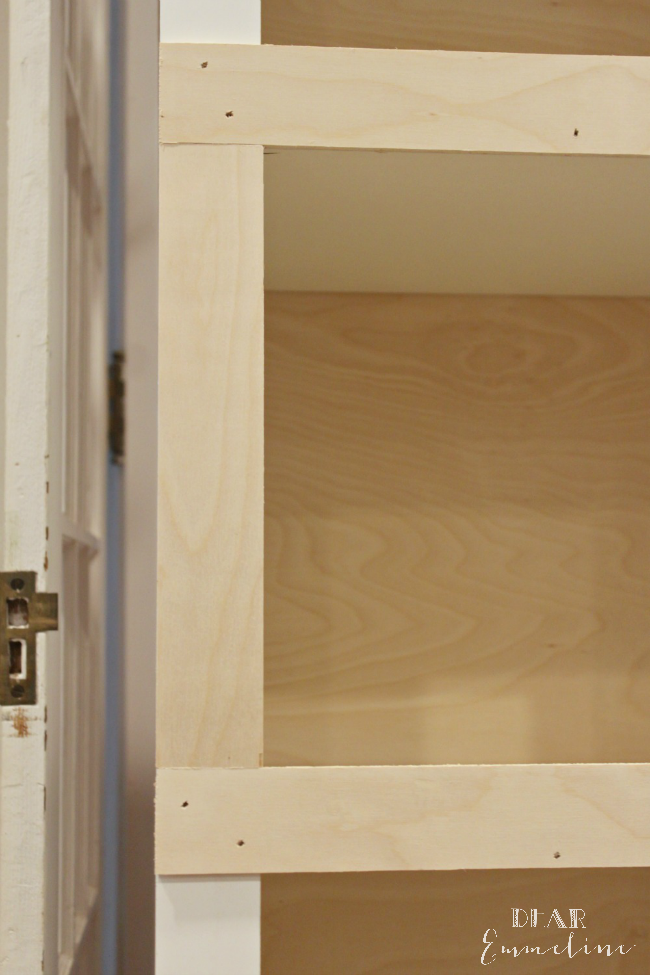
This is a relatively easy hack and as an added bonus the changes sturdied the unit up quite substantially!

First, cut 1/4″ plywood to size and nail to the back of cubbies.  Tack the plywood around the perimeter and then tack the plywood to the vertical cubby dividers.  We marked the verticals using a yardstick and pencil, which made it much easier to keep a straight line.
Next, cut strips of 1/4″ plywood to cover the front horizontals.
To create a 1″ lip on each cubby shelf, the base board needs to be 3″ tall and the rest 2″ tall.  Each strip gets nailed on flush with the base of the shelves.


Next, cut and tack strips of 1/4″ plywood to the vertical spaces remaining between the horizontal trim (perimeter of cubby unit only).  No trim needs to be added to the vertical shelf dividers.
We chose to paint the whole piece with Old White Annie Sloan Chalk Paint.  It covered the smooth factory finish and the raw wood perfectly.
Lastly, we purchased and attached 16 antique copper (bronze) metal label holders from D. Lawless Hardware.  At only $0.53 each they helped keep the cost down.  The holders don’t come with hardware so to make the silver screw heads match I sprayed some oil rubbed bronze spray paint into a cup and painted them with a Q-tip.  You would never know they didn’t come as a set!


Even though we might not keep this piece in the dining room it hasn’t stopped me from filling it full of fun finds and gifts!
Now I just need to figure out, if we decide to move it, what will take it’s place.


Filed In: Make + DIY / Tagged: Annie Sloan Chalk Paint, cubby, D. Lawless Hardware, Expedit, hack, IKEA, Kallax, label holder, Mitchell Cubby Storage, Old White, Pottery Barn

Comments

  1. Cassie @ Primitive & Proper says

    March 17, 2015 at 12:39 am

    that is awesome!!! looks so good! i was just at ikea yesterday! 🙂

  2. Kristen @ Pursuing Vintage says

    March 17, 2015 at 12:06 pm

    That looks great! I love it in your dining room! Keep it!

  3. Tina@WhatWeKeep says

    March 18, 2015 at 12:33 am

    I love this! It looks wonderful with all your pretties out for show.

  4. Lisa {Gracie Blue ~ the Blog} says

    March 20, 2015 at 10:35 pm

    This is an amazing hack!! Pinning this for sure!!

  5. Carissa Rasmussen says

    March 26, 2015 at 8:24 pm

    girl! I cannot wait to do this in my play room. You are so talented. Thanks for linking to Outside {the Box}

  6. At Rivercrest Cottage says

    March 27, 2015 at 2:18 am

    wonderful tutorial. I've wanted to make cubbies from scratch in a smaller version and putting the front trim boards on makes it so much cuter.

  7. Dear Emmeline says

    March 27, 2015 at 2:40 pm

    Thanks so much Carissa! It's amazing how a little trim can completely change the look and it was just an added bonus that it is now more sturdy. Kids have a way of destroying flat pack furniture!

  8. Dear Emmeline says

    March 27, 2015 at 2:42 pm

    Thank you Lisa!

  9. Derrick Lawless says

    March 31, 2015 at 8:05 pm

    I JUST saw this post, awesome job! Great working with you!

  10. Carissa Rasmussen says

    March 31, 2015 at 8:24 pm

    amazing! Can't wait to do this too! Thanks for linking up to Outside the box! You're being featured this week

  11. Amy from Lizzy Beth says

    April 1, 2015 at 5:17 pm

    Love!! If you come across more let me know!!!

  12. Dear Emmeline says

    April 7, 2015 at 4:55 pm

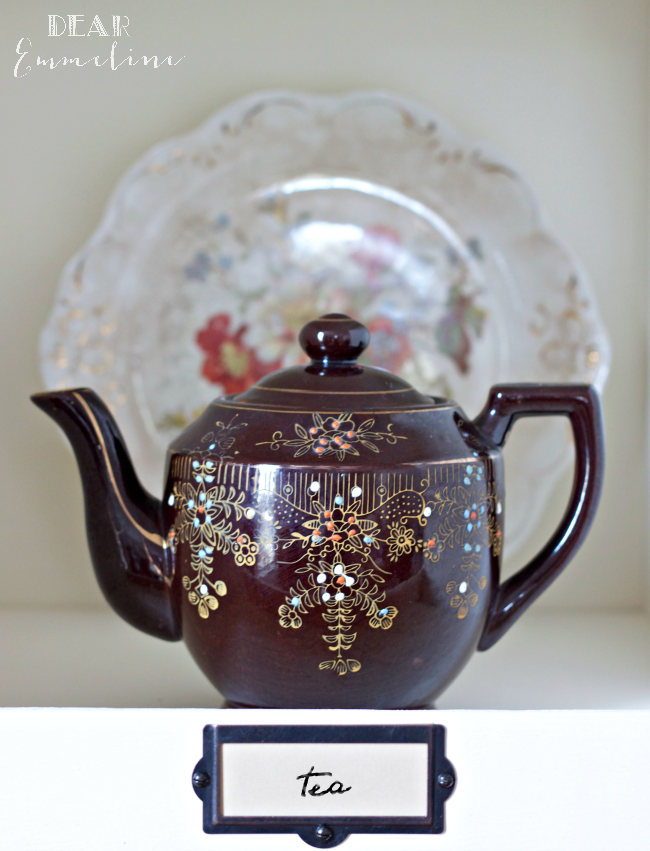
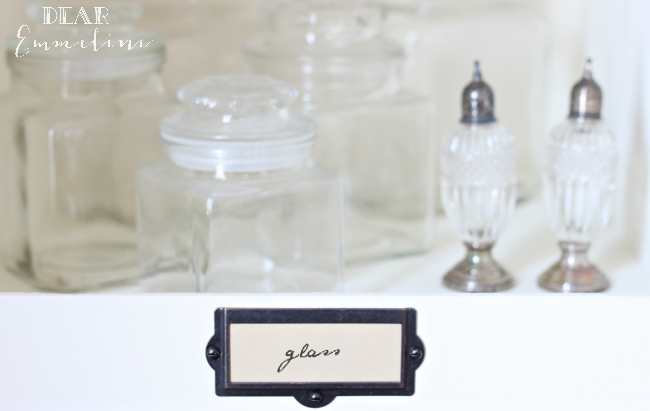
    Thank you Derrick! The label holders were a perfect fit for our project!

  13. Dear Emmeline says

    April 7, 2015 at 4:56 pm

    Thanks so much Carissa! Always a pleasure partying with you. Thanks for the feature. 🙂

  14. Dear Emmeline says

    April 7, 2015 at 4:59 pm

    Thanks Amy!

Trackbacks

  1. The Best Ikea Kallax Hacks and 20 Different Ways To Use Them says:
    March 12, 2017 at 4:12 am

    […] Ikea Vintage Cubby Hack by Petal and Ply […]

  2. My Favorite IKEA Hacks – My Daily She says:
    July 21, 2017 at 7:01 am

    […] 8) IKEA Hack: Cubby […]

Welcome to Petal + Ply

Join the List

Join our mailing list to receive updates from our blog.

as seen in

Popular Posts

Olive You! {Baking Soda Paint Recipe}

DIY Easy Embroidery Hoop Pendant

Eclectic Farmhouse Foyer | One Room Challenge Reveal

Cross Stitch Dresser

Archives

Categories

  • Home + Decor
  • Life + Style
  • Make + DIY
  • Uncategorized

Browse

  • Journal
  • Portfolio
  • Press
  • Sponsorship
  • Privacy Policy

Join the List

Join our mailing list to receive updates and more from our website.

About Us

Welcome to Petal + Ply.

Formerly the DIY, craft, & decor blog Dear Emmeline. We decided it was time for a new site and new name!

More >

Theme by 17th Avenue · Powered by WordPress & Genesis