
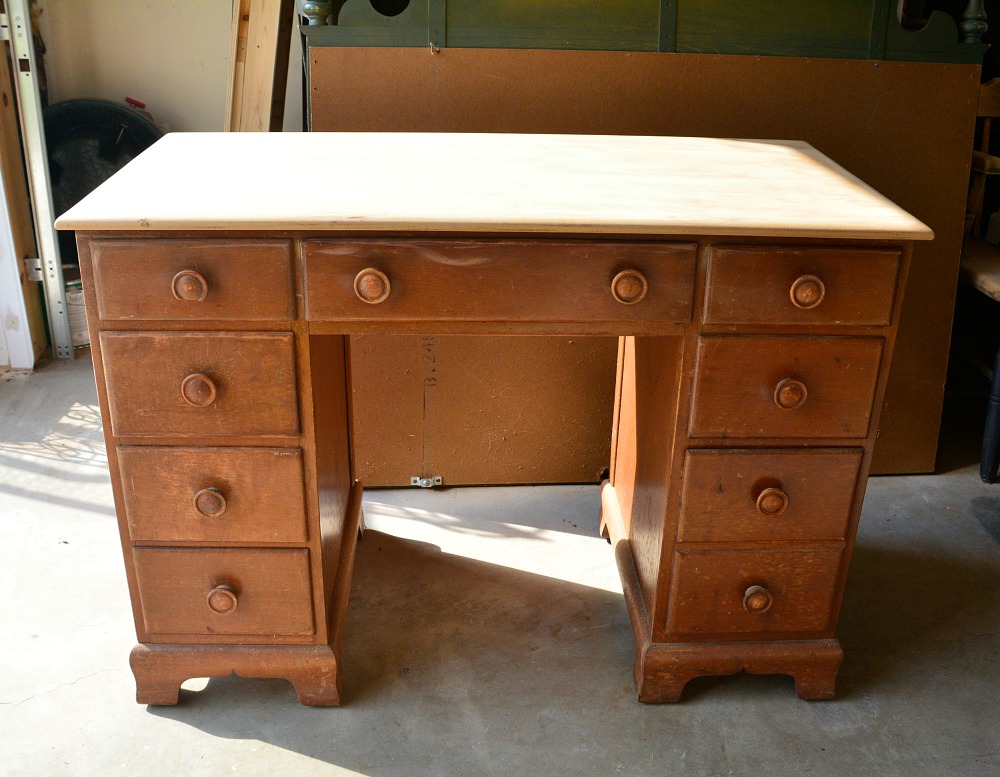
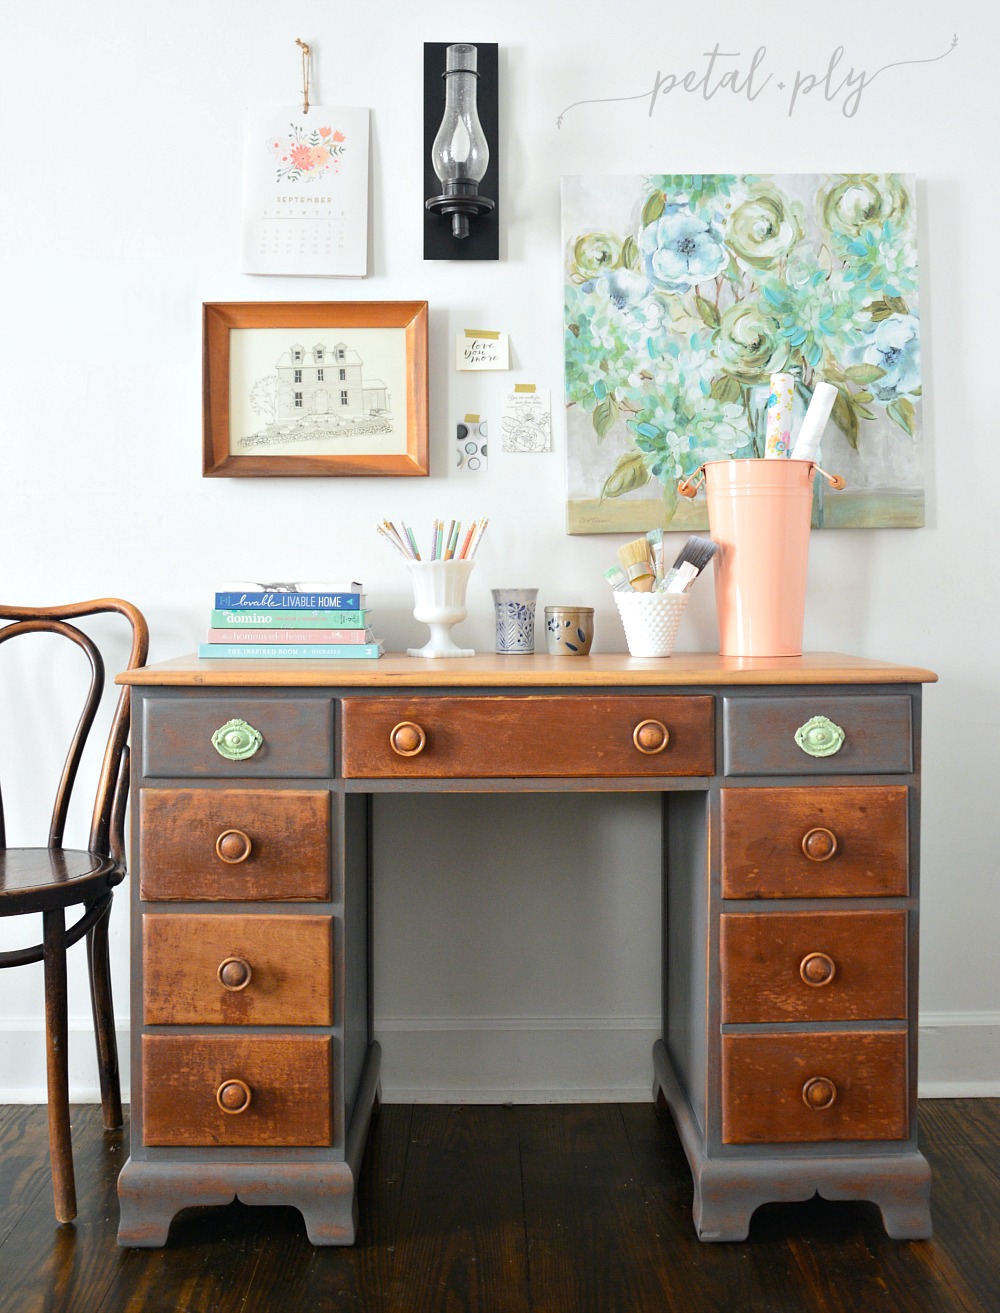
This desk! Would you believe my husband found it on the side of the road during our town’s bulk trash pickup?
Crazy I tell you.
Yes it was dinged up. Yes the finish was rough. But. It’s solid wood and in excellent working condition.
The best kind of freebie!!
The plan:
- sand and stain the top
- lightly sand and then paint the desk body
- replace top outer hardware (broken knob)
Materials:
(affiliate links included)
Desk
- General Finishes Milk Paint – Driftwood
- Purdy 2″ Angle Brush (my favorite for furniture painting)
- Rust-Oleum Ultimate Wood Stain – Sunbleached
- Minwax Wipe-On Poly
- T-shirt staining rags (I try to use old white Tees already around the house for stain and wipe-on poly)
- Fine/Medium Sanding Sponge
Contrasting Hardware
- Krylon CoverMaxx Spray Paint – Pistachio | Satin
- Krylon CoverMaxx Spray Paint – Seaside Green | Matte
- buttercream Luxe Craft Chalk – Green Envy
- Americana Decor Chalky Finish – Refreshing
- basic craft brush (I’ve been eyeing this pretty white brush set from Martha Stewart Crafts)
The Process:
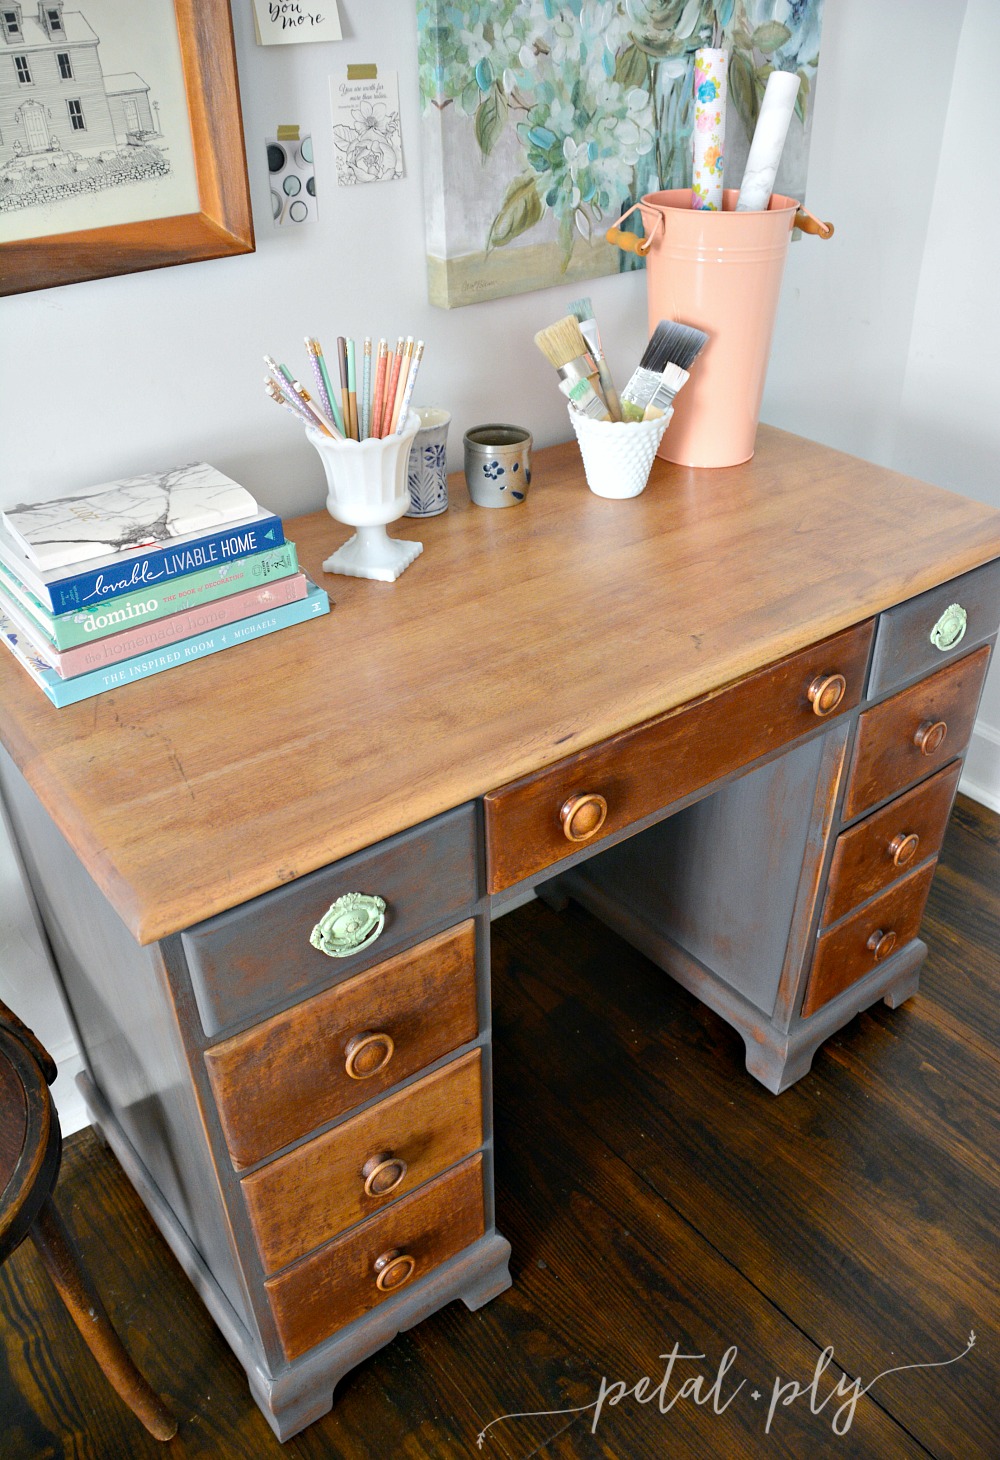
Step 1 – After my husband sanded the top of the desk I used 2 coats of Rust-Oleum Sunbleached Wood Stain to give slight color and age to the beautiful wood. I like applying stain with an old Tee shirt and in this case I immediately wiped the excess stain to ensure that the color would be very subtle.
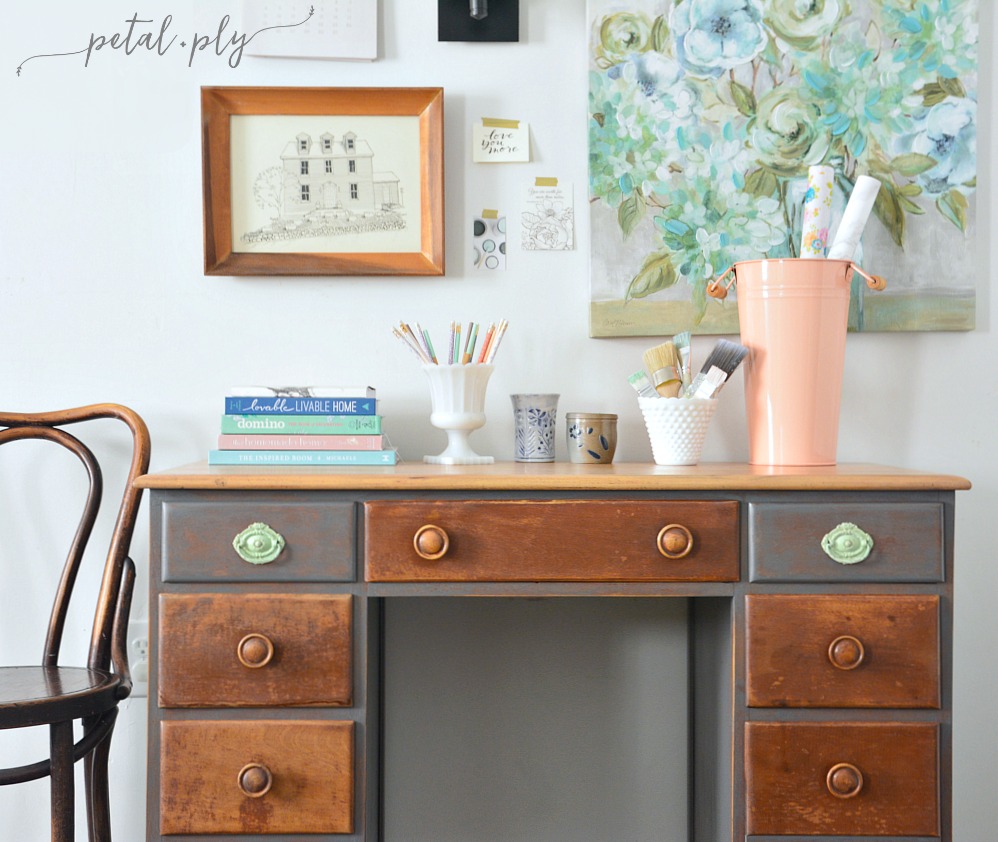
Step 2 – I lightly sanded the entire body of the desk, including the drawer fronts and knobs. At this point I decided I loved the beautiful patina of the wood drawer fronts so I decided not to paint them and set them to the side. As you can see I did decide to paint the top 2 outer drawers to contrast the green hardware.
Step 3 – I painted the body and top outer drawers of the desk with one coat of General Finishes Milk Paint in Driftwood. I added a little water to the paint to thin it because I knew I would be sanding to reveal the wood underneath. Despite thinning the paint this color covered extremely well. Seriously, full coverage in one coat!
Step 4 – Since the paint covered better than I wanted, I sanded back the paint to produce the worn look I was after.
Step 5 – To bring cohesion to the top and body of the piece I applied a coat of Sunbleached wood stain to the body and drawers of the desk. The stain also functioned to deepen and rejuvenate the wood peeking through the paint.
Step 6 – To seal the stain and provide protection the entire piece then got a coat of wipe-on poly.
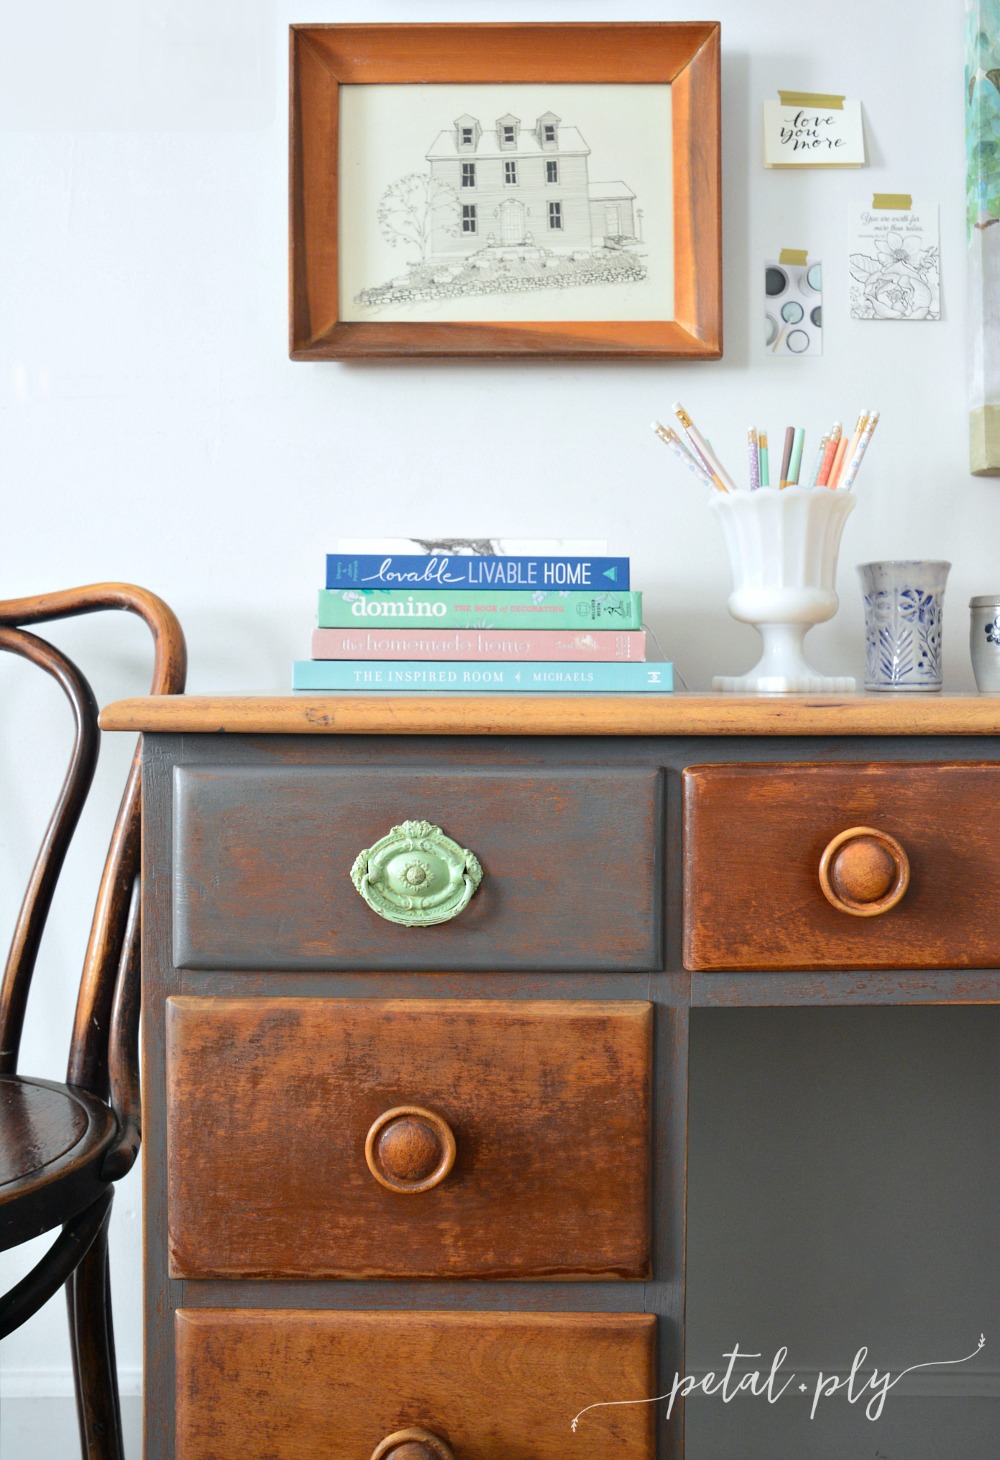
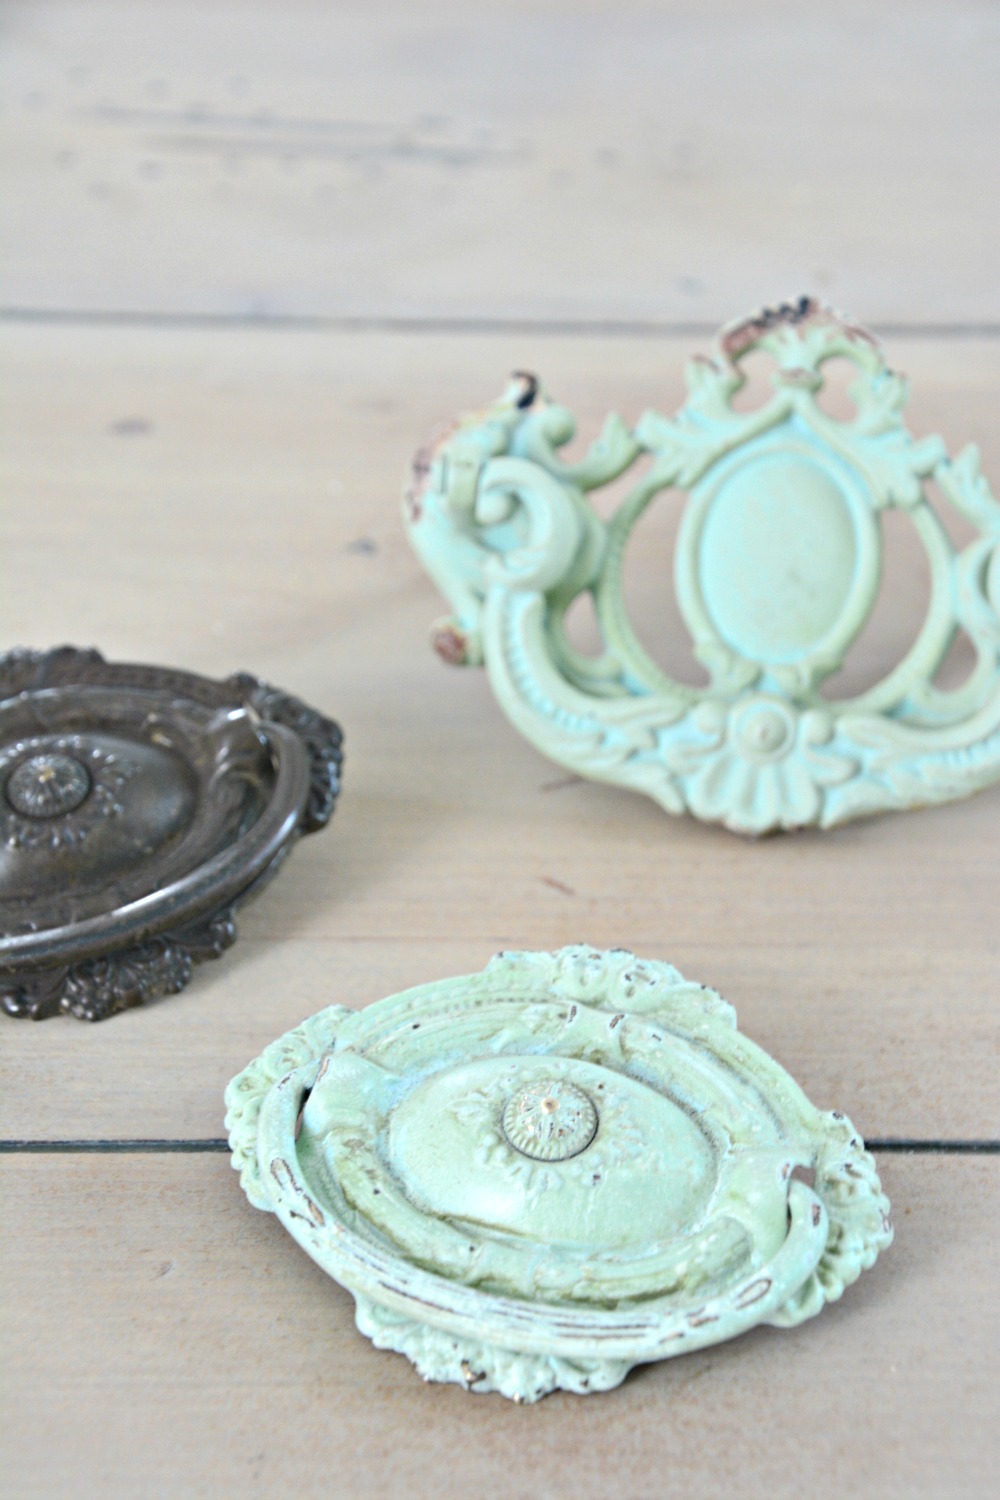
Step 7 – Last but not least I installed new hardware to replace the broken knob and the corresponding knob on the opposite side. I planned to use green Hobby Lobby pulls pictured below (top) but I didn’t want to fill and redrill holes to accomodate the Hobby Lobby hardware, I decided to recreate the look with a set of vintage (single screw) pulls I had on hand.
(Be on the lookout. I will share the process to create the hardware patina in another post.)
Yay for roadside freebies!
![]()
Gorgeous! Well done!
Ah! Well done! It looks so good!
Thank you Monique!