What do you do when you have a This End Up end table languishing in the attic?
You pull it out when your boys (who are hard on furniture) need an end table and give it a whole new mom approved look!

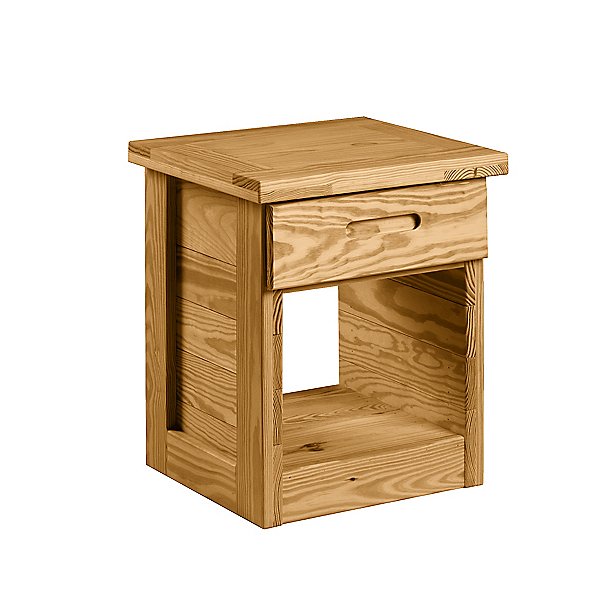
Here’s how this Classic Drawer End Table started.
I was so happy to see that the drawer sits on a simple wood frame. I had a trunk I was hoping to fit on the bottom shelf AND moving the frame up to the top provided the exact space needed.
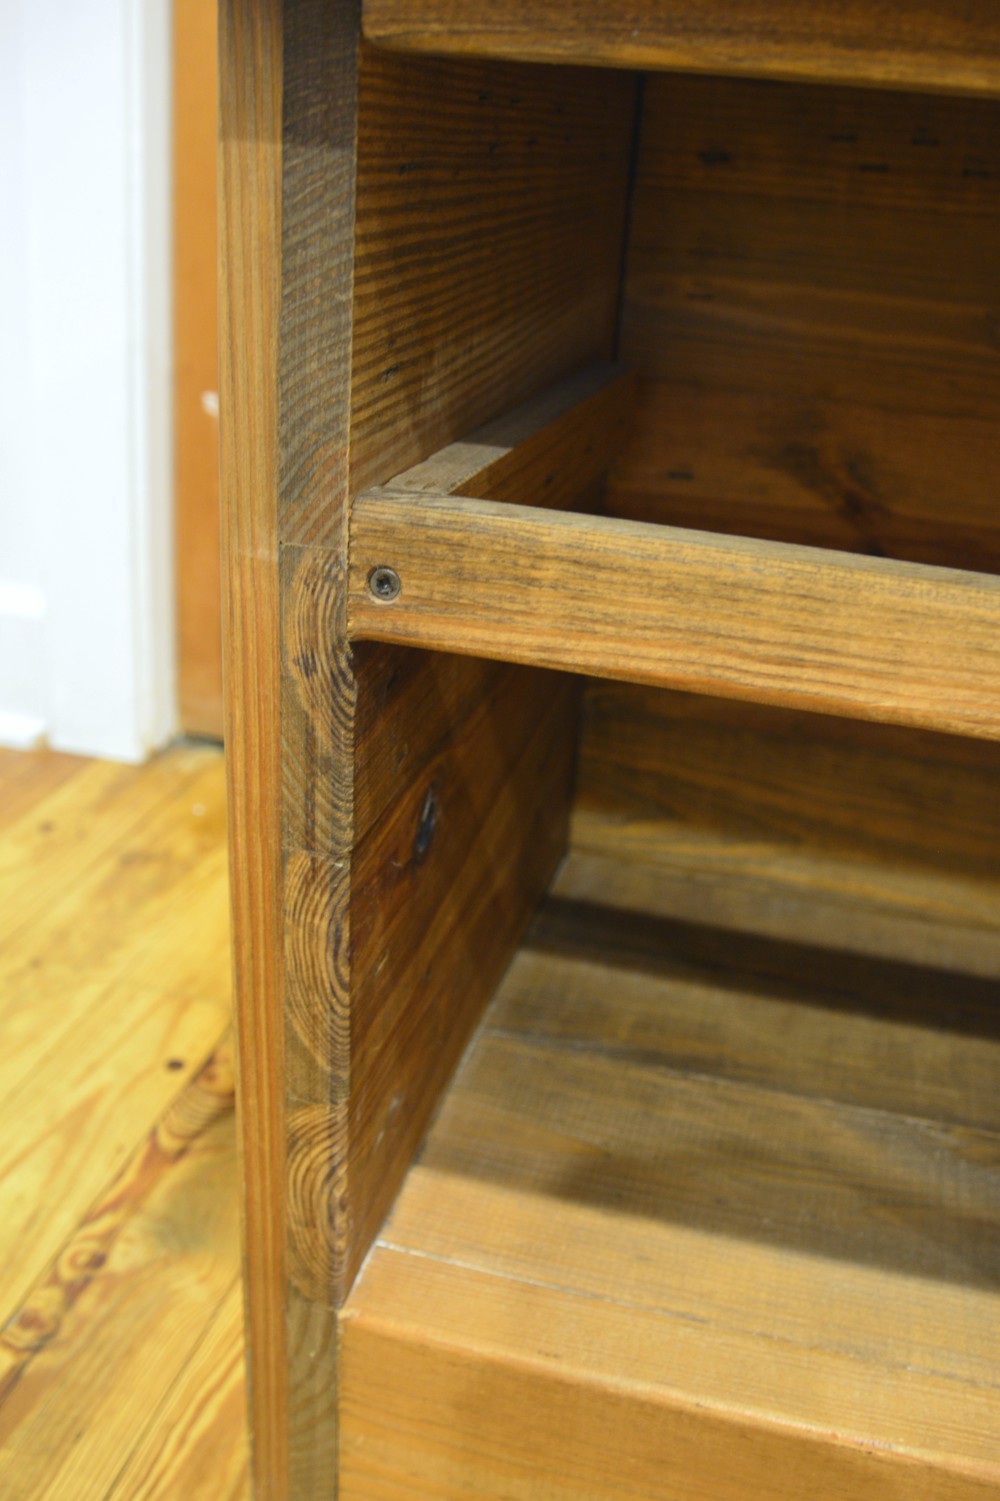
After the drawer frame was moved the end table was ready for paint.
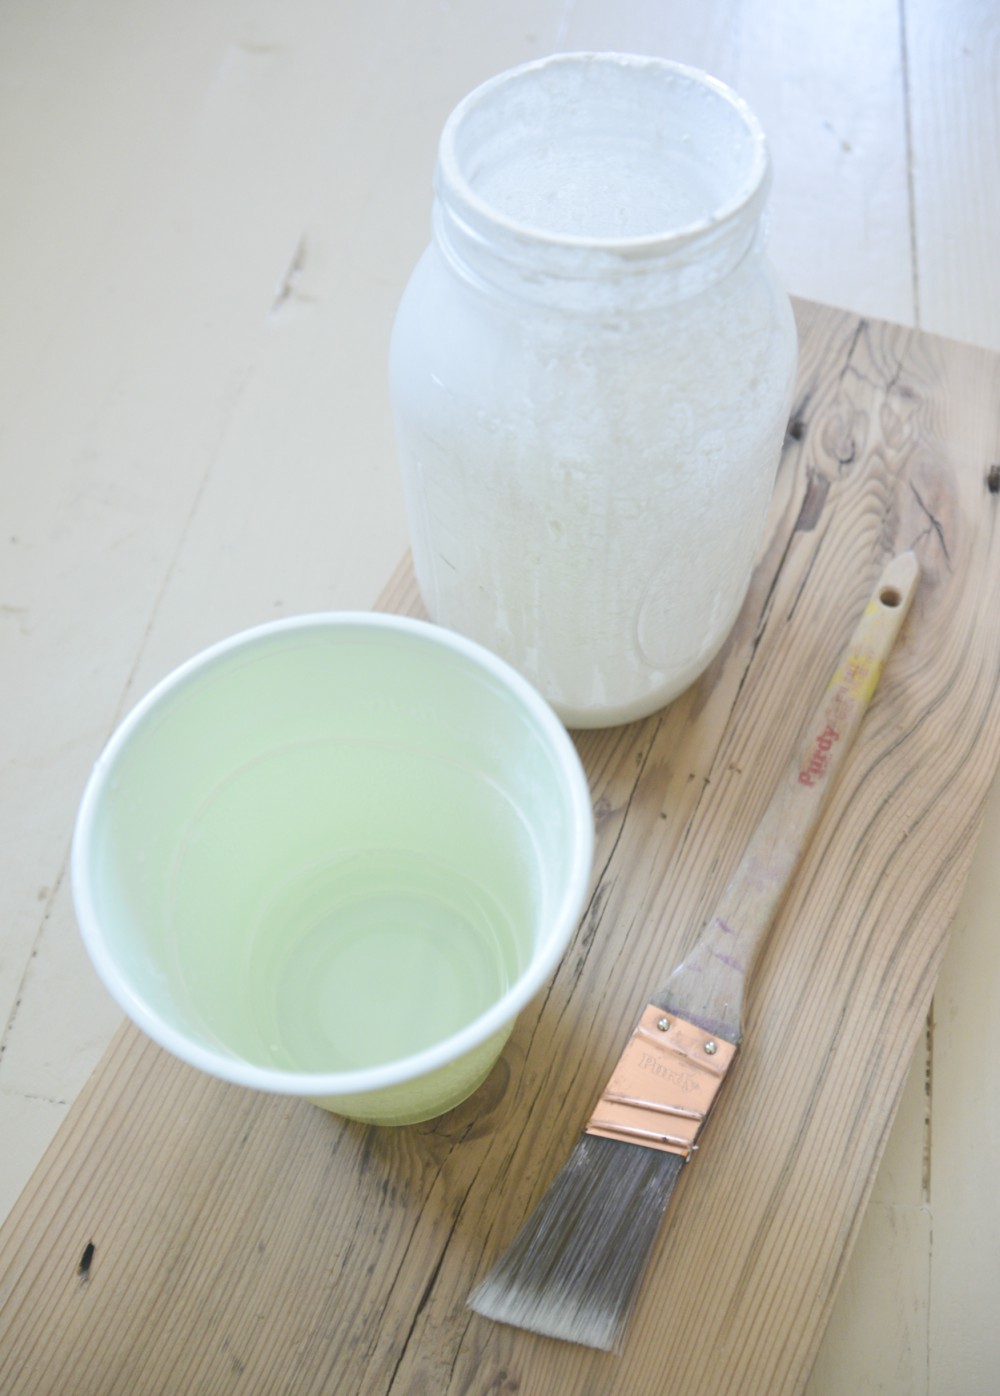
I chose Miss Mustard Seed’s Milk Paint in Ironstone.
My paint powder was stored in a large mason jar so I decided to mix it right in the jar. This worked perfectly! I was able to cap it up and come back to it as I had time to paint.
I also decided to try out an idea which has changed how I will paint with milk paint from this point forward!!
Milk Paint Tip
- Prepare milk paint with warm water according to package directions.
- Fill disposable cup with an inch of water.
- Pre-load brush with a small dip of water before loading paint. Repeat process as necessary.
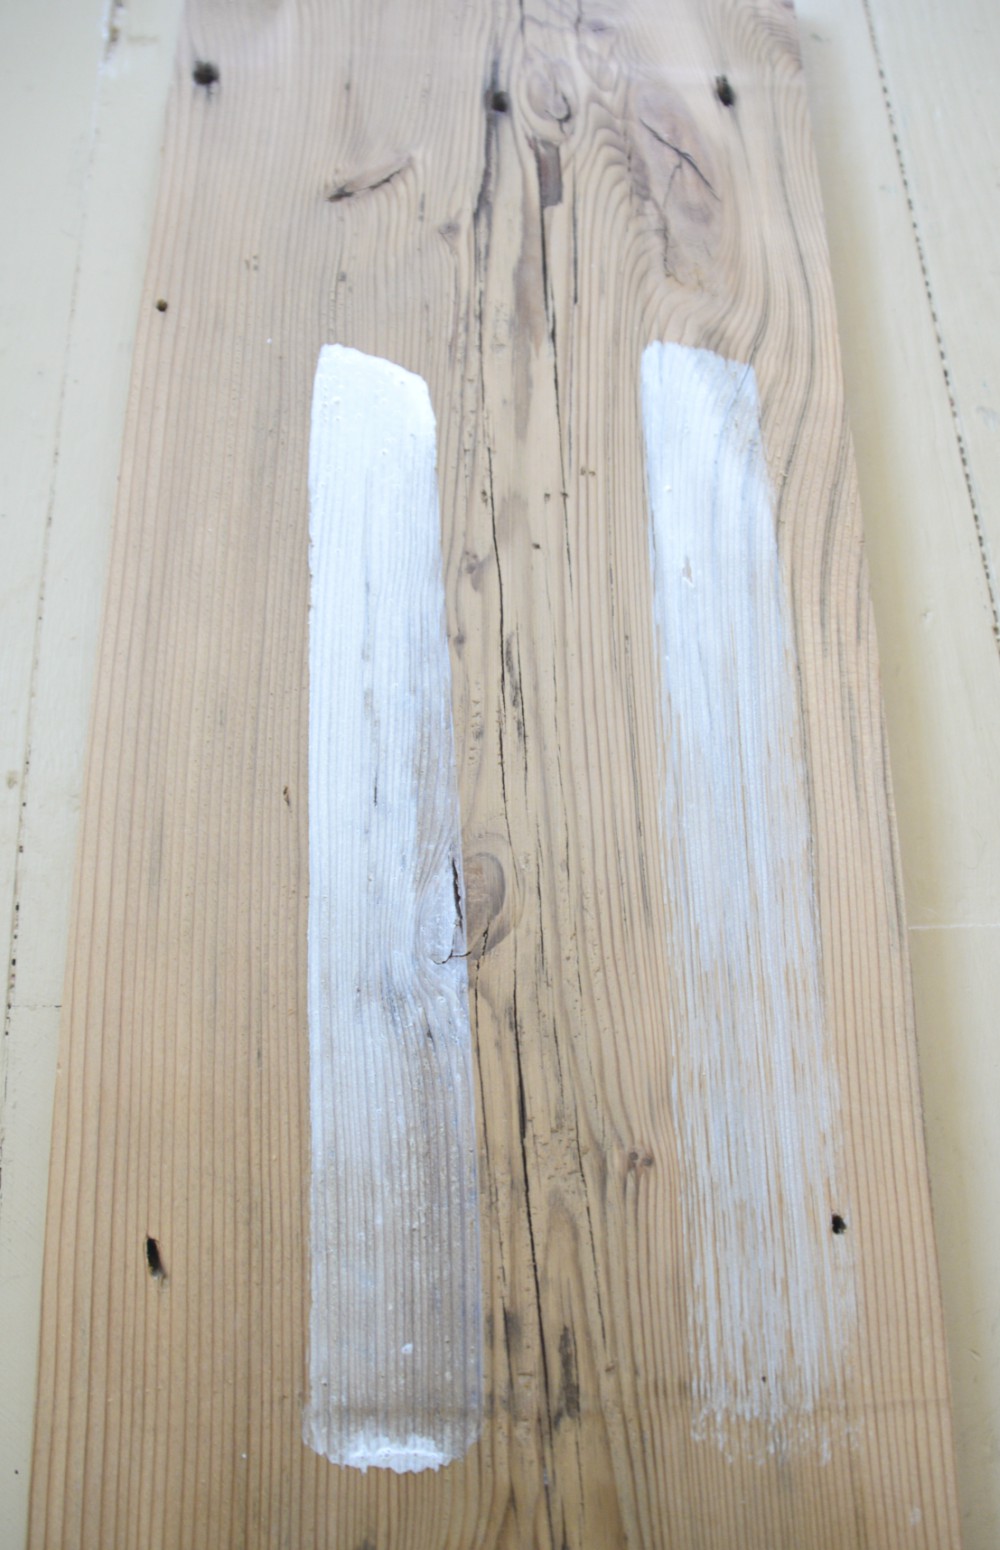
Seriously!!! That’s it. Pre-loading the brush with water really helps the flow of the paint and workability, especially when painting on a dry thirsty surface.
See how much better the paint flowed on a brush loaded with water first. It actually appears like I loaded the brush with more paint on the first stroke BUT I totally didn’t! My theory is that if the brush is too dry then the paint soaks into the brush instead of transferring to the wood. Pre-soaking the brush keeps the paint from hanging out in the brush and instead it brushes cleanly onto the wood. That’s my story and I’m sticking to it!
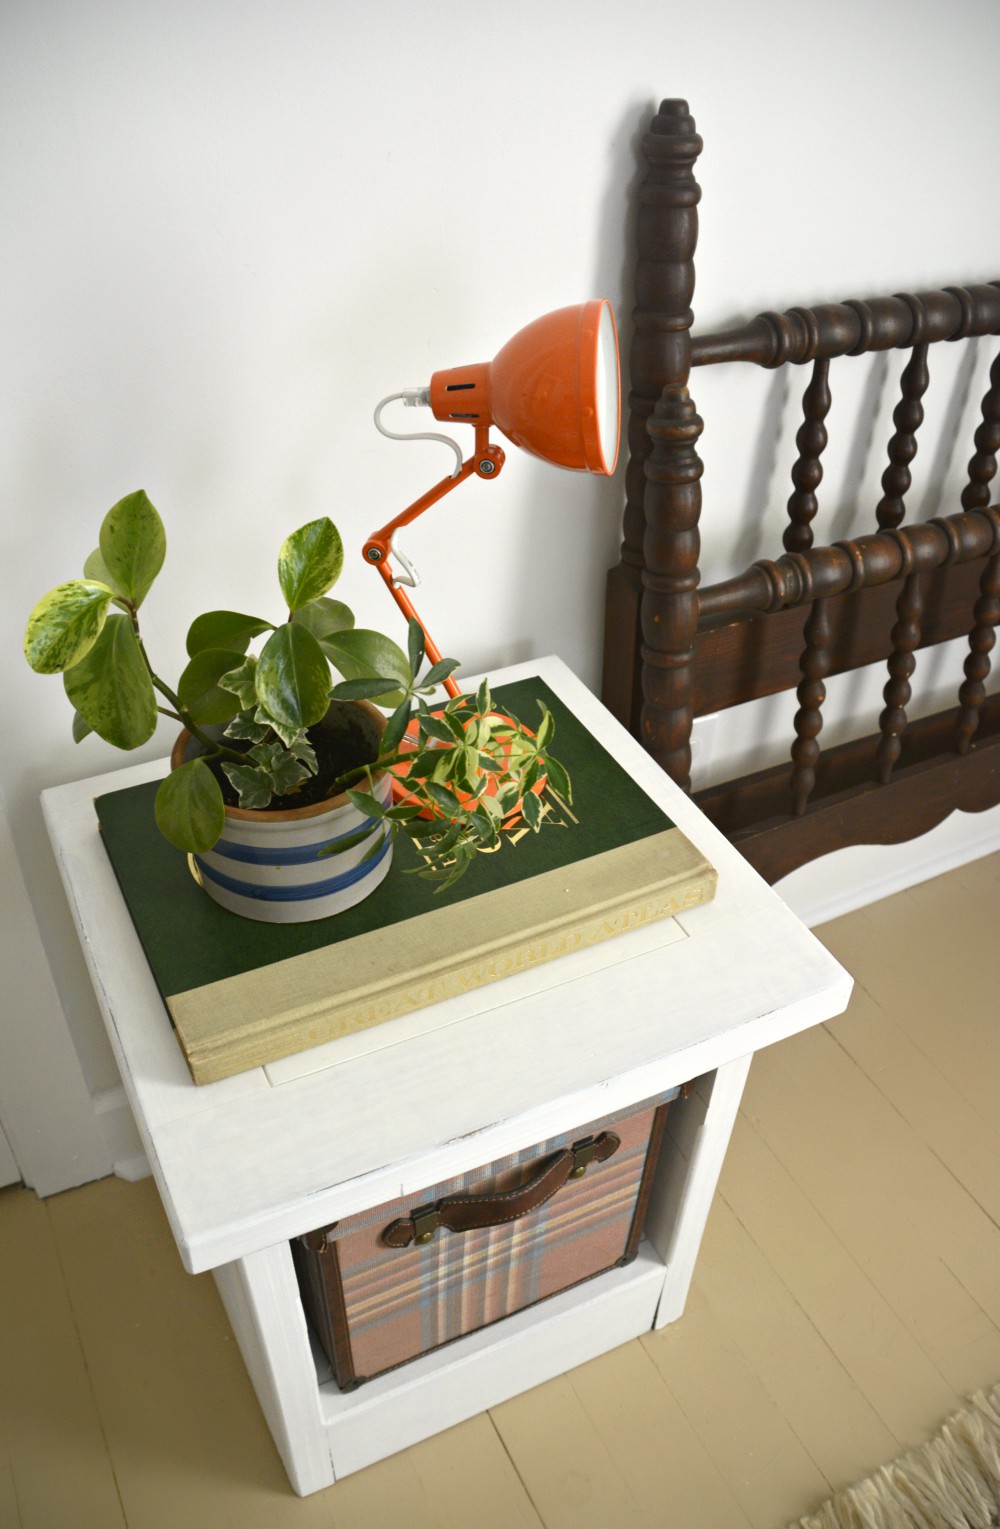
Now we have a great place for some extra storage and we’ve saved a useless piece of furniture from the attic.
I really can’t believe how perfectly the trunk fits.
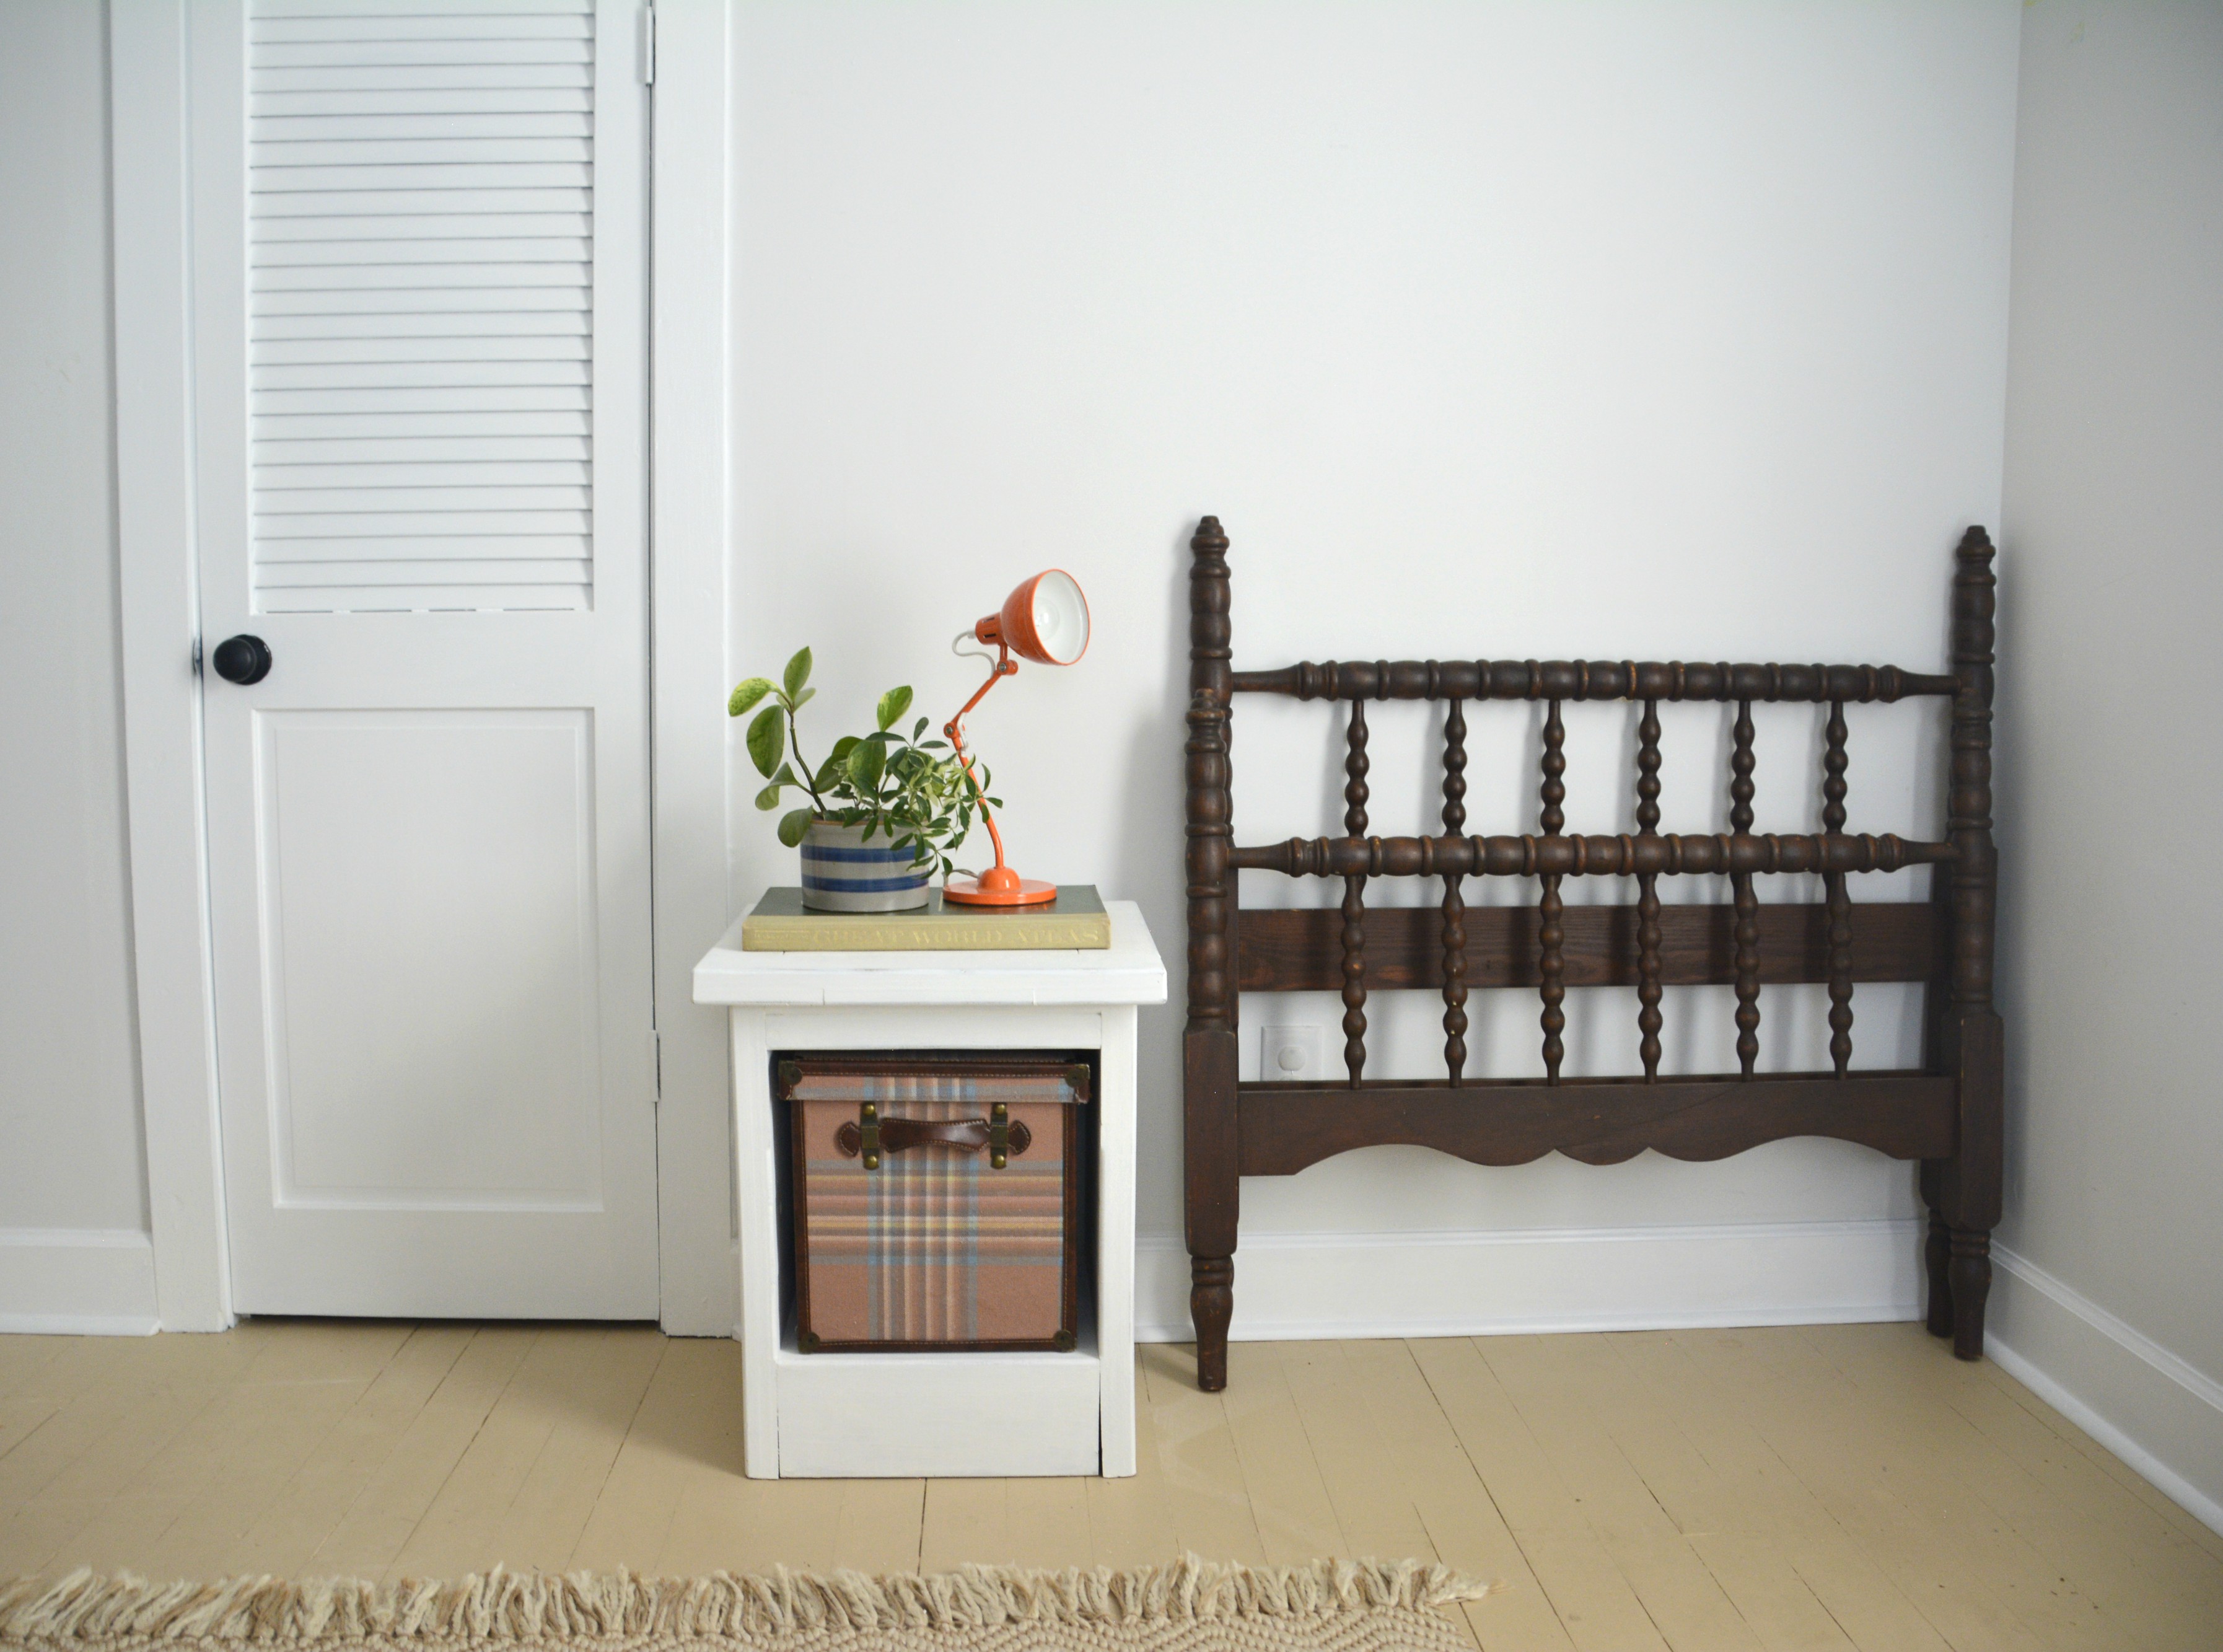
This piece is one element in our boys’ room redo for the One Room Challenge™.
We’re going for an Adventuring Entomologist vibe.
We’ll be revealing their room on November 9th! We’d love for you to stop back in and see how it turned out.
![]()
it looks great and i love that lamp, too!
Great trick! Thanks for sharing!
🙂 Glad you found it useful!